Spring方式集成Apollo
Spring集成Apollo
Apollo部署相关
- 官方推荐使用SpringBoot进行集成,但是也提供了Spring方式进行集成
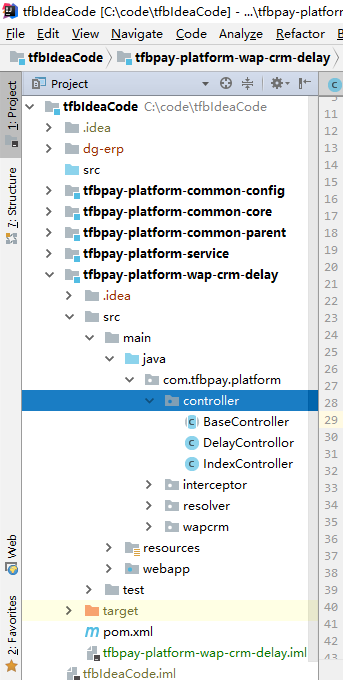
我就用公司现有项目,tfp-delay延期项目进行集成
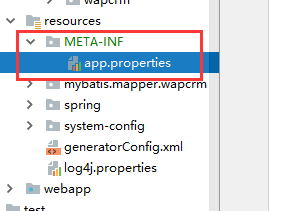
- 1、在classpath目录下新建META-INF/app.properties,这是官方说明必须要建立的
内容如下
# 应用ID(在Apollo服务端新增项目添加的应用ID)
app.id=12345
# apollo-configservice地址
apollo.meta=http://192.168.0.114:8080/
- pom引入Apollo客户端依赖
- Apollo配置中心,新建项目
- 设置配置信息,并且发布
- 2、 新建bean,用于测试
package com.tfbpay.platform.bean;

public class TestBean {
    private int timeout;
    private int batch;
    private String desc;

    public String getDesc() {
    	return desc;
    }
    public void setDesc(String desc) {
    	this.desc = desc;
    }
    public int getTimeout() {
    	return timeout;
    }
    public void setTimeout(int timeout) {
    	this.timeout = timeout;
    }
    public int getBatch() {
    	return batch;
    }
    public void setBatch(int batch) {
    	this.batch = batch;
    }
}
- 3、 新建spring-apollo.xml
引入该配置文件
-4、新建Controller进行测试
@RestController
@RequestMapping("/apollo")
public class ApolloController extends BaseController{

    @Autowired
    private DruidDataSource dataSource;

    @Autowired
    private TestBean testBean;

    @RequestMapping("/test")
    public JSONObject test() {
    	JSONObject result = new JSONObject();
    	result.put("timeout", testBean.getTimeout());
    	result.put("batch", testBean.getBatch());
    	result.put("desc", testBean.getDesc());
    	return result;
    }
}
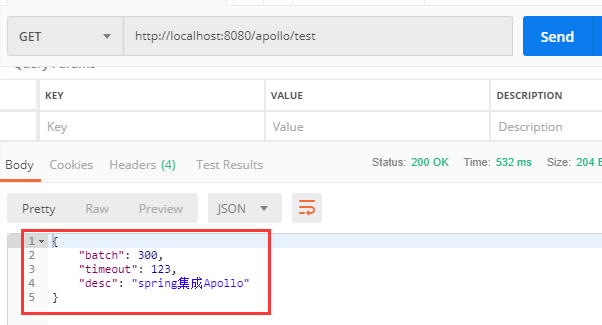
- 5、 启动进行测试成功
常见问题
我在部署到我自己的服务器上时候,本地测试遇到这个问题:
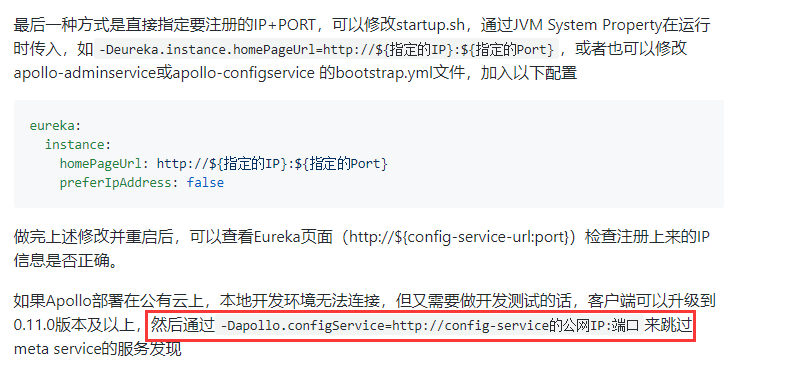
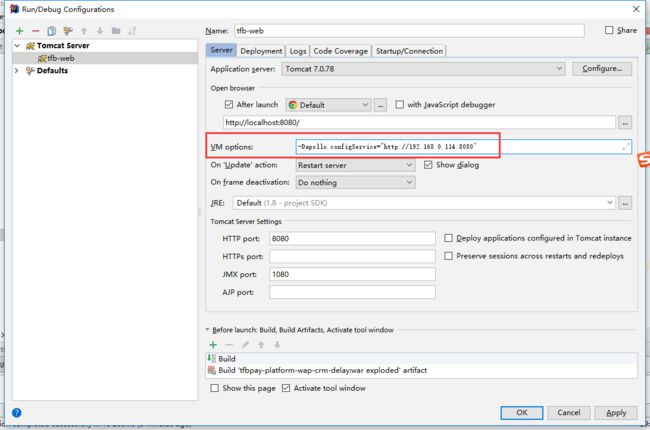
- 如果服务器部署在公有云服务器上,比如阿里云,但是客户端项目在本地的话,那么启动的时候,需要配置VM参数
-Dapollo.configService="http://{公有云服务器IP}:8080"
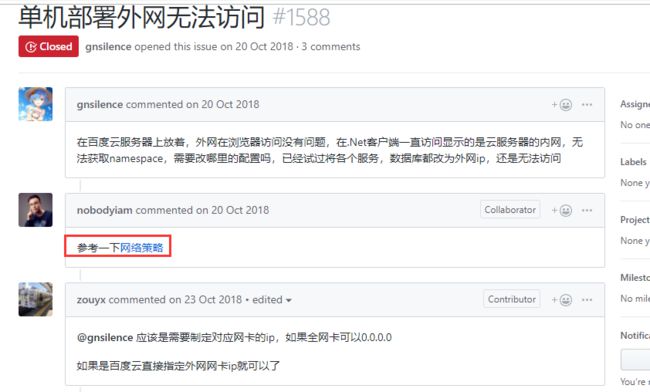
- 我部署到我的腾讯云服务器上,就遇到这个问题了,后面再github的issue问答区找到答案了,Apollo维护目前还是很好的
- 这样设置就行
有任何问题,可以去项目的github社区进行提问或者搜索
部署&开发遇到的常见问题
