STS spring ,springMVC,Mybatis三大框架整合环境搭建
(注意:复制过程中可能因为未知原因报错,建议将报错的地方重新敲一遍)
首先新建一个动态Web工程 SSM
版本一定要设置成2.5版本
一定要勾选显示web.xml文件
如果没有显示web.xml文件 右击项目->java EE Tools->Generate Deployment Descriptor Stub 再次查看
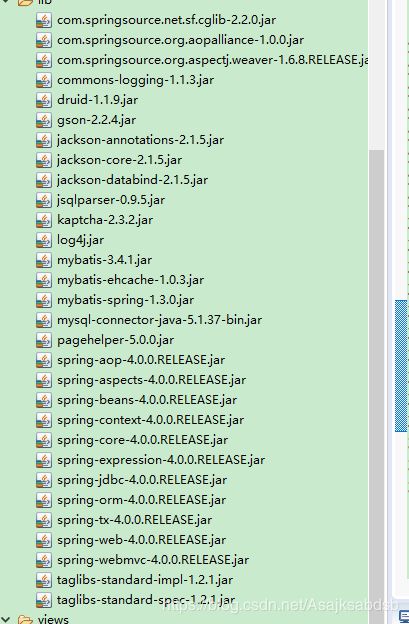
导入jar包 ,(备注:有开发时用到的辅助jar包)
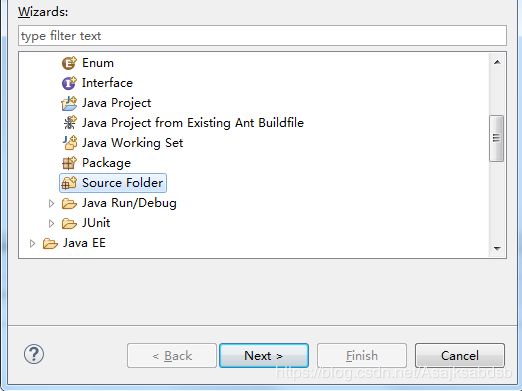
在工程下新建一个Source Folder文件夹存放配置文件conf
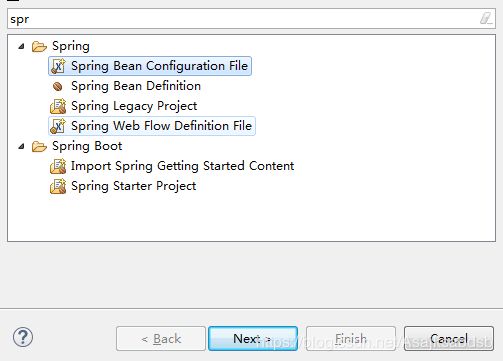
新建一个Spring Bean Configuration File配置文件spring.xml
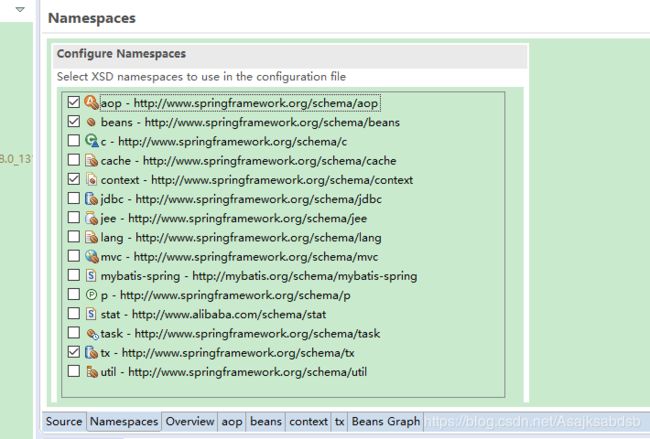
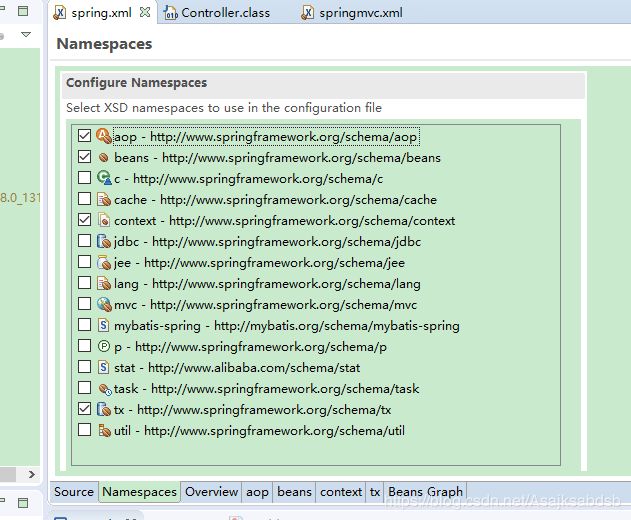
添加命名空间
配置spring.xml
新建一个Spring Bean Configuration File配置文件springmvc.xml
添加命名空间
配置springmvc.xml
新建一个Spring Bean Configuration File配置文件mybatis.xml
配置mybatis.xml (将下边代码直接复制到mybatis.xml文件替换全部)
新建db.properties文件存放数据库连接配置(注意改成自己的数据库配置)
jdbc.username=root
jdbc.password=root
jdbc.url=jdbc:mysql://localhost:3306/atcrowdfundingrewrite?BatchedStatements=true&useUnicode=true&characterEncoding=utf8
jdbc.driver=com.mysql.jdbc.Driver
新建log4j.xml文件
修改web.xml文件
  SSM


      CharacterEncodingFilter
      org.springframework.web.filter.CharacterEncodingFilter

          encoding
          UTF-8


      CharacterEncodingFilter
      /*


      HiddenHttpMethodFilter
      org.springframework.web.filter.HiddenHttpMethodFilter


      HiddenHttpMethodFilter
      /*


        contextConfigLocation
        classpath:spring.xml


        org.springframework.web.context.ContextLoaderListener


        springDispatcherServlet
        org.springframework.web.servlet.DispatcherServlet

            contextConfigLocation
            classpath:springmvc.xml

        1


        springDispatcherServlet
        /
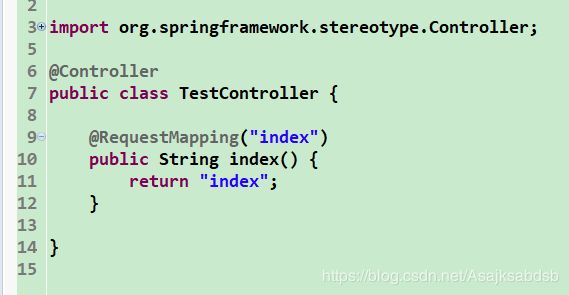
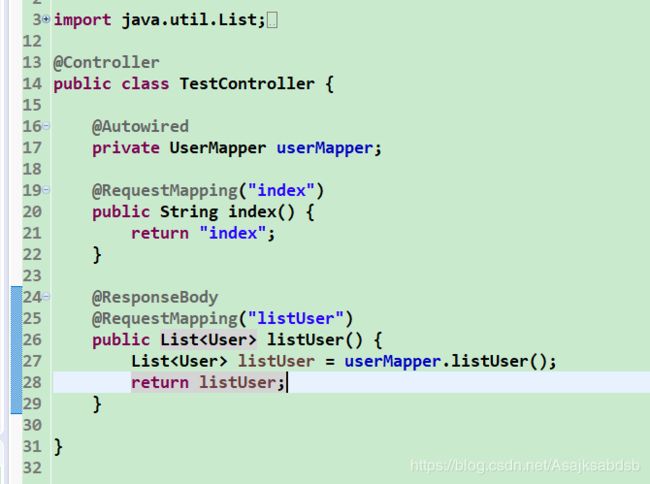
新建com.lwj.ssm.controller包 , 并在包下键TestController类
在WEB-INF文件夹下新建views文件夹 (此处与springmvc配置文件内一致)并新建index.jsp文件
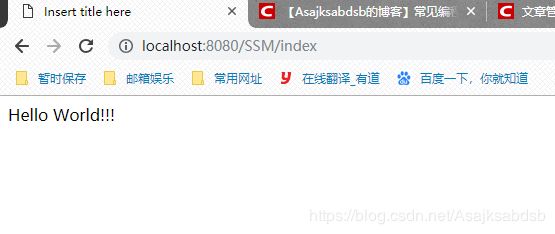
启动tomact,在浏览器窗口输入 http://localhost:8080/SSM/index 回车确认
测试与数据库的连接(此处省略service层 ,并未用上事务!!!)
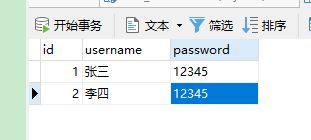
新建数据库ssm,并建表test_user , 插入测试数据
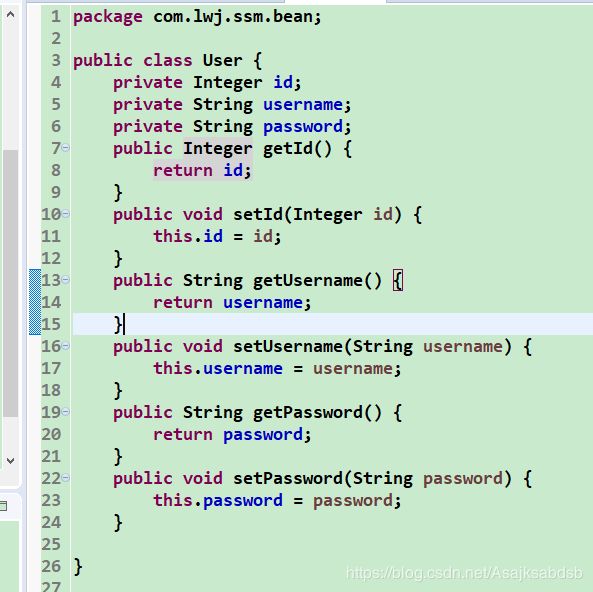
新建com.lwj.ssm.bean包,并在包下建User类
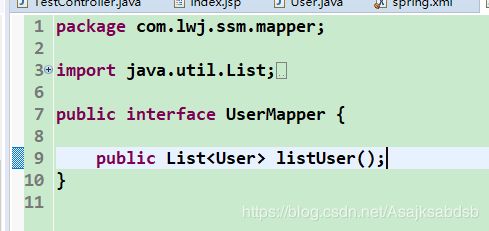
新建com.lwj.ssm.mapper包 , 并建接口UserMapper ,写一个查询全部方法
在TestController添加@Autowired添加listUser方法
在mapper文件下新建UserMapper.xml文件(建议拷贝)
在浏览器输入 http://localhost:8080/SSM/listUser 显示如下结果 , 则框架搭建完成
