《快速掌握PyQt5》第三十二章 动画
第三十二章 动画
32.1 属性动画QPropertyAnimation
32.2 串行动画组QSequentialAnimationGroup
32.3 并行动画组QParallelAnimationGroup
32.4 时间轴QTimeLine
32.5 小结
Qt提供的动画框架不仅可以让程序界面更加丰富有趣(动态效果),而且也让游戏开发成为了可能。本章我们会详细介绍动画框架中常用类的概念与使用。希望阅读本章后读者可以编写出属于自己的动态界面或者小游戏。
32.1 属性动画QPropertyAnimation
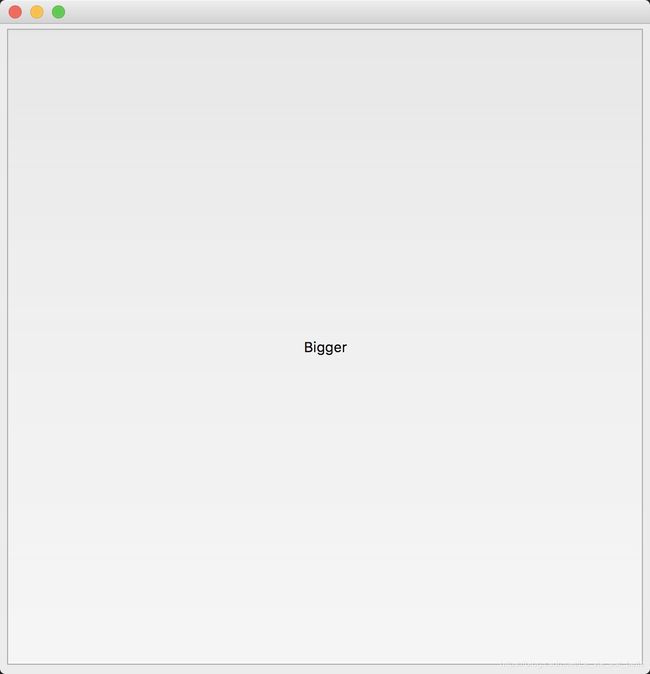
改变大小、颜色或位置是动画中的常见操作,而QPropertyAnimation类可以修改控件的属性值,从而帮助我们实现这些动画效果。我们先试着通过动画的方式来改变下按钮的大小,请看下方例子:
import sys
from PyQt5.QtCore import QPropertyAnimation, QSize
from PyQt5.QtWidgets import QApplication, QWidget, QPushButton


class Demo(QWidget):
    def __init__(self):
        super(Demo, self).__init__()
        self.resize(600, 600)

        self.btn = QPushButton('Bigger', self)
        self.btn.resize(100, 100)

        self.animation = QPropertyAnimation(self.btn, b'size')  # 1
        self.animation.setDuration(6000)                        # 2
        self.animation.setStartValue(QSize(100, 100))           # 3
        self.animation.setEndValue(QSize(600, 600))             # 4
        self.animation.start()                                  # 5


if __name__ == '__main__':
    app = QApplication(sys.argv)
    demo = Demo()
    demo.show()
    sys.exit(app.exec_())
1. 实例化一个QPropertyAnimation对象,分别传入该动画要作用的对象slef.btn以及要改变的属性size。注意第二个参数为字节数组类型QByteArray,不是简单的字符串类型str,所以必须要加上个b;
2. 调用setDuration()方法设置动画持续时间,这里的6000代表持续6秒;
3-4. 设置动画开始和结束时候按钮的属性值(专业点叫做“线性插值”),也就是说动画开始时按钮的大小为(100, 100),经过6秒大小最终变为(600, 600)。注意这里传入的参数必须为QVariant类型(可以把QVariant理解为Qt中常见的数据类型),该类型包括int,float,double,QColor,QLine,QLineF,QPoint,QPointF,QRect,QRectF,QSize和QSizeF等。
5. 调用start()方法开始动画。
运行截图如下,开始时:
结束时:
只设置开始和结束时的大小可能并不能满足需求,这时候我们可以调用setKeyValueAt()方法在指定时刻设置指定大小:
import sys
from PyQt5.QtCore import QPropertyAnimation, QSize
from PyQt5.QtWidgets import QApplication, QWidget, QPushButton


class Demo(QWidget):
    def __init__(self):
        super(Demo, self).__init__()
        self.resize(600, 600)

        self.btn = QPushButton('Bigger', self)
        self.btn.resize(100, 100)

        self.animation = QPropertyAnimation(self.btn, b'size')
        self.animation.setDuration(10000)
        self.animation.setKeyValueAt(0.3, QSize(200, 200))
        self.animation.setKeyValueAt(0.8, QSize(300, 300))
        self.animation.setKeyValueAt(1, QSize(600, 600))
        self.animation.start()


if __name__ == '__main__':
    app = QApplication(sys.argv)
    demo = Demo()
    demo.show()
    sys.exit(app.exec_())
将动画持续时间设为10秒(方便下面讲解),然后调用setKeyValueAt()方法在指定的时刻设置指定的大小(传入的第一个参数的值范围为0-1)。上面代码的意思就是说在0-3秒中将按钮大小从(100, 100)变为(200, 200),在3-8秒中将大小从(200, 200)变为(300, 300),在8-10秒中将大小从(300, 300)变为(600, 600)。现在运行下可以发现在不同时间段,按钮大小的变换速率明显不同。
上面我们改了大小,那如果要改变位置呢?其实只用把size属性换成pos属性,然后用QPoint替换QSize就可以了。代码如下:
import sys
from PyQt5.QtCore import QPropertyAnimation, QPoint
from PyQt5.QtWidgets import QApplication, QWidget, QPushButton


class Demo(QWidget):
    def __init__(self):
        super(Demo, self).__init__()
        self.resize(600, 600)

        self.btn = QPushButton('Move', self)
        self.btn.resize(100, 100)

        self.animation = QPropertyAnimation(self.btn, b'pos')
        self.animation.setDuration(5000)
        self.animation.setStartValue(QPoint(0, 0))
        self.animation.setEndValue(QPoint(500, 500))
        self.animation.start()


if __name__ == '__main__':
    app = QApplication(sys.argv)
    demo = Demo()
    demo.show()
    sys.exit(app.exec_())
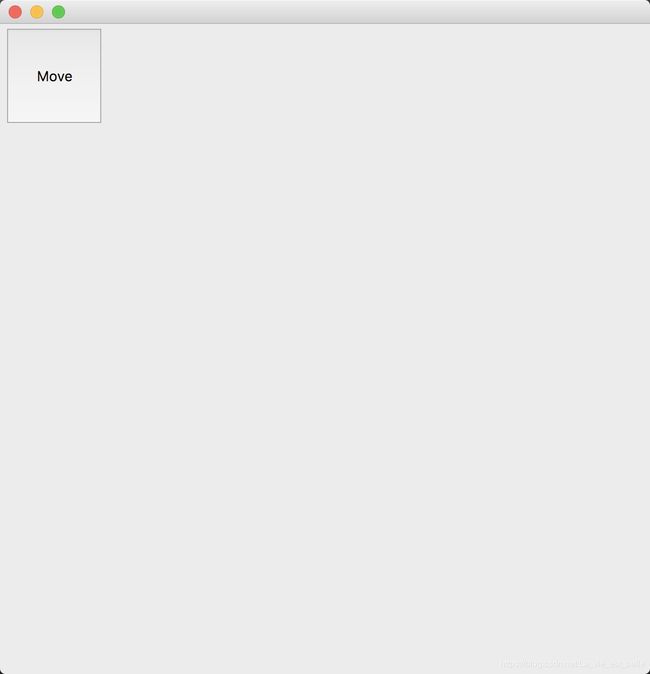
在上方代码中我们让按钮在5秒内从坐标(0, 0)移动到(500, 500)。
运行截图如下,开始时:
结束时:
其实按钮还有个属性就是geometry,我们可以通过该属性同时改变按钮的大小和位置。代码如下:
import sys
from PyQt5.QtCore import QPropertyAnimation, QRect, QEasingCurve
from PyQt5.QtWidgets import QApplication, QWidget, QPushButton


class Demo(QWidget):
    def __init__(self):
        super(Demo, self).__init__()
        self.resize(600, 600)

        self.btn = QPushButton('Move', self)
        self.btn.setGeometry(0, 0, 100, 100)

        self.animation = QPropertyAnimation(self.btn, b'geometry')
        self.animation.setDuration(5000)
        self.animation.setStartValue(QRect(0, 0, 100, 100))
        self.animation.setEndValue(QRect(300, 300, 300, 300))
        self.animation.setEasingCurve(QEasingCurve.InBounce)
        self.animation.setLoopCount(-1)
        self.animation.start()


if __name__ == '__main__':
    app = QApplication(sys.argv)
    demo = Demo()
    demo.show()
    sys.exit(app.exec_())
我们让按钮在坐标(0,0)的位置移动到坐标为(300, 300)的位置,同时让大小从(100 , 100)变为(300, 300)。这里我们还加了两个功能,一是调用setEasingCurve()设置缓和曲线(即动画变化形式),可以在文档中输入QEasingCurve::Type找到全部变化类型。二是我们调用setLoopCount()并传入-1来无限循环动画(传入正整数代表运行相应的次数,传入0不运行)。
现在我们来尝试改变下按钮颜色。由于按钮并没有颜色属性color,所以我们不能单纯的将b'color'传入,必须要创建一个(注意属性必须要有一个设置函数[setter],即属性可写,才可以在动画中起效果。上面讲到的size,pos和geometry属性都可以通过setGeometry()函数来设置,pos还有move()函数,而size还有resize()函数)。
为让大家更好地理解和掌握如何在PyQt5中创建自定义属性,我们先来看下如何在Python中进行该操作。想必大家对@property这个装饰器都有所了解,它可以将一个方法转换为具有相同名称的只读属性,其实也就是加了一个我们需要的属性。请看下方代码示例:
class Demo(object):
    def __init__(self):
        super(Demo, self).__init__()
        self._color = ''

    @property
    def color(self):
        return self._color

    @color.setter
    def color(self, value):
        self._color = value
这里我们通过@property装饰器创建了一个color属性,再通过@color.setter装饰器给该属性一个设置函数,这样我们实例化Demo类后就可以非常方便地使用color属性了。
除了装饰器我们还可以使用property()函数来添加属性,该函数的作用是返回属性值,我们将上方代码修改如下:
class Demo(object):
    def __init__(self):
        super(Demo, self).__init__()
        self._color = ''

    def get_color(self):
        return self._color

    def set_color(self, value):
        self._color = value

    color = property(fget=get_color, fset=set_color)
property()函数中的fget参数为用于读取属性值的函数,而fset是用于设置属性值的函数。返回属性值保存在color中,也就是我们自定义的属性。
而在PyQt5中,创建一个自定义的属性也是十分类似的,首先我们使用装饰器:
class MyButton(QPushButton):
    def __init__(self, text=None, parent=None):
        super(MyButton, self).__init__(text, parent)
        self._color = QColor()

    @pyqtProperty(QColor)
    def color(self):
        return self._color

    @color.setter
    def color(self, col):
        self._color = col
        self.setStyleSheet('background-color: rgb({}, {}, {})'.format(col.red(), col.green(), col.blue()))
我们继承QPushButton类,并分别使用@pyqtProperty()和@color.setter装饰器创建属性及其设置函数。注意要在@pyqtProperty()中传入属性的类型。
另一种方法是使用pyqtProperty()函数:
class MyButton(QPushButton):
    def __init__(self, text=None, parent=None):
        super(MyButton, self).__init__(text, parent)
        self._color = QColor()

    def get_color(self):
        return self._color

    def set_color(self, col):
        self._color = col
        self.setStyleSheet('background-color: rgb({}, {}, {})'.format(col.red(), col.green(), col.blue()))

    color = pyqtProperty(QColor, fget=get_color, fset=set_color)
pyqtProperty()的第一个参数要填属性类型,这是跟Python的property()函数所不同的地方。
属性创建完毕,我们就来运用下看:
import sys
from PyQt5.QtGui import QColor
from PyQt5.QtCore import QPropertyAnimation, pyqtProperty
from PyQt5.QtWidgets import QApplication, QWidget, QPushButton


class MyButton(QPushButton):
    def __init__(self, text=None, parent=None):
        super(MyButton, self).__init__(text, parent)
        self._color = QColor()

    def get_color(self):
        return self._color

    def set_color(self, col):
        self._color = col
        self.setStyleSheet('background-color: rgb({}, {}, {})'.format(col.red(), col.green(), col.blue()))

    color = pyqtProperty(QColor, fget=get_color, fset=set_color)


class Demo(QWidget):
    def __init__(self):
        super(Demo, self).__init__()
        self.resize(600, 600)

        self.btn = MyButton('Color', self)
        self.btn.setGeometry(0, 0, 100, 100)

        self.animation = QPropertyAnimation(self.btn, b'color')
        self.animation.setDuration(5000)
        self.animation.setStartValue(QColor(0, 0, 0))
        self.animation.setEndValue(QColor(255, 255, 255))
        self.animation.setLoopCount(-1)
        self.animation.start()


if __name__ == '__main__':
    app = QApplication(sys.argv)
    demo = Demo()
    demo.show()
    sys.exit(app.exec_())
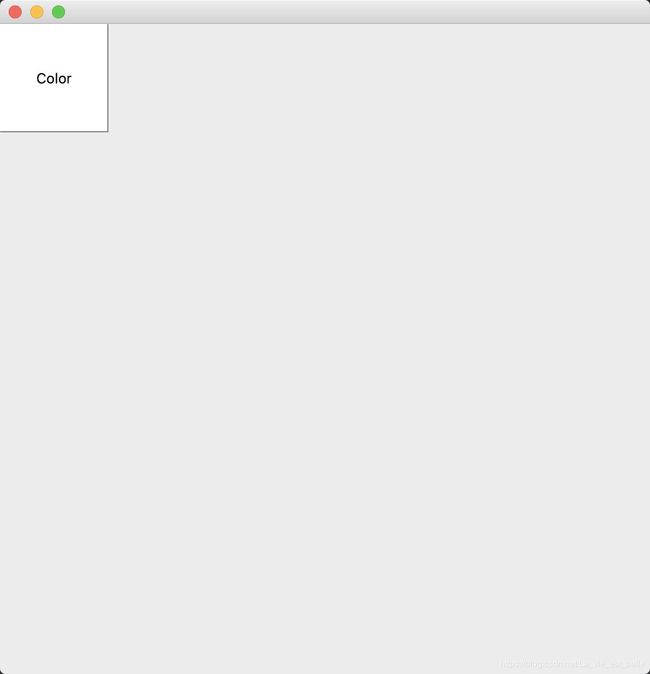
实例化QPropertyAnimation类时传入color属性,然后让颜色用rgb(0, 0, 0)变换到rgb(255, 255, 255),即黑到白。
运行截图如下,开始为纯黑:
经过5秒,变成纯白:
32.2 串行动画组QSequentialAnimationGroup
顾名思义,该类就是用来按照动画添加顺序来执行动画的。我们只用实例化该类,然后通过调用addAnimation()或者insertAnimation()方法把各个动画添加进去就可以了。下面看一个实例:
import sys
from PyQt5.QtGui import QPixmap
from PyQt5.QtCore import QPropertyAnimation, QSequentialAnimationGroup, QRect
from PyQt5.QtWidgets import QApplication, QWidget, QLabel


class Demo(QWidget):
    def __init__(self):
        super(Demo, self).__init__()
        self.resize(600, 600)

        self.plane = QLabel(self)
        self.plane.resize(50, 50)
        self.plane.setPixmap(QPixmap('plane.png').scaled(self.plane.size()))    # 1

        self.animation1 = QPropertyAnimation(self.plane, b'geometry')
        self.animation1.setDuration(2000)
        self.animation1.setStartValue(QRect(300, 500, 50, 50))
        self.animation1.setEndValue(QRect(200, 400, 50, 50))
        self.animation1.setLoopCount(1)

        self.animation2 = QPropertyAnimation(self.plane, b'geometry')
        self.animation2.setDuration(2000)
        self.animation2.setStartValue(QRect(200, 400, 50, 50))
        self.animation2.setEndValue(QRect(400, 300, 50, 50))
        self.animation2.setLoopCount(1)

        self.animation3 = QPropertyAnimation(self.plane, b'geometry')
        self.animation3.setDuration(2000)
        self.animation3.setStartValue(QRect(400, 300, 50, 50))
        self.animation3.setEndValue(QRect(200, 200, 50, 50))
        self.animation3.setLoopCount(1)

        self.animation_group = QSequentialAnimationGroup(self)                  # 2
        self.animation_group.addAnimation(self.animation1)
        self.animation_group.addPause(1000)
        self.animation_group.addAnimation(self.animation2)
        self.animation_group.addAnimation(self.animation3)
        self.animation_group.start()


if __name__ == '__main__':
    app = QApplication(sys.argv)
    demo = Demo()
    demo.show()
    sys.exit(app.exec_())
1. 调用scaled()可以将图片设置为我们想要的大小,这里我们设置成QLabel控件一样的大小,否则图像会显示不全。
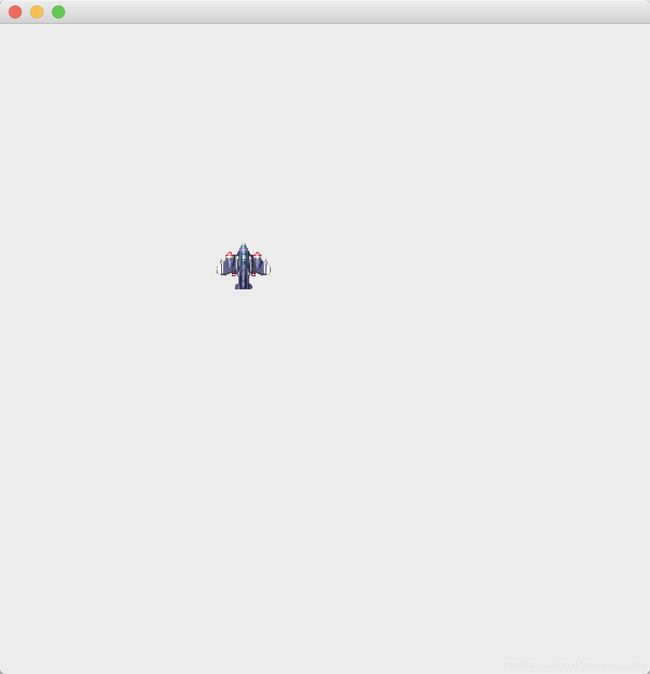
2. 实例化一个QSequentialAnimationGroup类,然后调用addAnimation()方法将之前设置好的3个QPropertyAnimation属性动画实例添加进去。addPause()方法用来在动画执行过程中添加暂停时间。最后调用start()方法动画就可以顺序播放啦。
图片plane.png的下载地址:http://s.aigei.com/src/img/png/b3/b3017709ca464fea9c6a0ebb0efc9561.png?download/%E9%A3%9E%E6%9C%BA%E5%A4%A7%E6%88%98%E7%B1%BB%E6%B8%B8%E6%88%8F%E9%A3%9E%E6%9C%BA%E7%B4%A0%E6%9D%90-%E9%A3%9E%E8%A1%8C%E7%89%A9-LX+%E5%B9%B3%E9%9D%A2%28LXPlane%29_%E7%88%B1%E7%BB%99%E7%BD%91_aigei_com.png&e=1546261680&token=P7S2Xpzfz11vAkASLTkfHN7Fw-oOZBecqeJaxypL:QBpj-tJNEsHzdqUo82K2OlKZ6qI=
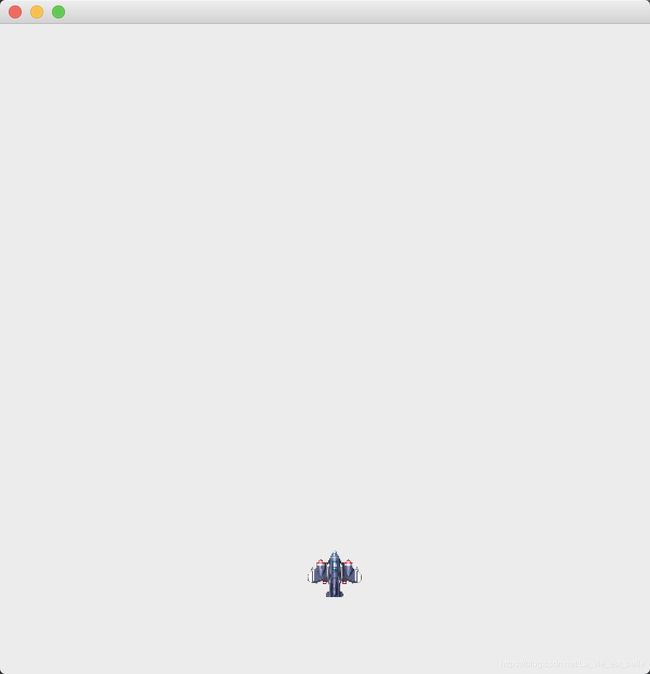
运行截图如下,飞机按照我们指定的路线飞行:
32.3 并行动画组QParallelAnimationGroup
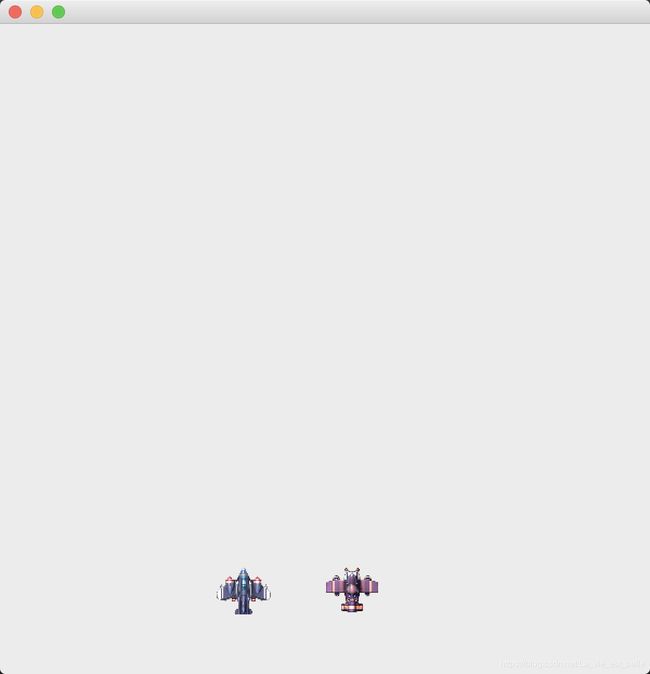
QSequentialAnimationGroup按顺序执行动画,而QParallelAnimationGroup会同时执行添加到该组的所有动画。在下面这个例子中,我们让两架飞机同时飞行:
import sys
from PyQt5.QtGui import QPixmap
from PyQt5.QtCore import QPropertyAnimation, QParallelAnimationGroup, QRect, QEasingCurve
from PyQt5.QtWidgets import QApplication, QWidget, QLabel


class Demo(QWidget):
    def __init__(self):
        super(Demo, self).__init__()
        self.resize(600, 600)

        self.plane = QLabel(self)
        self.plane.resize(50, 50)
        self.plane.setPixmap(QPixmap('plane.png').scaled(self.plane.size()))

        self.plane2 = QLabel(self)
        self.plane2.resize(50, 50)
        self.plane2.setPixmap(QPixmap('plane2.png').scaled(self.plane2.size()))

        self.animation1 = QPropertyAnimation(self.plane, b'geometry')
        self.animation1.setDuration(2000)
        self.animation1.setStartValue(QRect(200, 500, 50, 50))
        self.animation1.setEndValue(QRect(200, 100, 50, 50))
        self.animation1.setEasingCurve(QEasingCurve.OutCirc)
        self.animation1.setLoopCount(1)

        self.animation2 = QPropertyAnimation(self.plane2, b'geometry')
        self.animation2.setDuration(2000)
        self.animation2.setStartValue(QRect(300, 500, 50, 50))
        self.animation2.setEndValue(QRect(300, 100, 50, 50))
        self.animation2.setEasingCurve(QEasingCurve.OutCirc)
        self.animation2.setLoopCount(1)

        self.animation_group = QParallelAnimationGroup(self)                    # 1
        self.animation_group.addAnimation(self.animation1)
        self.animation_group.addAnimation(self.animation2)
        self.animation_group.start()


if __name__ == '__main__':
    app = QApplication(sys.argv)
    demo = Demo()
    demo.show()
    sys.exit(app.exec_())
1. 用法也十分简单,实例化一个QParallelAnimationGroup类,然后调用addAnimation()方法加入动画,最后调用start()方法启动。
图片plane2.png下载地址:http://s.aigei.com/src/img/png/13/131eb2b7c6e54f91a37cbf39b3e92a1f.png?download/%E9%A3%9E%E6%9C%BA%E5%A4%A7%E6%88%98%E7%B1%BB%E6%B8%B8%E6%88%8F%E9%A3%9E%E6%9C%BA%E7%B4%A0%E6%9D%90-%E9%A3%9E%E8%A1%8C%E7%89%A9-Jit+%E5%B9%B3%E9%9D%A2%28JitPlan_%E7%88%B1%E7%BB%99%E7%BD%91_aigei_com.png&e=1546275960&token=P7S2Xpzfz11vAkASLTkfHN7Fw-oOZBecqeJaxypL:k7gL3saU9UtbyeT-voBDEu8IrZQ=
运行程序后会发现两把飞机会同时起飞和停止:
32.4 时间轴QTimeLine
一个动画由多张静态图片组成,每一张静态图片为一帧。每隔一定时间显示一帧,如果时间间隔非常短的话,那这些静态图片就会构成一个连续影像,动画由此而来。QTimeLine提供了用于控制动画的时间轴,它在实现动画效果方面非常快速有用。我们可以用它来定期调用一个槽函数并在槽函数中为一个控件创建动画效果。
下面我们通过QTimeLine来实现下滚动字幕的效果:
import sys
from PyQt5.QtCore import QTimeLine
from PyQt5.QtWidgets import QApplication, QWidget, QLabel


class Demo(QWidget):
    def __init__(self):
        super(Demo, self).__init__()
        self.resize(600, 600)

        self.label = QLabel('Hello PyQt5', self)
        self.label.move(-100, 100)

        self.timeline = QTimeLine(5000, self)                       # 1
        self.timeline.setFrameRange(0, 700)                         # 2
        self.timeline.frameChanged.connect(self.set_frame_func)     # 3
        self.timeline.setLoopCount(0)                               # 4
        self.timeline.start()

    def set_frame_func(self, frame):
        self.label.move(-100+frame, 100)


if __name__ == '__main__':
    app = QApplication(sys.argv)
    demo = Demo()
    demo.show()
    sys.exit(app.exec_())
1. 实例化一个QTimeLine类,持续时间为5秒;
2. 设置帧范围。当动画开始后,帧数就会发生改变,每次帧数发生变化,就会发出frameChanged信号(该信号发送时附带当前所在帧数)。我们就是通过该信号来调用槽函数,并在槽函数中实现控件的动画效果的;
3. 信号和槽连接。在槽函数中,我们调用move()方法,根据帧数来移动QLabel控件的位置;
4. 注意这里传入0代表无限循环运行,而不是不运行。传入正整数会运行相应次数,传入负数不运行。
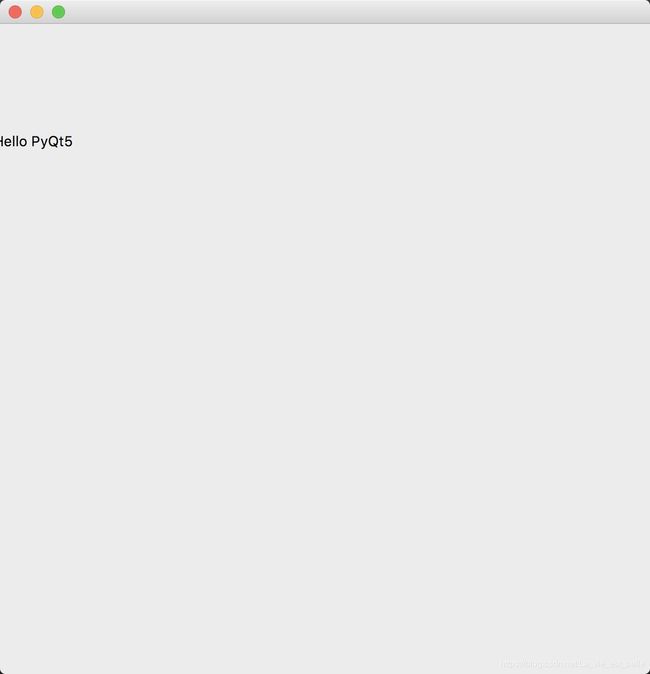
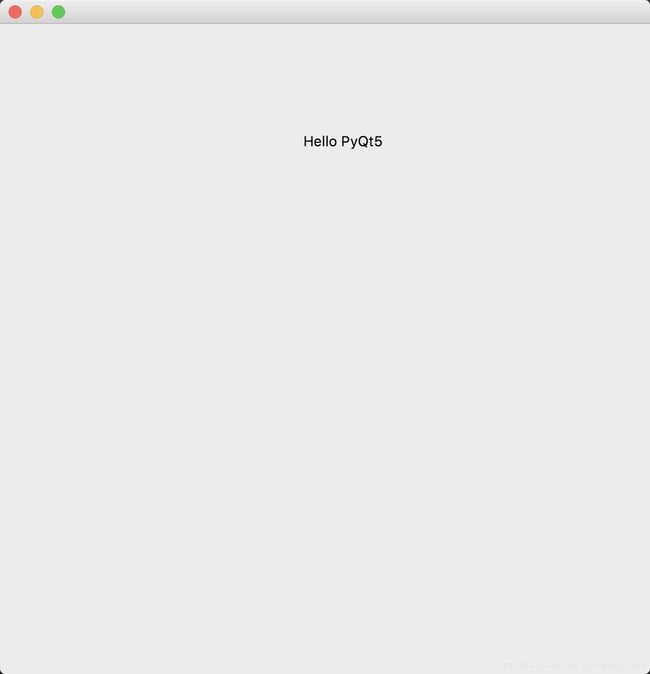
运行后会发现按钮逐渐从窗口左侧移动到右侧,并且无限循环进行:
现在来重点说一下QTimeLine的状态,一共有以下三种:
- QTimeLine.NotRunning
- QTimeLine.Running
- QTimeLine.Paused
在未开始或者运行结束时,QTimeLine就会处于NotRunning状态;当调用start()方法启动后,变为Running状态,期间QTimeLine会不断发出frameChanged信号;而当在运行中调用setPaused(True)让QTimeLine暂停的话,状态就会变为Paused。每当状态发生改变,QTimeLine都会发出stateChanged信号,我们可以根据该信号来判断动画所处的状态并作相应的处理。
以下四个方法用于改变QTimeLine状态:
- start():让QTimeLine进入Running状态。
- stop():让QTimeLine进入NotRunning状态。
- resume():让QTimeLine从Paused状态或者NotRunning状态转为Running状态,动画从当前帧继续(注意start()方法不是从当前帧继续,而是直接从头开始)。
- setPaused():传入True,让QTimeLine进入Paused状态;传入False,让QTimeLine进入Running状态(传入False时QTimeLine的状态必须为Paused)。
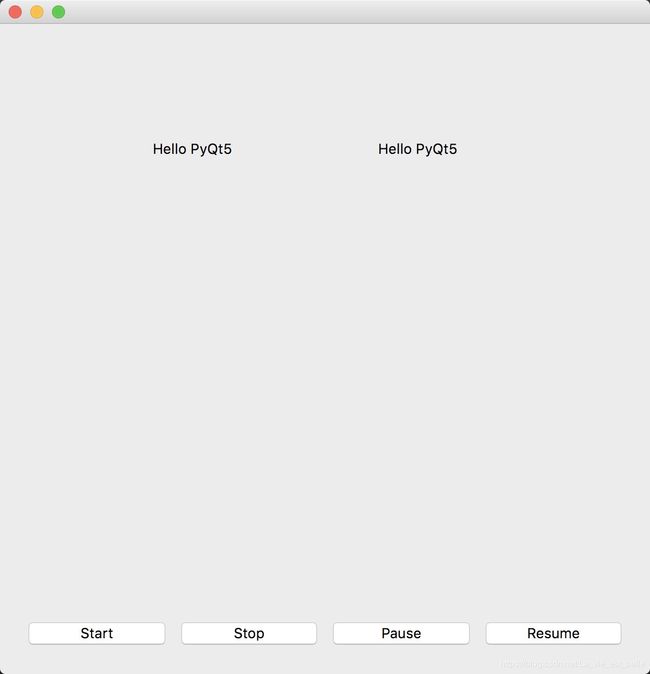
我们给上面的滚动字幕程序加上开始、停止、暂停和继续四个按钮来控制动画:
import sys
from PyQt5.QtCore import QTimeLine
from PyQt5.QtWidgets import QApplication, QWidget, QLabel, QPushButton, QHBoxLayout, QVBoxLayout


class Demo(QWidget):
    def __init__(self):
        super(Demo, self).__init__()
        self.resize(600, 600)

        self.label = QLabel('Hello PyQt5', self)
        self.label.move(-100, 100)

        self.timeline = QTimeLine(5000, self)
        self.timeline.setFrameRange(0, 700)
        self.timeline.frameChanged.connect(self.set_frame_func)
        self.timeline.stateChanged.connect(lambda: print(self.timeline.state()))    # 1
        self.timeline.setLoopCount(0)

        self.start_btn = QPushButton('Start', self)
        self.stop_btn = QPushButton('Stop', self)
        self.pause_btn = QPushButton('Pause', self)
        self.resume_btn = QPushButton('Resume', self)

        self.start_btn.clicked.connect(self.timeline.start)                         # 2
        self.stop_btn.clicked.connect(self.timeline.stop)
        self.pause_btn.clicked.connect(lambda: self.timeline.setPaused(True))
        self.resume_btn.clicked.connect(self.timeline.resume)

        self.h_layout = QHBoxLayout()
        self.v_layout = QVBoxLayout()
        self.h_layout.addWidget(self.start_btn)
        self.h_layout.addWidget(self.stop_btn)
        self.h_layout.addWidget(self.pause_btn)
        self.h_layout.addWidget(self.resume_btn)
        self.v_layout.addStretch(1)
        self.v_layout.addLayout(self.h_layout)
        self.setLayout(self.v_layout)

    def set_frame_func(self, frame):
        self.label.move(-100+frame, 100)


if __name__ == '__main__':
    app = QApplication(sys.argv)
    demo = Demo()
    demo.show()
    sys.exit(app.exec_())
1. 将stateChanged信号和打印函数连接起来,每当状态发生改变,我们就打印出当前进入的状态(0代表NotRunning,1代表Paused,2代表Running);
2. 将各个按钮的clicked信号和对应得方法进行连接,运行程序后我们就可以通过这四个按钮来控制动画。
运行截图如下:
问题记录:小伙伴们可能会发现当动画在运行时,点了Stop或者Pause按钮后,再点击Start按钮重新开始后,会发现窗口中出现了两个QLabel控件,之前停住的QLabel遗留在了窗口上:
解决思路就是调用self.update()刷新下界面就可以啦。改变set_frame_func()函数如下:
def set_frame_func(self, frame):
    self.label.move(-100+frame, 100)
    self.update()
最后我们再来说一下QTimeLine的方向概念,一共有两种方向:
- QTimeLine.Forward (默认方向)
- QTimeLine.Backward
当为QTimeLine.Foward时,动画按照我们初始设定进行移动;而为QTimeLine.Backward时,我们可以实现一种动画反向的效果。
我们通过下方这个程序来演示一下:
import sys
from PyQt5.QtCore import QTimeLine
from PyQt5.QtWidgets import QApplication, QWidget, QLabel, QPushButton, QHBoxLayout, QVBoxLayout


class Demo(QWidget):
    def __init__(self):
        super(Demo, self).__init__()
        self.resize(600, 600)

        self.label = QLabel('Hello PyQt5', self)
        self.label.move(-100, 100)

        self.timeline = QTimeLine(5000, self)
        self.timeline.setFrameRange(0, 700)
        self.timeline.frameChanged.connect(self.set_frame_func)
        self.timeline.setLoopCount(0)
        self.timeline.start()

        self.forward_btn = QPushButton('Forward', self)
        self.backward_btn = QPushButton('Backward', self)
        self.forward_btn.move(150, 0)
        self.backward_btn.move(350, 0)
        self.forward_btn.clicked.connect(lambda: self.change_direction_func(self.forward_btn))
        self.backward_btn.clicked.connect(lambda: self.change_direction_func(self.backward_btn))

    def set_frame_func(self, frame):
        self.label.move(-100+frame, 100)

    def change_direction_func(self, btn):                       # 1
        if btn == self.forward_btn:
            self.timeline.setDirection(QTimeLine.Forward)
        else:
            self.timeline.setDirection(QTimeLine.Backward)


if __name__ == '__main__':
    app = QApplication(sys.argv)
    demo = Demo()
    demo.show()
    sys.exit(app.exec_())
1. 重点来看下槽函数实现即可。我们调用setDirection()方法传入方向值。当按下Foward按钮后,QLabel从左往右移动;当按下Backward按钮后,QLabel从右往左移动。
运行截图如下:
32.5 小结
1. QPropertyAnimation类最为重要,它是动画制作中用到最多的类了;
2. PyQt5中属性创建跟Python中的操作十分类似,既可以通过装饰器也可以通过函数方式来实现;
3. 之前我们常用QTimer来实现动画,自从引入了QTimeLine,动画实现变得更加简单;
4. 祝大家新年快乐,在新的一年中更上一层楼! (ง •̀_•́)ง
----------------------------------------------------------------------
喜欢的小伙伴可以加入这个Python QQ交流群一起学习:820934083


