使用 OpenVAS 漏洞扫描软件,编写简单的nasl脚本
本文的原文连接是: http://blog.csdn.net/freewebsys/article/details/78809099
未经博主允许不得转载。
博主地址是:http://blog.csdn.net/freewebsys
1,使用OpenVAS
http://blog.csdn.net/freewebsys/article/details/78804624
上次已经安装好了 openvas,下面开始使用了。
使用非常简单。
其他使用文档:一个中文文档。
https://secinfo.greenbone.net/help/contents.html?r=1&token=guest
2,创建一个任务
打开网页,在【scans】菜单下:
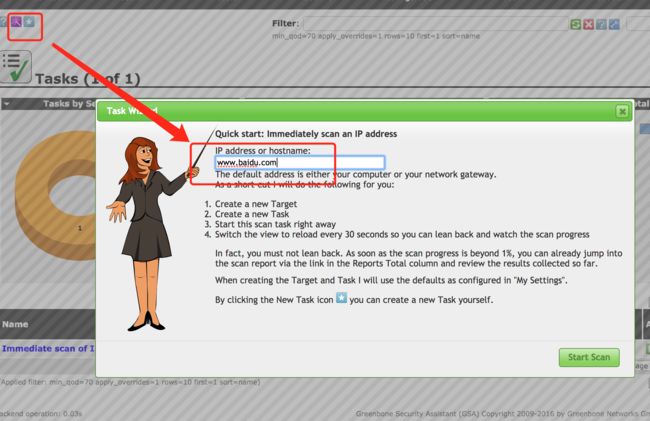
再 ip or hostname 输入 www.baidu.com。
扫描的时候访问的日志:
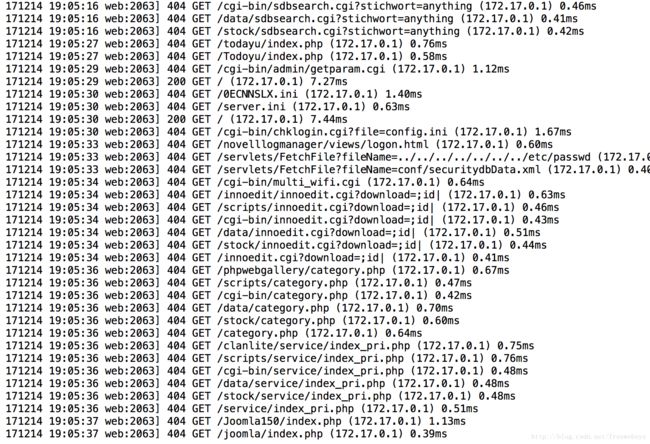
直接使用穷举法,各种的资源php啥的进行一个一个验证。
3,扫描 Nessus Attack Scripting Language
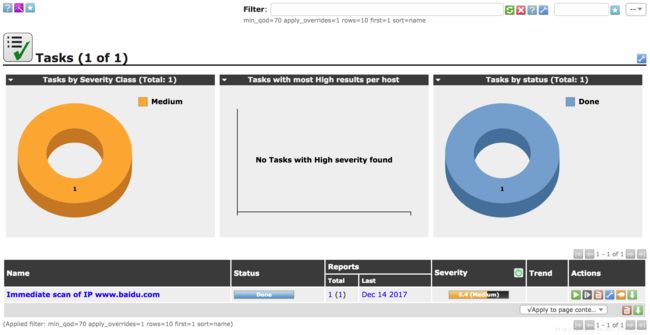
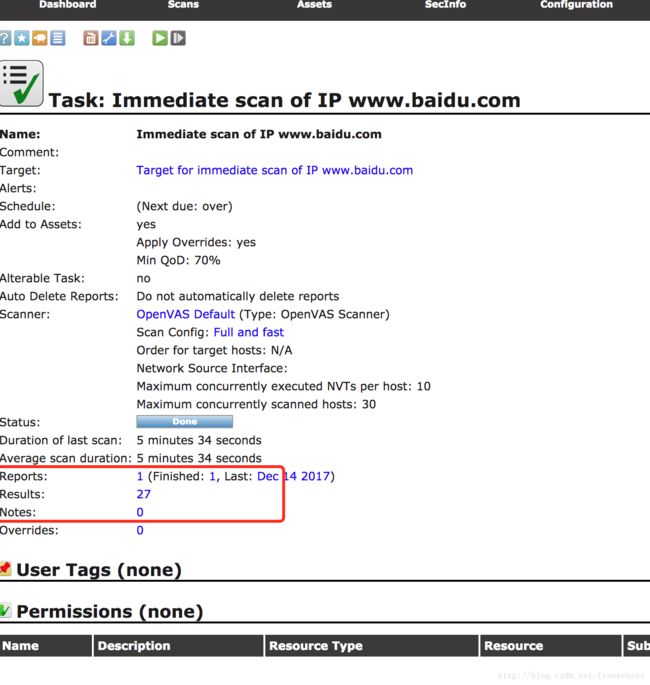
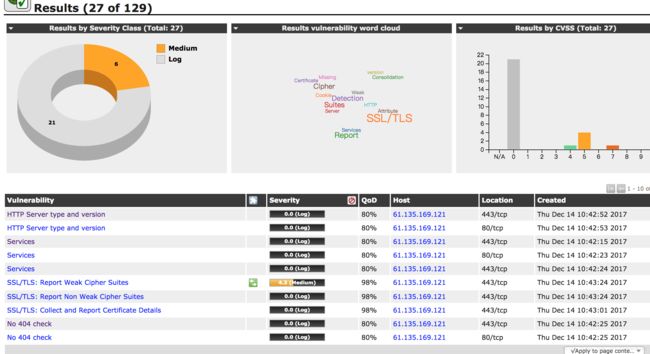
task 是一个扫描任务,在后台可以看到扫描的进度。

看到 61.135.169.121 是百度的ip。
在目录 /var/lib/openvas/plugins 下面有很多nasl脚本。
http://michel.arboi.free.fr/nasl2ref/nasl2_reference.pdf
在openvas 里面使用了NASL2 脚本语言。
也应该算是一个动态语言了。里面有网络访问的常用函数。
https://www.mankier.com/1/openvas-nasl
apt-get install openvas-nasl 学习资料:
http://books.gigatux.nl/mirror/networksecuritytools/0596007949/toc.html

# openvas-nasl --help
Usage:
  openvas-nasl [OPTION?] NASL_FILE... - standalone NASL interpreter for OpenVAS

Help Options:
  -h, --help                          Show help options

Application Options:
  -V, --version                       Display version information
  -d, --debug                         Output debug information to stderr.
  -D, --description                   Only run the 'description' part of the script
  -B, --both                          Run in description mode before running the script.
  -p, --parse                         Only parse the script, don't execute it
  -L, --lint                          'lint' the script (extended checks)
  -t, --target=               Execute the scripts against
  -T, --trace=                  Log actions to  (or '-' for stderr)
  -c, --config-file=        Configuration file
  -e, --source-iface=     Source network interface for established connections.
  -s, --safe                          Specifies that the script should be run with 'safe checks' enabled
  -X, --authenticated                 Run the script in 'authenticated' mode
  -i, --include-dir=             Search for includes in
  --debug-tls=                 Enable TLS debugging at
  -k, --kb=                Set KB key to vaue. Can be used multiple times
比如代码 demo1.nasl
display("Hello World .\n");
display("Hello World openvas-nasl. \n");

if( ! ports ) ports = make_list( 9999 );
display(ports);


include('/var/lib/openvas/plugins/http_func.inc');
include('/var/lib/openvas/plugins/global_settings.inc');
display(default:80,"\n");
port = get_http_port( default:80 );
host = http_host_name( port:port );
display("##########\n");
display(host,"\n");

max = 5;
for( i = 0; i < max; i ++ ) {
  display(i,"##########\n");
  recv = http_get( port:port, item:"/");
  display(recv,"\n");
}
执行:需要传入一个ip地址写百度吧。
openvas-nasl -Xt www.baidu.com demo1.nasl 结果:
Hello World .
Hello World openvas-nasl.
[ 0: 9999 ]
##########
www.baidu.com
0##########
GET / HTTP/1.1
Connection: Close
Host: www.baidu.com
Pragma: no-cache
Cache-Control: no-cache
User-Agent: Mozilla/5.0 [en] (X11, U; OpenVAS)
Accept: image/gif, image/x-xbitmap, image/jpeg, image/pjpeg, image/png, */*
Accept-Language: en
Accept-Charset: iso-8859-1,*,utf-8
结果说明,使用 http_get( port:port, item:”/”) 调用函数。
其中 port:port 代表 参数 port 的值是 port。item参数是 “/” 。
然后循环 5次访问。
其中不用输入url地址,是通过 -Xt www.baidu.com 传入的。
速度还是很快的。其中大量的脚本都在 /var/lib/openvas/plugins 目录下面。
有很多 demo 可以学习下。
4,总结
nasl 脚本语言比较方便。里面有很多的函数可以使用。
非常的方便。而且基本的攻击逻辑都是 打开链接,然后循环攻击参数。查看返回结果然后出个数据报告。
所以利用现有的东西就可以了。nasl脚本还是要多看看别人咋写的。
本文的原文连接是: http://blog.csdn.net/freewebsys/article/details/78809099
未经博主允许不得转载。
博主地址是:http://blog.csdn.net/freewebsys
