【Git学习笔记】Gitea 本地仓库搭建
Gitea官网:https://gitea.io/zh-cn/
Gitea官方文档:https://docs.gitea.io/zh-cn/
Go-gitea源码:https://github.com/go-gitea/gitea
gitea-windows下载:https://dl.gitea.io/gitea/1.9/git-1.9-windows-4.0-386.exe
一、安装
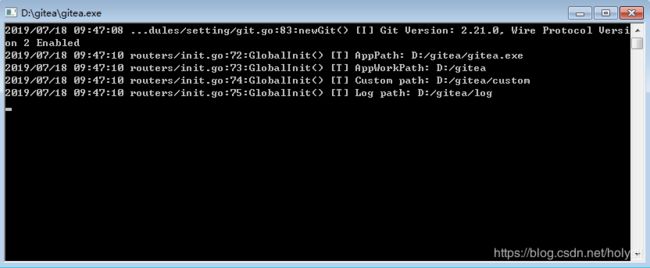
1、在D盘新建文件夹gitea,把刚才下载的安装包拷贝到此目录下,双击。
2、注册为Windows服务
Win + R 运行cmd,打开命令窗口,输入如下命令:
# 注册gitea服务
sc create gitea start= auto binPath= ""D:\gitea\gitea.exe" web --config "D:\gitea\custom\conf\app.ini""

# 删除gitea服务
sc delete gitea
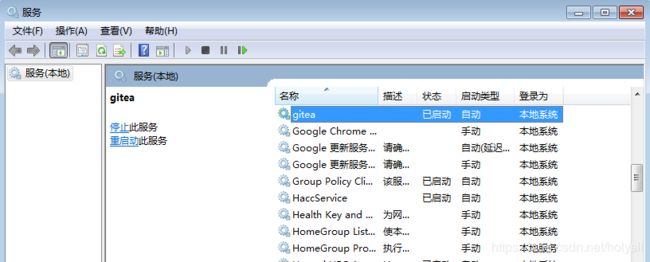
Win + R 运行 services.msc,可以查看gitea已经添加,右键点击启动:
3、 访问
浏览器打开http://localhost:3000,默认端口是3000,localhost可以替换成你的ip地址
二、注册
点击右上角的注册,因首次运行,需进行站点初始配置。
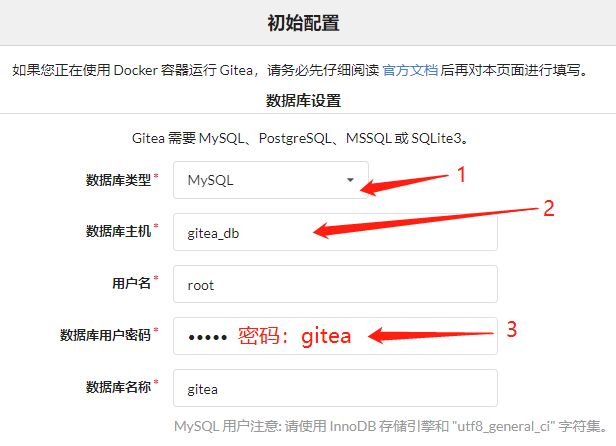
1、数据库设置
注:图片来源https://www.jianshu.com/p/c6d36e0f72ac
数据库类型选择 MySQL 数据库,没装的话,选SQLite3也行,根基自己情况填入本地数据库参数。
2、一般设置
注:图片来源https://www.jianshu.com/p/c6d36e0f72ac
SSH服务器域名填入自己本机IP地址,可以在cmd运行ipconfig查看,gitea基本URL记得加上HTTP服务端口号3000。
3、立即安装
填写完初始配置,点击立即安装,跳转到登录界面。
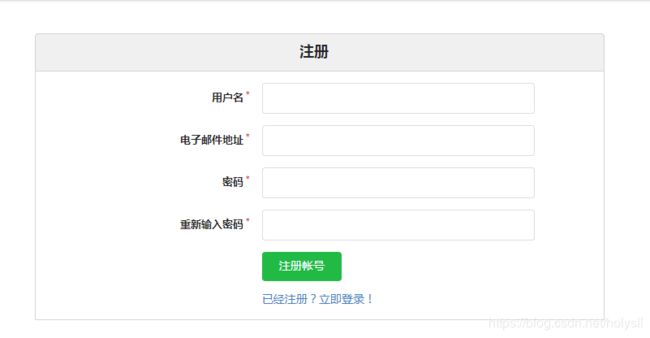
4、注册账户
注册gitea仓库登录账号。
三、创建gitea仓库
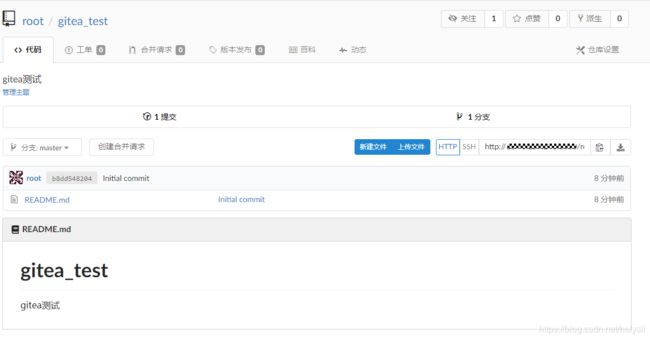
创建一个名为gitea_test仓库,仓库描述为:gitea测试
四、本地仓库git测试
1、HTTP模式测试
- 克隆gitea_test仓库
$ cd gitea_test
$ git clone http://192.168.xx.xx:3000/root/gitea_test.git
- 提交文件到gitea_test仓库
$ cd gitea_test

# 新建txt文件test1
$ touch test1.txt

$ git add test1.txt

$ git commit -m 'test1'

# 查看仓库
$ git remote remove origin
$ git remote add origin  http://192.168.xx.xx:3000/root/gitea_test.git
$ git remote -v
origin  http://192.168.xx.xx:3000/root/gitea_test.git (fetch)
origin  http://192.168.xx.xx:3000/root/gitea_test.git (push)

# 提交
$ git push origin master
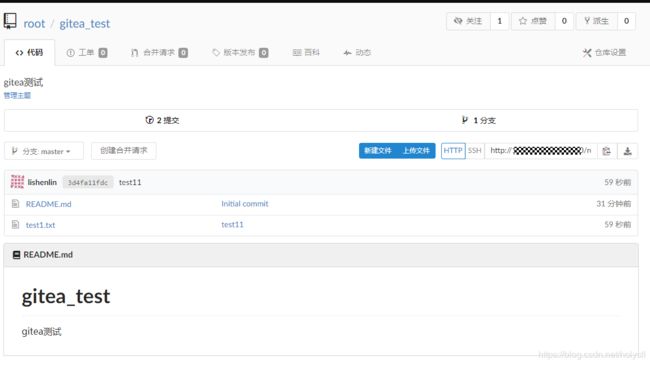
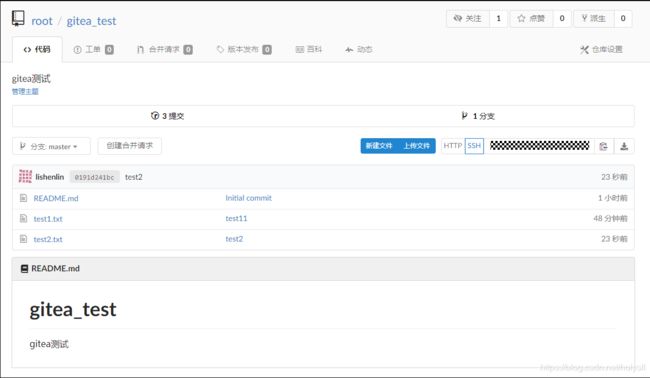
可以看到gitea_test仓库里已经有test1.txt文件了
2、SSH模式测试
1、启用内部SSH服务器
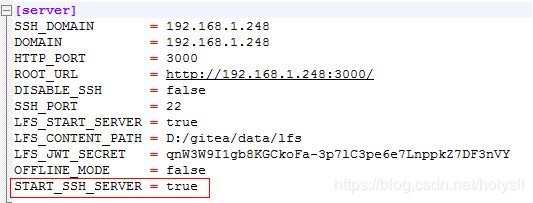
打开gitea.exe的安装目录,找到目录D:\gitea\custom\conf下的app.ini文件,用Notepad++打开,在[server] 的最后添加 START_SSH_SERVER = true 配置,保存退出。
2、生成ssh_key密钥
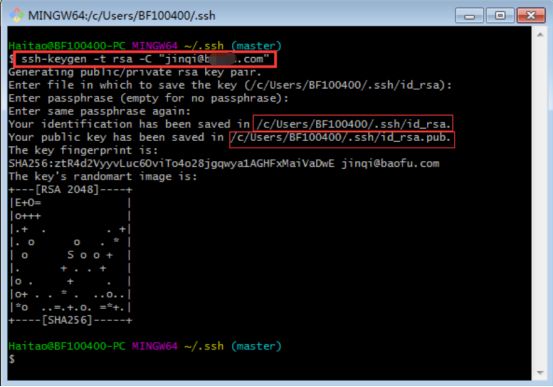
ssh-keygen -t rsa -C "邮箱地址"一路回车,可以看到在C:\Users\自己的用户名\.ssh文件目录下 ,生成了id_rsa私钥和id_rsa.pub公钥。
3、gitea_test仓库部署密钥
将id_rsa.pub公钥文本复制进去
3、ssh模式测试
- 克隆gitea_test仓库
$ git clone 自己电脑用户名@ip地址:22/root/gitea_test.git成功克隆下来
- 向gitea_test仓库提交文件test2.txt
$ cd gitea_test
$ touch test2.txt
$ git add .
$ git commit -m 'test2'
$ git push origin master
提交成功:
好了,gitea本地仓库搭建完成,如有纰漏欢迎留言!
参考来源:https://www.jianshu.com/p/c6d36e0f72ac
https://blog.csdn.net/cr605897869/article/details/80843819
https://docs.gitea.io/zh-cn/
