Spring学习手册 1:Spring MVC 返回JSON数据
Spring学习手册 1:Spring MVC 返回JSON数据
目录
完整代码在这
Spring MVC对JSON数据格式的支持非常好,配置完成后什么都不用管靠注解就可以轻松返回JSON格式的数据。
Spring 对JSON的支持有三种方式,下面会一一介绍,在此之前先是一些准备工作。
一、配置文件应该添加什么东西
- Maven配置文件应该添加哪些包 除了Spring MVC的核心包之外,还要加上JSON相关的依赖
  4.0.0

  com.learn.springmvc
  SpringMVCJSONDemo
  1.0-SNAPSHOT
  war

  SpringMVCJSONDemo Maven Webapp

  http://www.example.com


    UTF-8
    1.7
    1.7


      junit
      junit
      4.11
      test


          javax.servlet
          servlet-api
          2.5


          org.springframework
          spring-core
          4.3.11.RELEASE


          org.springframework
          spring-beans
          4.3.11.RELEASE


          org.springframework
          spring-context
          4.3.11.RELEASE


          org.springframework
          spring-web
          4.3.11.RELEASE


          org.springframework
          spring-webmvc
          4.3.11.RELEASE


          com.fasterxml.jackson.core
          jackson-databind
          2.8.10


          com.fasterxml.jackson.core
          jackson-core
          2.8.10


          com.fasterxml.jackson.core
          jackson-annotations
          2.8.0


    SpringMVCJSONDemo


          maven-clean-plugin
          3.1.0


          maven-resources-plugin
          3.0.2


          maven-compiler-plugin
          3.8.0


          maven-surefire-plugin
          2.22.1


          maven-war-plugin
          3.2.2


          maven-install-plugin
          2.5.2


          maven-deploy-plugin
          2.8.2


复制代码- Spring配置文件中除了和视图相关的bean要配置外,还需要配置和JSON有关的bean
            /


            .jsp


复制代码
二、创建model类
package com.learn.model;

public class User {
    private String name;
    private String id;
    private String email;


    public String getName() {
        return name;
    }

    public void setName(String name) {
        this.name = name;
    }

    public String getId() {
        return id;
    }

    public void setId(String id) {
        this.id = id;
    }

    public String getEmail() {
        return email;
    }

    public void setEmail(String email) {
        this.email = email;
    }
}
复制代码
三、返回JSON数据的方式
在讲三种方式之前,先创建一个Controller
package com.learn.Controller;

import com.learn.model.User;
import org.springframework.stereotype.Controller;
import org.springframework.web.bind.annotation.RequestMapping;
import org.springframework.web.bind.annotation.ResponseBody;

@RequestMapping("json")
@Controller
public class UserController {

}
复制代码
1、@ResponseBody方式、
直接在控制器内加上下面的代码:
@RequestMapping(value = "/user/first")
@ResponseBody
public User getUserJSONInfo(){
    System.out.println("请求JSON数据!!!");
    User user = new User();
    user.setName("today");
    user.setId("10086");
    user.setEmail("[email protected]");
    return user;
}
复制代码
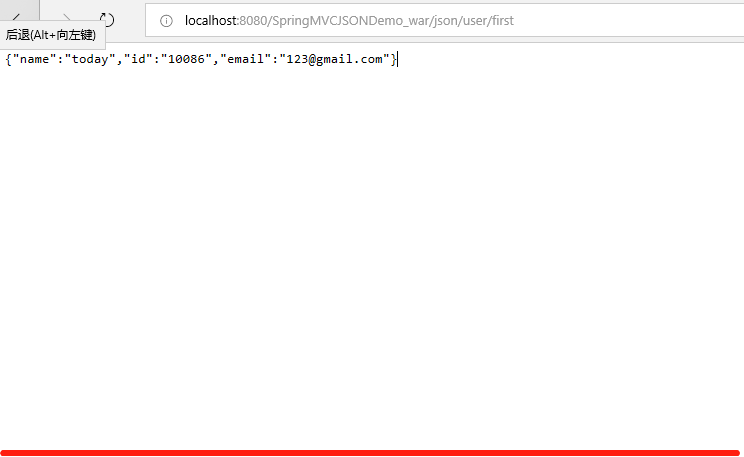
在上面的代码中,有 @ResponseBody注解,表明此方法返回的不是视图,而直接是responseBody
这个方法返回的是User类型的对象,但是在运行过程中会被自动转变成JSON对象返回给前端
运行结果:
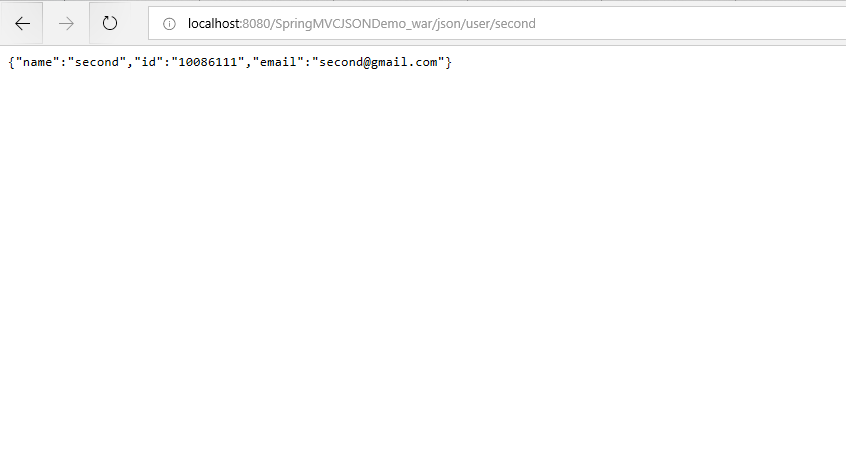
2、使用 ResponseEntity
在控制器中加上如下代码:
@RequestMapping(value="/user/second")
public ResponseEntity getUserJSONInfo2(){
    User user = new User();
    user.setId("10086111");
    user.setName("second");
    user.setEmail("[email protected]");
    return new ResponseEntity(user, HttpStatus.OK);
}
复制代码
3、httpServletResponse
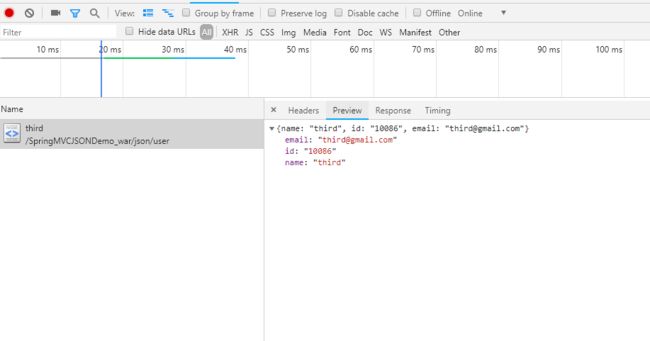
这个方法很简单,就是自己把返回格式设成json格式就可以了
在控制器中加入如下代码:
@RequestMapping(value = "/user/third")
public void getUserJSONInfo3(HttpServletResponse response) throws IOException {
    response.setContentType("application/json");
    response.getWriter().println("{\"name\":\"third\",\"id\":\"10086\",\"email\":\"[email protected]\"}");
复制代码
运行结果:
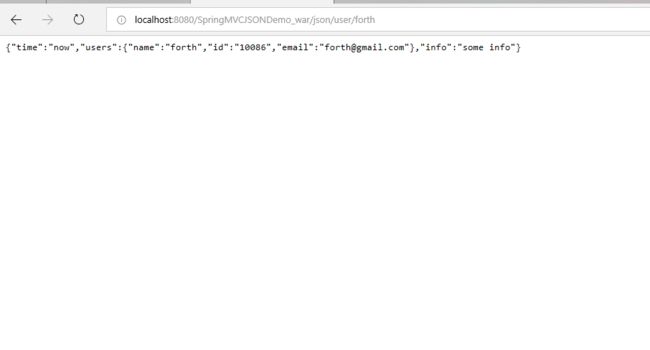
4、使用 返回多个JSON对象
代码:
@RequestMapping(value = "/user/forth")
@ResponseBody
public Map getUserJSONInfo4(){

    User user = new User();
    user.setName("forth");
    user.setId("10086");
    user.setEmail("[email protected]");

    Map map = new HashMap();
    map.put("users", user);
    map.put("info", "some info");
    map.put("time", "now");
    return map;
}
复制代码
运行结果:


