Nginx服务器的搭建及使用
1.安装Nginx服务器
首先需要联网
执行下面的命令(需要有权限)
[hadoop@hadoop04 ~]$ sudo yum install -y nginx
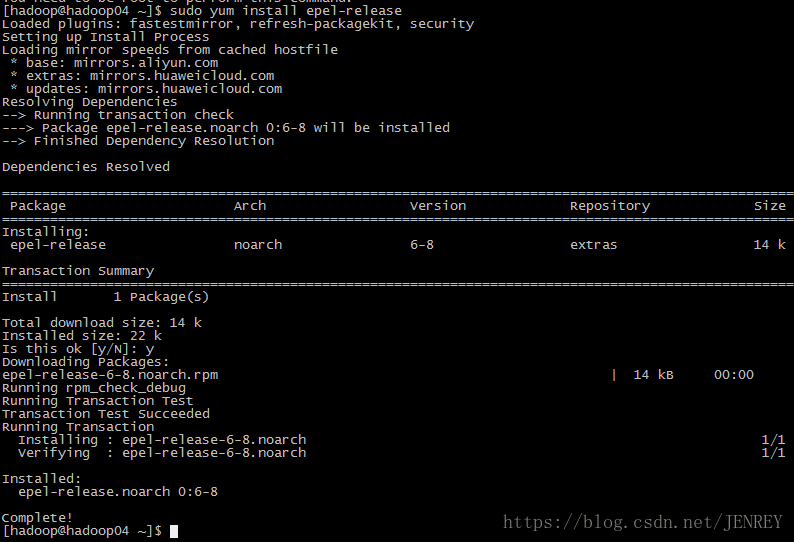
出现下图所示 :nginx位于第三方的yum源里面,而不在centos官方yum源里面
需要执行下面命令即安装epel
[hadoop@hadoop04 ~]$ sudo yum install epel-release
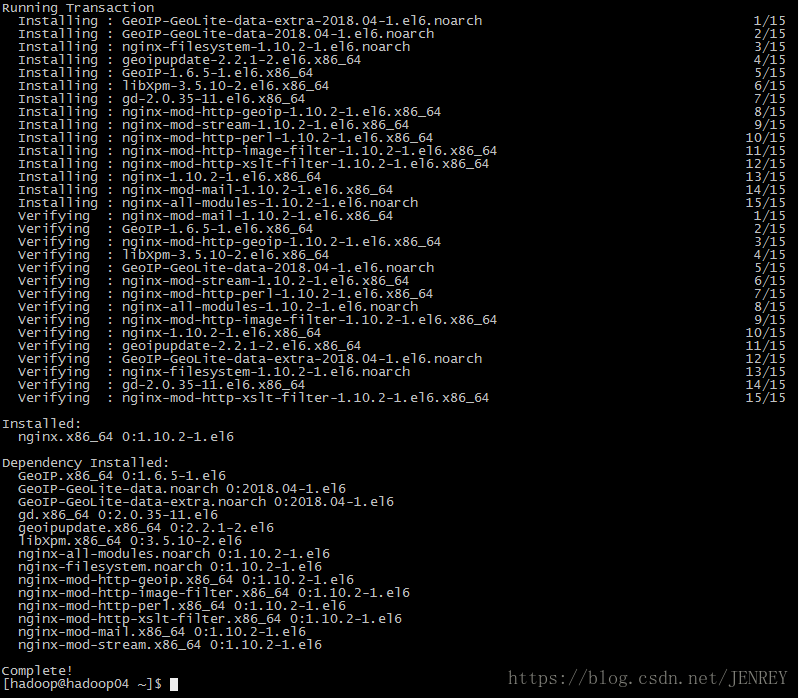
在执行安装Nginx的命令
[hadoop@hadoop04 ~]$ sudo yum install -y nginx
出现上图表示安装成功!
2.测试Nginx
启动Nginx:
[hadoop@hadoop04 ~]$ service nginx start
出现下图所示错误
原因:当前用户对该位置没有写入权限
所以使用下面的命令进行启动:
[hadoop@hadoop04 ~]$ sudo service nginx start
![]()
查看Nginx状态:
[hadoop@hadoop04 ~]$ service nginx status
访问Nginx:
http://hadoop04
查看Nginx版本:
[hadoop@hadoop04 ~]$ nginx -v
或者
[hadoop@hadoop04 ~]$ nginx -V
3.配置Nginx配置文件
1)因为我们是通过yum安装的所以我们的文件在etc/目录下面
[hadoop@hadoop04 ~]$ vim /etc/nginx/nginx.conf
$后面的都是系统的变量
$remote_addr 远程主机的IP地址
$msec 获取当前主机的时间
$http_host 获取请求的主机名
$request_uri 请求的URL
定义日志格式
log_format aura '$remote_addr^A$msec^A$http_host^A$request_uri' ;
日志存储的文件
access_log /var/log/nginx/access.log aura;
2)需要注意的是不知道access.log有没有权限,测试建议直接获取最高权限
首先进入下面的目录(需要root用户)
[hadoop@hadoop04 ~]$ su
[root@hadoop04 ~]# cd /var/log/nginx
先删除access.log文件(这样里面就是按照我们的日志格式写的日志)
[root@hadoop04 nginx]# rm -rf access.log
再创建access.log文件
[root@hadoop04 nginx]# touch access.log
再修改权限:
[root@hadoop04 nginx]# chmod 777 access.log
3)重启Nginx服务器:
[root@hadoop04 nginx]# service nginx restart
4)进入Nginx的网页
http://hadoop04/
刷新网页查看生成的日志
[root@hadoop04 nginx]# cat access.log
访问URL:
http://hadoop04/?username='zhangsan'&password='123'
再次查看日志


