SpringCloud入门实战六
一:Springcloud之路由网关zuul
- 什么是zuul?

二:SpringCloud路由网关的基本配置
- 新建子模块microservicecloud-zuul-gateway-9527
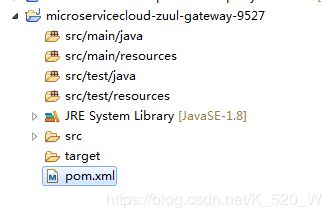
- 在pom.xml中添加依赖
4.0.0 com.topcheer microservicecloud 0.0.1-SNAPSHOT microservicecloud-zuul-gateway-9527 org.springframework.cloud spring-cloud-starter-zuul org.springframework.cloud spring-cloud-starter-eureka org.springframework.boot spring-boot-starter-actuator org.springframework.cloud spring-cloud-starter-hystrix org.springframework.cloud spring-cloud-starter-config com.topcheer microservicecloud-api ${project.version} org.springframework.boot spring-boot-starter-jetty org.springframework.boot spring-boot-starter-web org.springframework.boot spring-boot-starter-test org.springframework springloaded org.springframework.boot spring-boot-devtools -
创建application.yml配置文件(注意:hosts文件中gateway-9527.com需要添加上)
server:
  port: 9527 #设置端口为9527

spring:
  application:
    name: microservicecloud-zuul-gateway

eureka: #这个就是将8001服务端注册进入注册中心,下面的就是注册中心的注册地址
  client:
    service-url:
      defaultZone: http://eureka7001.com:7001/eureka/,http://eureka7002.com:7002/eureka/,http://eureka7003.com:7003/eureka/
  instance:
     instance-id: gateway-9527.com
     prefer-ip-address: true #访问路径可以显示IP地址

info:
  app.name: topcheer-microservicecloud
  company.name: com.topcheer
  build.artifactId: $project.artifactId$
  build.version: $project.version$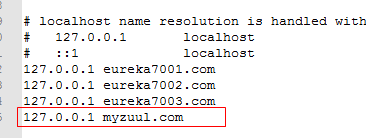
-
创建启动类Zuul_9527_StartSpringCloudApp


-
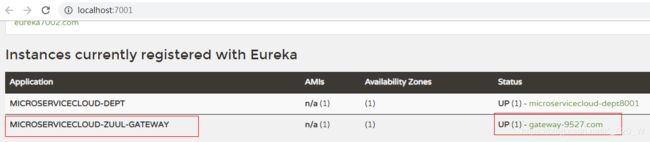
测试
a:首先启动3个Eureka集群,再启动一个服务提供类microservicecloud-provider-dept-8001,最后启动刚健的路由微服务
b:效果
c:不使用路由访问8001

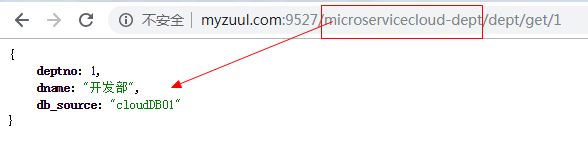
d:启用路由访问
地址:http://myzuul.com:9527/microservicecloud-dept/dept/get/1
http://域名反射:路由网关微服务端口/指定提供者微服务名称/提供者微服务接口路径

三:zuul路由访问映射规则
- 我们现在存在一个问题,我们现在通过网关访问提供者的微服务的路径是:
http://myzuul.com:9527/microservicecloud-dept/dept/get/1,但是这个路径暴露了我们提供者微服务
的名称,我们想要将这个路径包装一下。该如何操作了。 - 操作的步骤如下
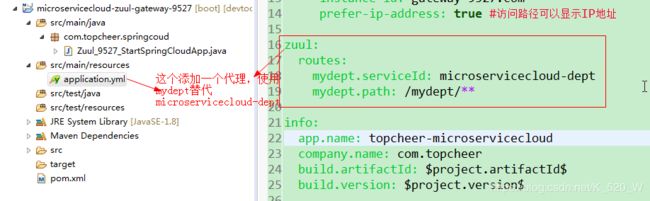
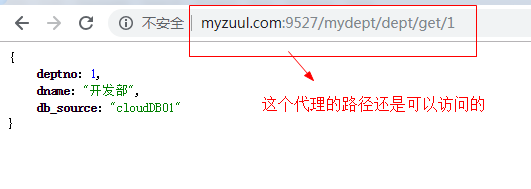
a:设置代理名称,修改路由网关微服务的application.yml
b:效果

但是我们发现原来的路径也能访问:
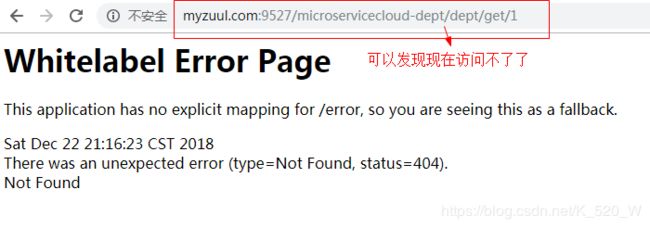
c:我们现在需要将真实的路径忽略掉,只留代理的名称可以访问

d:效果
e:如果我们在实际项目中药忽略多个微服务名称可以使用下面的方式

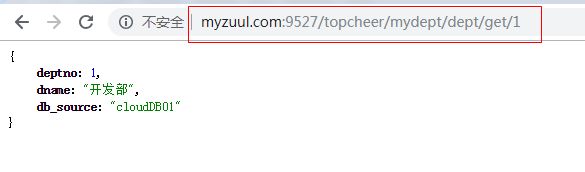
f:我们还可以为代理名称添加前缀

效果:
四:SpringCloud config之分布式配置中心
- 分布式系统面临的问题

- 简介config


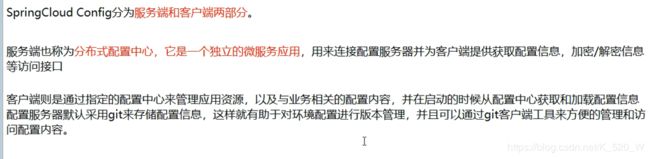
- config可以做的事情


五:SpringCloud config服务端配置
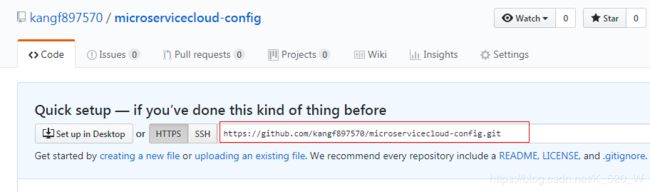
- 首先我们需要使用自己的GitHub账户在GitHub上新建一个名为microservicecloud-config的新respository

- 由上一步获取SSH协议的git地址
- 本地硬盘目录上新建git仓库并clone
我们的本地地址为:D:\Git-Springcloud
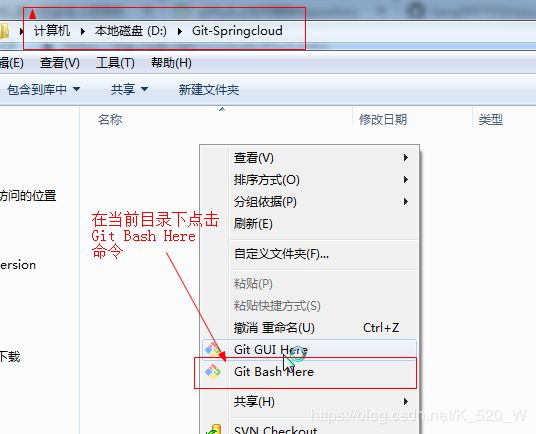

我们使用命令将远程仓库克隆一份到本地:git clone https://github.com/kangf897570/microservicecloud-config.git

- 在本地仓库新建application.yml配置文件(注意:一定要以UTF-8的格式保存)

内容:

- 将新建的这个application.yml文件推送到github上面


- 下面我们需要新建微服务,促使它可以连接GitHub并且获取配置文件信息
⑴创建子模块microservicecloud-config-3344

⑵在pom.xml中添加依赖
  4.0.0

    com.topcheer
    microservicecloud
    0.0.1-SNAPSHOT

  microservicecloud-config-3344


        org.springframework.cloud
        spring-cloud-config-server


        org.eclipse.jgit
        org.eclipse.jgit
        4.10.0.201712302008-r


        org.springframework.boot
        spring-boot-starter-actuator


      org.springframework.cloud
      spring-cloud-starter-eureka


      org.springframework.cloud
      spring-cloud-starter-hystrix


      org.springframework.cloud
      spring-cloud-starter-config


			org.springframework.boot
			spring-boot-starter-jetty


	       org.springframework.boot
	       spring-boot-starter-web


	       org.springframework.boot
	       spring-boot-starter-test


	       org.springframework
	       springloaded


	       org.springframework.boot
	       spring-boot-devtools
⑶创建application.yml文件

⑷创建启动类


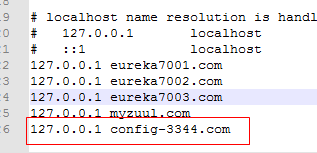
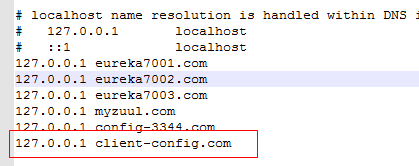
⑸修改window下的hosts文件
⑹测试微服务是否可以获取GitHub下的配置文件
a:启动3344微服务
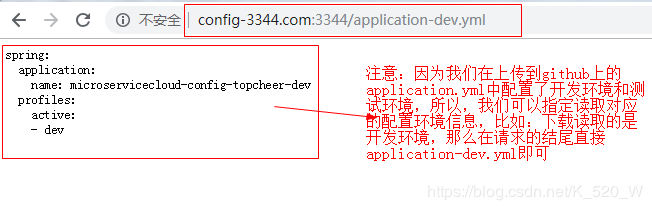
b:读取开发环境信息
c:读取测试环境信息

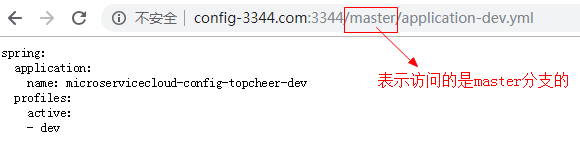
d:其他访问的路径方式

六:SpringCloud config客户端配置
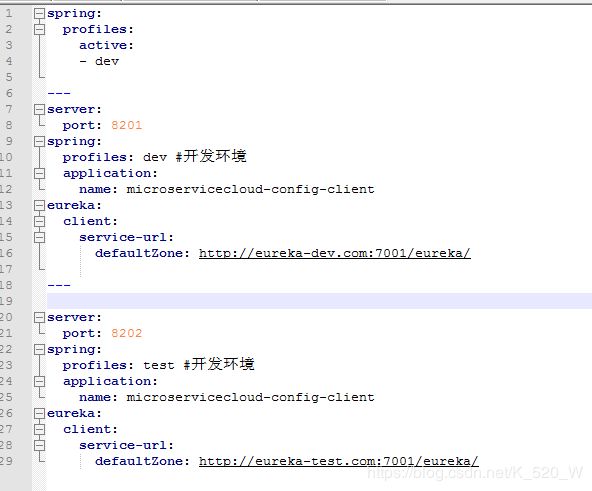
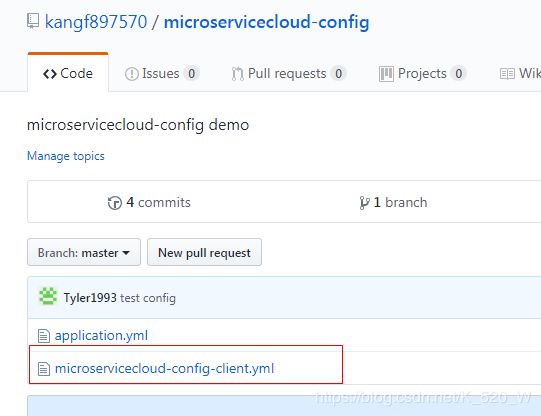
- 在本地仓库新建microservicecloud-config-client.yml配置文件
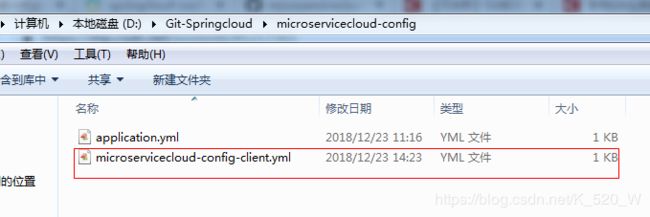
内容:
- 将文件上传到GitHub上
- 新建子模块microservicecloud-config-client-3355客户端

- 在新建的子模块的pom.xml中添加依赖
4.0.0 com.topcheer microservicecloud 0.0.1-SNAPSHOT microservicecloud-config-client-3355 org.springframework.cloud spring-cloud-starter-config org.springframework.boot spring-boot-starter-actuator org.springframework.cloud spring-cloud-starter-eureka org.springframework.cloud spring-cloud-starter-hystrix org.springframework.boot spring-boot-starter-jetty org.springframework.boot spring-boot-starter-web org.springframework.boot spring-boot-starter-test org.springframework springloaded org.springframework.boot spring-boot-devtools -
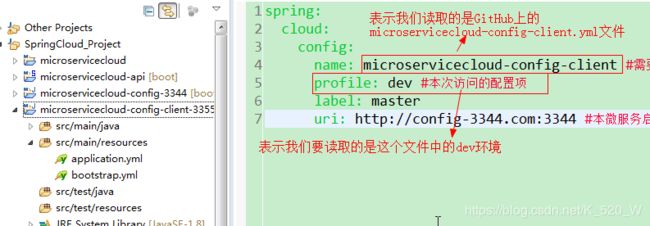
创建bootstrap.yml配置文件


内容:

-
创建application.yml文件,注意:名称需要和bootstrap.yml中的一致(microservicecloud-config-client)


-
修改hosts文件
-
新建ConfigClientRest.java类,验证能否从GitHub上读取配置信息

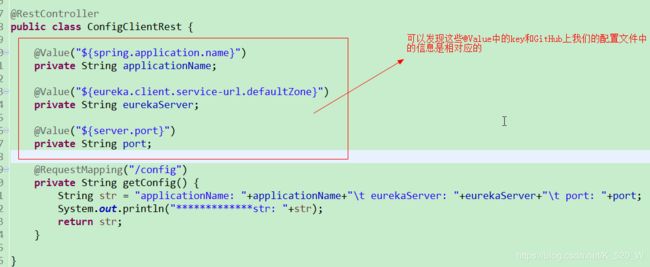
-
创建我们的主启动类


-
测试,启动3344,和3355进行测试

访问地址的组成:
http://IP:从Github上读取指定环境的端口/controller方法路径
GitHub上指定环境的内容:
七:SpringCloud Config之配置实战
- 需求

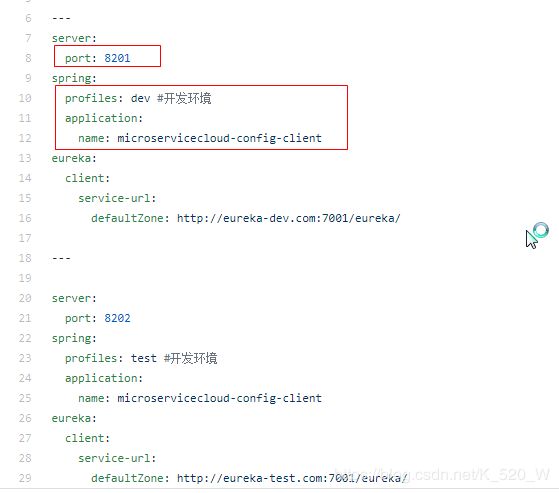
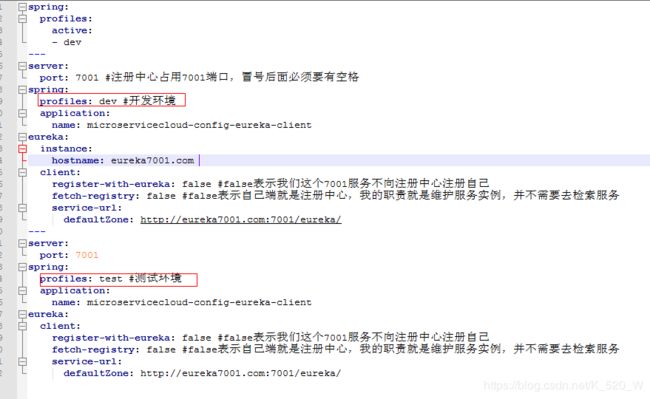
- 在git本地仓库创建microservicecloud-config-eureka-client.yml配置文件(这个是eureka注册中心的)

内容:
- 在git本地仓库创建microservicecloud-config-dept-client.yml配置文件(这个是微服务提供者的)

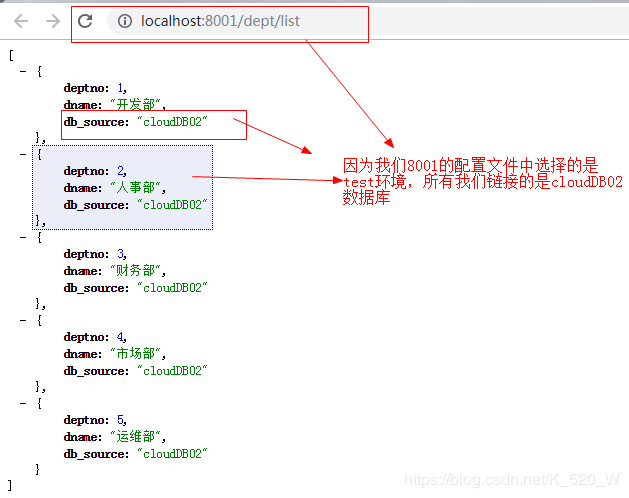
内容:(不同的环境,链接的数据库也不一样)
spring: profiles: active: - dev --- server: port: 8001 #设置端口为8001 spring: profiles: dev #开发环境 application: name: microservicecloud-config-dept-client datasource: type: com.alibaba.druid.pool.DruidDataSource #设置当前数据源 driver-class-name: org.gjt.mm.mysql.Driver #设置mysql驱动包 url: jdbc:mysql://localhost:3306/cloudDB01 #设置数据库名称 username: root password: 897570 dbcp2: min-idle: 5 #设置数据库连接池的最小维持连接数 initial-size: 5 #设置初始化链接数 max-total: 5 #设置最大连接数 max-wait-millis: 200 #设置链接获取的最大超时时间 mybatis: config-location: classpath:mybatis/mybatis.cfg.xml #设置mybatis配置文件所在的路径 type-aliases-package: com.topcheer.springcloud.entities #扫描所有实体类所在包 mapper-locations: - classpath:mybatis/mapper/**/*.xml #扫描mybatis的映射文件 eureka: #这个就是将8001服务端注册进入注册中心,下面的就是注册中心的注册地址 client: service-url: defaultZone: http://eureka7001.com:7001/eureka/ instance: instance-id: dept-8001.com prefer-ip-address: true #访问路径可以显示IP地址 info: app.name: topcheer-microservicecloud company.name: com.topcheer build.artifactId: $project.artifactId$ build.version: $project.version$ --- server: port: 8001 #设置端口为8001 spring: profiles: test #开发环境 application: name: microservicecloud-config-dept-client datasource: type: com.alibaba.druid.pool.DruidDataSource #设置当前数据源 driver-class-name: org.gjt.mm.mysql.Driver #设置mysql驱动包 url: jdbc:mysql://localhost:3306/cloudDB02 #设置数据库名称 username: root password: 897570 dbcp2: min-idle: 5 #设置数据库连接池的最小维持连接数 initial-size: 5 #设置初始化链接数 max-total: 5 #设置最大连接数 max-wait-millis: 200 #设置链接获取的最大超时时间 mybatis: config-location: classpath:mybatis/mybatis.cfg.xml #设置mybatis配置文件所在的路径 type-aliases-package: com.topcheer.springcloud.entities #扫描所有实体类所在包 mapper-locations: - classpath:mybatis/mapper/**/*.xml #扫描mybatis的映射文件 eureka: #这个就是将8001服务端注册进入注册中心,下面的就是注册中心的注册地址 client: service-url: defaultZone: http://eureka7001.com:7001/eureka/ instance: instance-id: dept-8001.com prefer-ip-address: true #访问路径可以显示IP地址 info: app.name: topcheer-microservicecloud company.name: com.topcheer build.artifactId: $project.artifactId$ build.version: $project.version$ - 下面我们将这刚刚创建的两个文件上传到GitHub上

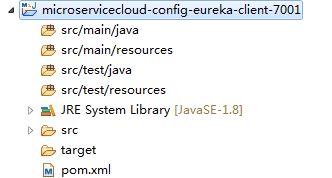
- 创建Config版的eureka服务端microservicecloud-config-eureka-client-7001
- 在pom.xml添加依赖
4.0.0 com.topcheer microservicecloud 0.0.1-SNAPSHOT microservicecloud-config-eureka-client-7001 org.springframework.cloud spring-cloud-starter-config org.springframework.cloud spring-cloud-starter-eureka-server org.springframework springloaded org.springframework.boot spring-boot-devtools - 创建主启动类Config_Git_EurekaServerApplication.java


- 创建bootstrap.yml文件
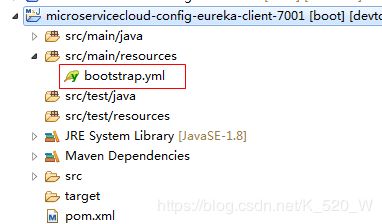
内容:

- 创建application.yml文件
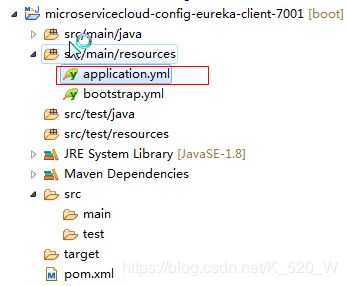
内容:

- 下面我们把3344,以及刚建立的config版的7001注册中心启动起来,测试一下

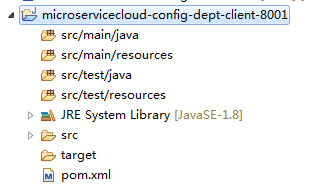
- 创建Config版的dept微服务microservicecloud-config-dept-client-8001
- 在pom.xml中添加依赖
4.0.0 com.topcheer microservicecloud 0.0.1-SNAPSHOT microservicecloud-config-dept-client-8001 org.springframework.cloud spring-cloud-starter-config org.springframework.boot spring-boot-starter-actuator org.springframework.cloud spring-cloud-starter-eureka com.topcheer microservicecloud-api ${project.version} junit junit mysql mysql-connector-java com.alibaba druid ch.qos.logback logback-core org.mybatis.spring.boot mybatis-spring-boot-starter org.springframework.boot spring-boot-starter-jetty org.springframework.boot spring-boot-starter-web org.springframework.boot spring-boot-starter-test org.springframework springloaded org.springframework.boot spring-boot-devtools -
创建bootstrap.yml文件
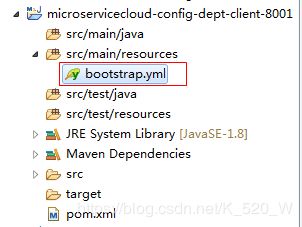

-
创建application.yml文件

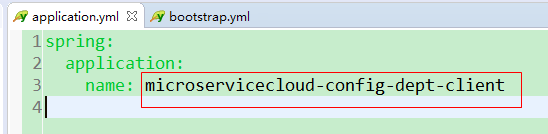
-
将之前的8001业务代码拷贝过来,还有mybatis配置文件
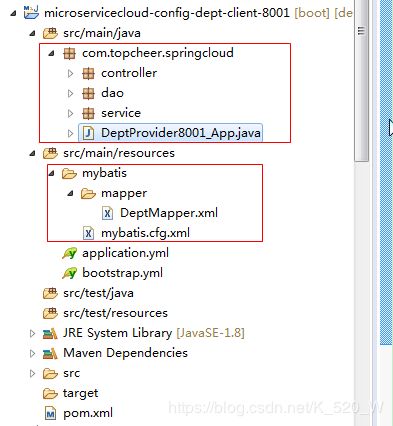
-
好了,下面我们可以进行测试了,首先我们需要启动3344,7001,以及最后的8001

文章目录