一、收集nginx日志
logstash配置文件
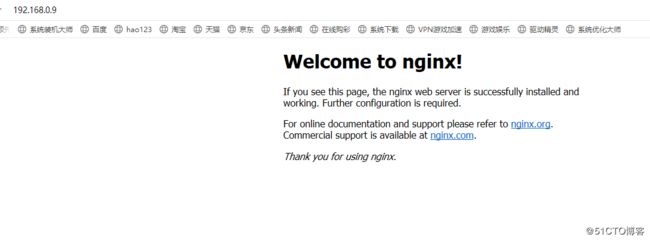
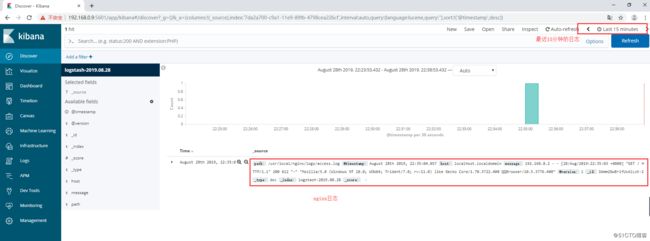
访问nginx,产生新的日志
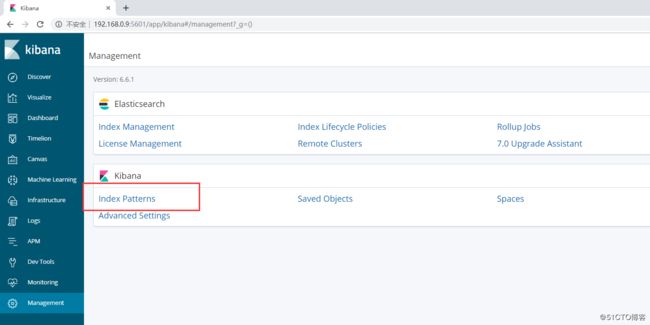
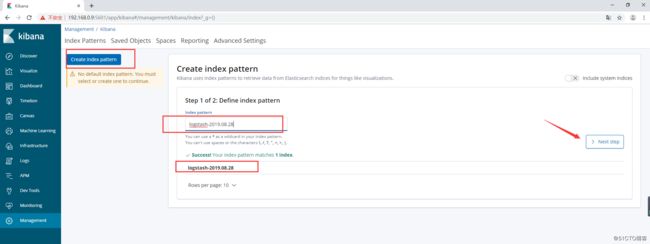
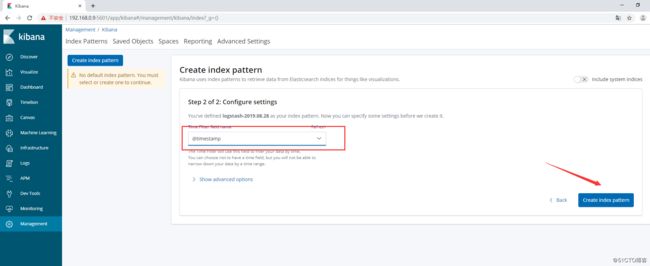
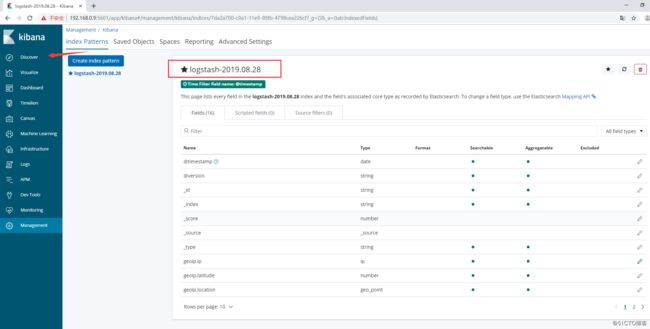
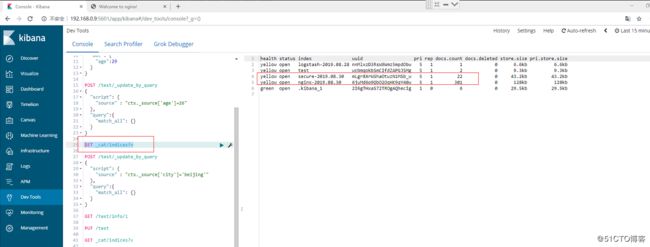
查找索引
有一条logstash-2019-08-28的索引
二、grok日志切割
日志格式
192.168.0.2 - - [28/Aug/2019:22:35:03 +0800] "GET / HTTP/1.1" 200 612 "-" "Mozilla/5.0 (Windows NT 10.0; WOW64; Trident/7.0; rv:11.0) like Gecko Core/1.70.3722.400 QQBrowser/10.5.3776.400"
grok正则匹配
(?
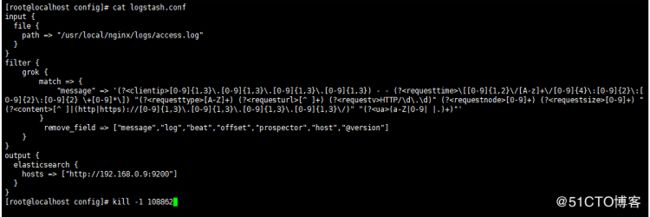
修改配置文件,增加grok正则匹配
input {
file {
path => "/usr/local/nginx/logs/access.log"
}
}
filter {
grok {
match => {
"message" => '(?
}
}
}
output {
elasticsearch {
hosts => ["http://192.168.0.9:9200"]
}
}
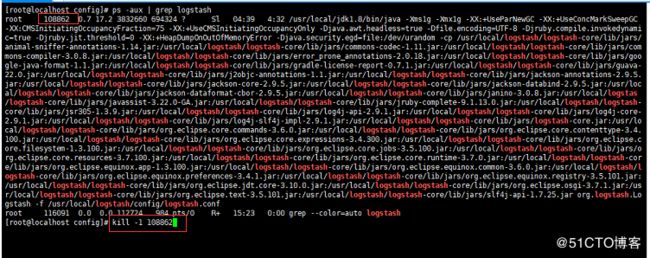
重载配置文件
ps -aux | grep logstash
kill -1 pid
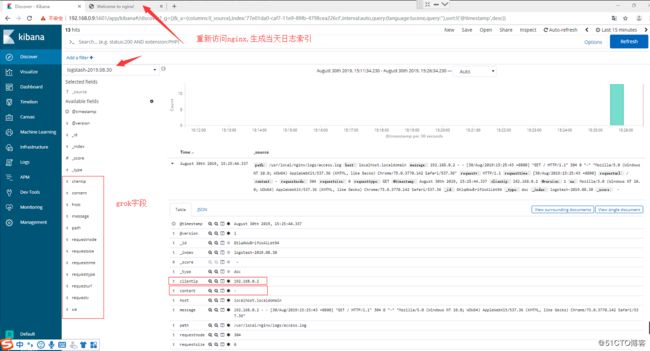
网页访问
三、删除不需要的字段
上面我们可以看到,很多字段其实是不完全需要的
修改配置文件并重载配置文件
remove_field => ["message","log","beat","offset","prospector","host","@version"]
web界面显示
四、logstash分析完整日志
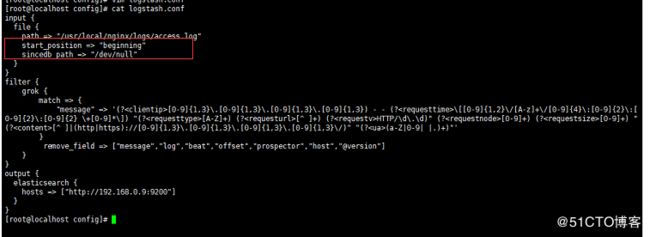
修改配置文件
start_position => "beginning"
sincedb_path => "/dev/null"
删除索引后重新加载配置文件,这样收集的日志将从头开始分析
五、多日志收集,并对索引进行定义
修改配置文件
input {
file {
path => "/usr/local/nginx/logs/access.log"
type => "nginx"
start_position => "beginning"
sincedb_path => "/dev/null"
}
file {
path => "/var/log/secure"
type => "secure"
start_position => "beginning"
sincedb_path => "/dev/null"
}
}
filter {
grok {
match => {
"message" => '(?
}
remove_field => ["message","log","beat","offset","prospector","host","@version"]
}
}
output {
if [type] == "nginx" {
elasticsearch {
hosts => ["http://192.168.0.9:9200"]
index => "nginx-%{+YYYY.MM.dd}"
}
}
else if [type] == "secure" {
elasticsearch {
hosts => ["http://192.168.0.9:9200"]
index => "secure-%{+YYYY.MM.dd}"
}
}
}
删除索引,重载配置文件
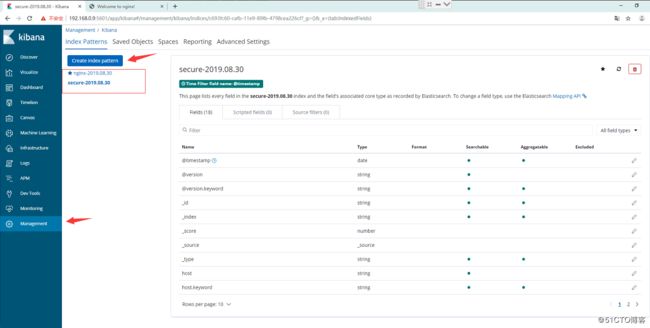
创建索引

