官网
https://owncloud.org/
安装参考
https://doc.owncloud.org/server/latest/admin_manual/installation/
https://doc.owncloud.org/server/latest/admin_manual/installation/source_installation.html
安装nginx和php
yum install -y epel-release
yum install -y nginx
rpm -Uvh https://mirror.webtatic.com/yum/el7/webtatic-release.rpm
yum install -y php70w-fpm php70w-cli php70w-json php70w-mcrypt php70w-pear php70w-mysql php70w-xml php70w-gd php70w-mbstring php70w-pdo
更新配置
vi /etc/php-fpm.d/www.conf
搜索包含“user”和“group”的那一行,并更改为:
user = nginx
group = nginx
取消注释以下有关环境变量的行:
env[HOSTNAME] = $HOSTNAME
env[PATH] = /usr/local/bin:/usr/bin:/bin
env[TMP] = /tmp
env[TMPDIR] = /tmp
env[TEMP] = /tmp
创建目录,设置权限
mkdir -pv /var/lib/php/session
chown nginx:nginx -R /var/lib/php/session/
systemctl start php-fpm
systemctl start nginx
systemctl enable nginx
systemctl enable php-fpm
端口9000和80都起来了
安装数据库
yum install -y mariadb-server
mysql_secure_installation
mysql>
CREATE DATABASE owncloud;
create user owndbuser@localhost identified by '12345.coM';
GRANT ALL PRIVILEGES ON owncloud.* to owndbuser@localhost IDENTIFIED BY '12345.coM';
FLUSH PRIVILEGES;
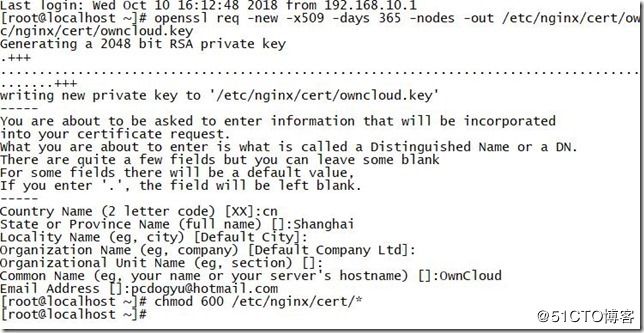
做一个SSL证书
mkdir -p /etc/nginx/cert/
openssl req -new -x509 -days 365 -nodes -out /etc/nginx/cert/owncloud.crt -keyout /etc/nginx/cert/owncloud.key
chmod 600 /etc/nginx/cert/*
yum --enablerepo=epel -y install php-pear-MDB2-Driver-mysqli php-pear-Net-Curl
wget http://download.owncloud.org/download/repositories/stable/CentOS_7/ce:stable.repo -P /etc/yum.repos.d
yum -y install owncloud
systemctl restart httpd
访问下
http://192.168.10.129/owncloud/
日,php没有安装,而且php要大于5.6并且小于7.2,最新版本7.3是不支持的
yum install -y php70w php70w-opcache php70w-xml php70w-mcrypt php70w-gd php70w-devel php70w-mysql php70w-intl php70w-mbstring
systemctl restart httpd
http://192.168.10.129/owncloud/index.php
无法写入配置文件 Can't write into config directory! , 容我修个错误
This can usually be fixed by giving the webserver write access to the config directory.
https://blog.csdn.net/xuhuiyue/article/details/73554909
方案3搞定
$setsebool -P httpd_unified 1
$setsebool -P httpd_execmem 1
创建下这目录
/var/www/html/owncloud/data
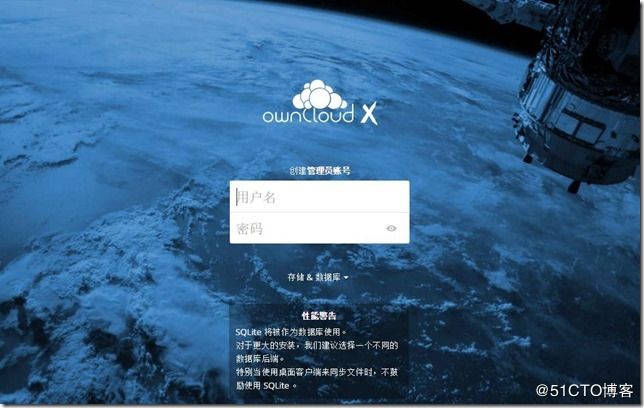
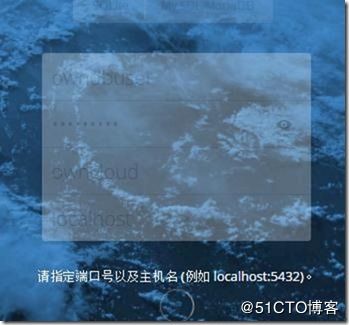
眼睛一闭就好了
然后就人人都会了
左上角可以切换到市场,可以找一些其他的插件来完善这个网盘
windows 映射网盘
win7之后,webdev认证方式要改一下,微软不支持https加密认证
在注册表,计算机\HKEY_LOCAL_MACHINE\SYSTEM\CurrentControlSet\Services\WebClient\Parameters
basic认证1改成2
重启webclient 服务
网盘左下角找到自己的webdav地址
映射下
http://192.168.10.129/owncloud/remote.php/dav/files/pcdog/
映射就好了


