开源框架openresty+nginx 实现web应用防火墙(WAF)
1、简介
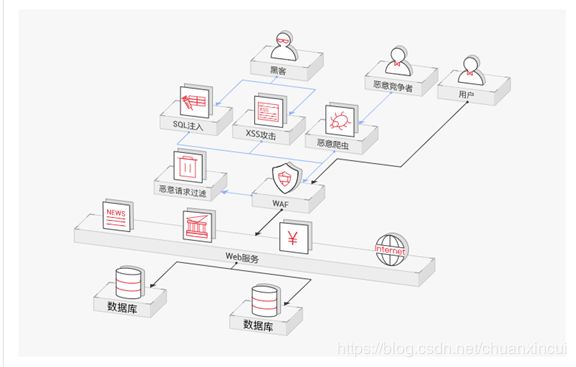
Web应用防火墙(Web Application Firewall, WAF),通过对HTTP(S)请求进行检测,识别并阻断SQL注入、跨站脚本攻击(Cross Site Scripting xss)、网页木马上传、命令/代码注入、文件包含、敏感文件访问、第三方应用漏洞攻击、CC(挑战黑洞)攻击、恶意爬虫扫描、跨站请求伪造等攻击,保护Web服务安全稳定。
本文主要是通过春哥的开源框架openresty来实现WAF;
参考:https://github.com/openresty
2、架构
整体架构:春哥的openresty开源框架(该框架集成了nginx、lua、lua-nginx-module等模块),推荐使用该框架;
如果想使用原生的nginx、lua来搭建waf,请参阅 nginx lua lua-nginx-module构建web应用防火墙(waf)
3、实现功能
支持IP白名单和黑名单功能,直接将黑名单的IP访问拒绝。
支持URL白名单,将不需要过滤的URL进行定义。
支持User-Agent的过滤,匹配自定义规则中的条目,然后进行处理(返回403)。
支持CC攻击防护,单个URL指定时间的访问次数,超过设定值,直接返回403。
支持Cookie过滤,匹配自定义规则中的条目,然后进行处理(返回403)。
支持URL过滤,匹配自定义规则中的条目,如果用户请求的URL包含这些,返回403。
支持URL参数过滤,原理同上。
支持日志记录,将所有拒绝的操作,记录到日志中去。
日志记录为JSON格式,便于日志分析,例如使用ELKStack进行攻击日志收集、存储、搜索和展示。
4、安装包下载
提供了各种版本openresty,点击链接,去下载适合版本。
openresty-1.13.6.2.tar.gz
5、安装openresty
创建安装包目录并将下载的安装包上传至该目录(也可以直接通过wget命令直接下载)
mkdir -p /app/openresty/install
cd /app/openresty/install/
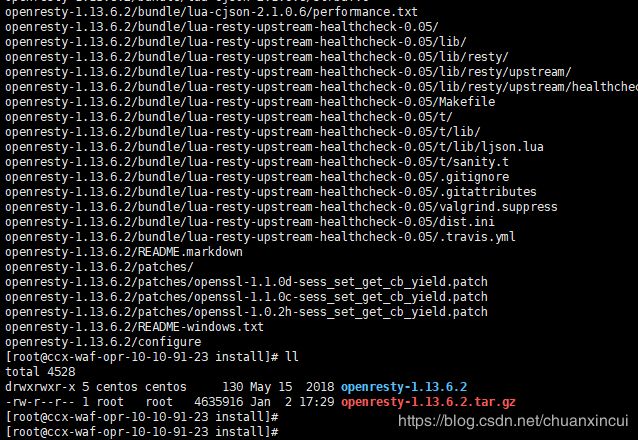
解压 tar zxvf openresty-1.13.6.2.tar.gz
安装基本包
yum install -y readline-devel pcre-devel openssl-devel gcc gcc-c++ perl.x86_64
配置环境
./configure --prefix=/usr/local/openresty --with-luajit --with-http_v2_module --with-http_stub_status_module --with-http_ssl_module --with-http_gzip_static_module --with-ipv6 --with-http_sub_module --with-pcre --with-pcre-jit --with-file-aio --with-http_dav_module
编译 gmake
安装 gmake install
修改nginx.conf,测试是否安装成功
编辑nginx.conf
vi nginx.conf
server {
    location /hello {
            default_type text/html;
            content_by_lua_block {
                ngx.say("HelloWorld")
            }
        }
}
启动nginx 一次执行下面代码段
cd ../sbin
ps -ef|grep nginx
./nginx -t
./nginx
ps -ef|grep nginx
关闭防火墙或者开放虚拟机防火墙端口,
这里为了方便,直接就关闭防火墙了,生产中必须采用开放防火墙端口的方式
systemctl stop firewalld
systemctl status firewalld
浏览器访问测试 http://10.10.91.23/hello
6、部署waf
下载waf包 https://github.com/unixhot/waf
可以使用wget,也可以下载到本地,让后上传到虚拟机
解压后,将waf复制到 /usr/local/openresty/nginx/conf/
cp -r waf /usr/local/openresty/nginx/conf/
修改Nginx的配置文件,加入以下配置。注意路径,同时WAF日志默认存放在/tmp/日期_waf.log
/usr/local/openresty/nginx/conf
vi nginx.conf
    #WAF
    lua_shared_dict limit 50m;
    lua_package_path "/usr/local/openresty/nginx/conf/waf/?.lua";
    init_by_lua_file "/usr/local/openresty/nginx/conf/waf/init.lua";
    access_by_lua_file "/usr/local/openresty/nginx/conf/waf/access.lua";
修改waf中的配置信息
cd /waf
vi config.lua
重启nginx即可测试


