QML TreeView的样式和使用时的一些小细节
TreeView目前只在 Controls 1.4中有,所以在使用的时候要先导入。
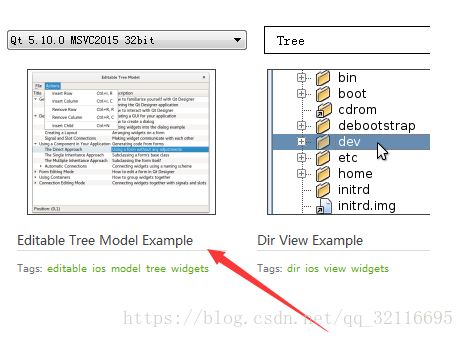
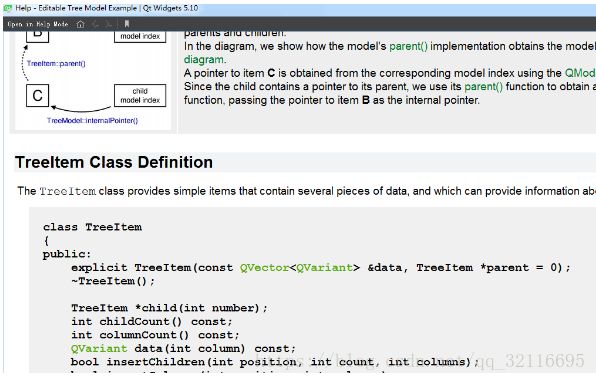
关于TreeView的Item和Model,这个在网上搜能搜到很多,同时这个在Qt Creator的欢迎界面里输入TreeView,选择第一个项目,之后进入项目说明往下拉就能看到。
在使用的时候,TreeItem的具体封装还需要根据你自己的实际使用情况做调整。
model的话底下的这几个函数必须实现
TreeView
{
id: viewTree
anchors.fill: parent
backgroundVisible: false
model: treeViewModel;
sortIndicatorVisible:true
style:TreeViewStyle{
backgroundColor: "#2B2F33"
textColor: "#666666" //这个是设置分层的时候那个小三角的颜色
itemDelegate:Rectangle{
color: "transparent" //背景设置透明,不然在选中行的时候会出现选中颜色就一半的情况
RowLayout{ //这边的话就看个人的具体需求了,我这边是需要实现 图片+文字
Image {
id: name
source: if(styleData.value != "默认")
{
if(styleData.selected)
"./Image/分屏视图/" + styleData.row +"_press.png"
else if(styleData.value == "1-画面")
"./Image/分屏视图/" +"1.png"
else if(styleData.value == "4-画面")
"./Image/分屏视图/" +"2.png"
else if(styleData.value == "9-画面")
"./Image/分屏视图/" +"3.png"
else if(styleData.value == "16-画面")
"./Image/分屏视图/" +"4.png"
}
else {""}
}
Text {
color: "#FEFEFE"
elide: styleData.elideMode
text: styleData.value
padding: 10
onTextChanged: {
root.currentItemIndex(styleData.index) //发出信号,这个信号自己定义
}
}
}
}
rowDelegate:Rectangle{
id: rowDel
color: styleData.selected ? "#595F69" : root.color;
height: 28
}
}
TableViewColumn { //添加一列
title: "Default"
role: "text" //这个role的名字要跟你在model中定义的列的名字一模一样,
width: root.width
resizable: false
}
headerVisible:false
horizontalScrollBarPolicy: Qt.ScrollBarAlwaysOff
onClicked: {
root.currentChildIndex(viewTree.currentIndex)
}
onDoubleClicked: {
root.currentChildIndex(viewTree.currentIndex)
}
}
关于上面的 在QML中添加一列的时候 role的命名注意情况:
QHash
{
QHash
names[1] = "text"; //要跟QML中TableViewColumn 的role一模一样
return names;
}
如果上面的role没有对应的话,那么下面的这个data函数将进不去;
通常下面的这个case会使用枚举,可读性更强,这边只是举个例子。
QVariant TestModel::data(const QModelIndex &index, int role) const
{
if (!index.isValid())
{
return QVariant();
}
switch (role)
{
case 1:
{
return static_cast
}
}


