有关在WPF中使用MVVMLight的基础知识一

基础知识

使用基础

安装

  • 使用NuGet即可下载到最新免费的MVVMLight,安装之后,会有以下几个DLL被项目引用:
    有关在WPF中使用MVVMLight的基础知识一_第1张图片

其中还依赖了一个微软的DLL——Microsoft.Practices.ServiceLocation.dll。

  • 在使用过程中,**可能遇到的问题:**就是可能是由于MvvmLight没有及时更新,如果将图中的CommonServiceLocator升级到最新的2.x版本之后,它所依赖的ServiceLication的名称空间变为了CommonServiceLocator,导致安装MvvmLight之后自动生成的代码就出现了错误,如果你使用了最新版本,那么就需要手动修改一下这个名称空间
    有关在WPF中使用MVVMLight的基础知识一_第2张图片

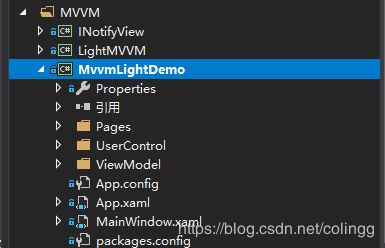
  • 安装完成MvvmLight之后,系统会自动生成一个ViewModel文件夹以及MainViewModel和ViewModelLocator两个文件,并将ViewModelLocator添加到了全局资源App.xaml中:

<Application x:Class="MvvmLightDemo.App" xmlns="http://schemas.microsoft.com/winfx/2006/xaml/presentation"
            xmlns:x="http://schemas.microsoft.com/winfx/2006/xaml" xmlns:local="clr-namespace:MvvmLightDemo" StartupUri="MainWindow.xaml"
            xmlns:d="http://schemas.microsoft.com/expression/blend/2008" d1p1:Ignorable="d"
            xmlns:d1p1="http://schemas.openxmlformats.org/markup-compatibility/2006">
  <Application.Resources>
    <ResourceDictionary>
      <vm:ViewModelLocator x:Key="Locator" d:IsDataSource="True" xmlns:vm="clr-namespace:MvvmLightDemo.ViewModel" />
    ResourceDictionary>
  Application.Resources>
Application>

整体架构

有关在WPF中使用MVVMLight的基础知识一_第3张图片

重点类型一: ViewModelLocator

这个类型有什么作用,要把它放到全局资源中?

  • 在View层,即XAML文件中,不必直接引用ViewModel类型了,通过Locator中的Register进行关联
    • 所有的View都可以到Locator中找到自己需要的VM层,这个Locator相当于一个索引器
    • Locator层返回的VM层是单例形式的,避免了由于代码问题导致的内存泄漏
/// 
/// This class contains static references to all the view models in the
/// application and provides an entry point for the bindings.
/// 这个类型的用处就是包含了所有的View和ViewModel之间的关联,使得View和ViewModel不再直接引用;
/// 
public class ViewModelLocator
{
    /// 
    /// Initializes a new instance of the ViewModelLocator class.
    /// 
    public ViewModelLocator()
    {
        ServiceLocator.SetLocatorProvider(() => SimpleIoc.Default);

        if (ViewModelBase.IsInDesignModeStatic)
        {
            // 在Visual Studio中设计预览Xaml文件的时候,在这里注册会起作用;
            SimpleIoc.Default.Register<MainViewModel>();
        }
        else
        {
            // 在运行时,在这里注册会起作用;
            SimpleIoc.Default.Register<MainViewModel>();
        }

        // 更多的时候,默认在这里注册就可以了;
        SimpleIoc.Default.Register<MainViewModel>();
        
    }

    /// 
    /// 这里对应的是View中DataContext需要的依赖属性;
    /// 就是这个Main属性,关联起了View和ViewModel;
    /// DataContext="{Binding Source={StaticResource Locator}, Path=Main}
    /// 
    public MainViewModel Main
    {
        get
        {
            return ServiceLocator.Current.GetInstance<MainViewModel>();
        }
    }
    
    public static void Cleanup()
    {
        // TODO Clear the ViewModels
    }
}

重点类型二:ViewModelBase

它继承自父类ObservableObject,实现了INotifyPropertyChanged和ICleanup,以实现:

  • 当对象的属性发生变化的时候,会通知View层更新它的显示
  • 在Page切换、标签页关闭等场景中,使用Clearup以及-=event释放不再需要的资源
使用依赖属性:

在使用的过程中,需要我们调用ViewModelBase为我们提供的Set函数在属性的Set当中调用,即可实现通知View层的效果:

using GalaSoft.MvvmLight;
using GalaSoft.MvvmLight.Command;
using System;

public class MainViewModel : ViewModelBase
{
    private string m_LabelShow;
    public string Label1Show
    {
        get { return m_LabelShow; }

        // MvvmLight实现的Set方法,好处就是不用自己实现RaisePropertyChanged函数了;
        set { Set(ref m_LabelShow, value); }
    }

    /// 
    /// Initializes a new instance of the MainViewModel class.
    /// 
    public MainViewModel()
    {
        Label1Show = "ShowOne";
    }
}

至于MvvmLight的实现原理,以下代码可以表明MvvmLight到底做了些什么:

  • 它帮助我们实现了RaisePropertyChanged方法
  • 在属性值发生变化的时候,就可以发出通知
/// 
/// 写一个一个轻量级MVVM框架,以帮助理解MVVM到底是什么;
/// INotifyPropertyChanged接口实现了当属性发生变化的时候,可以及时发出通知
/// 
public class MvvmBase : INotifyPropertyChanged
{
    public event PropertyChangedEventHandler PropertyChanged;

    /// 
    /// 属性发生改变时调用该方法发出通知;
    /// 
    /// 属性名称
    public void RaisePropertyChanged(string propertyName)
    {
        if (PropertyChanged != null)
        {
            PropertyChanged(this, new PropertyChangedEventArgs(propertyName));
        }
    }

    protected virtual void SetAndNotifyIfChanged<T>(string propertyName, ref T oldValue, T newValue)
    {
        if (oldValue == null && newValue == null) return;
        if (oldValue != null && oldValue.Equals(newValue)) return;
        if (newValue != null && newValue.Equals(oldValue)) return;
        oldValue = newValue;
        RaisePropertyChanged(propertyName);
    }
    
}
在依赖属性的基础上使用依赖命令RelayCommand<>

RelayCommand翻译过来就是“依赖命令”,相对于依赖属性,该类型主要作用就是让ViewModel层的类型具有处理依赖命令的能力。如果一个控件中包含了一个Icommand接口,那么就可以在MvvmLight架构下的VM层使用RelayCommand对依赖命令进行实现了

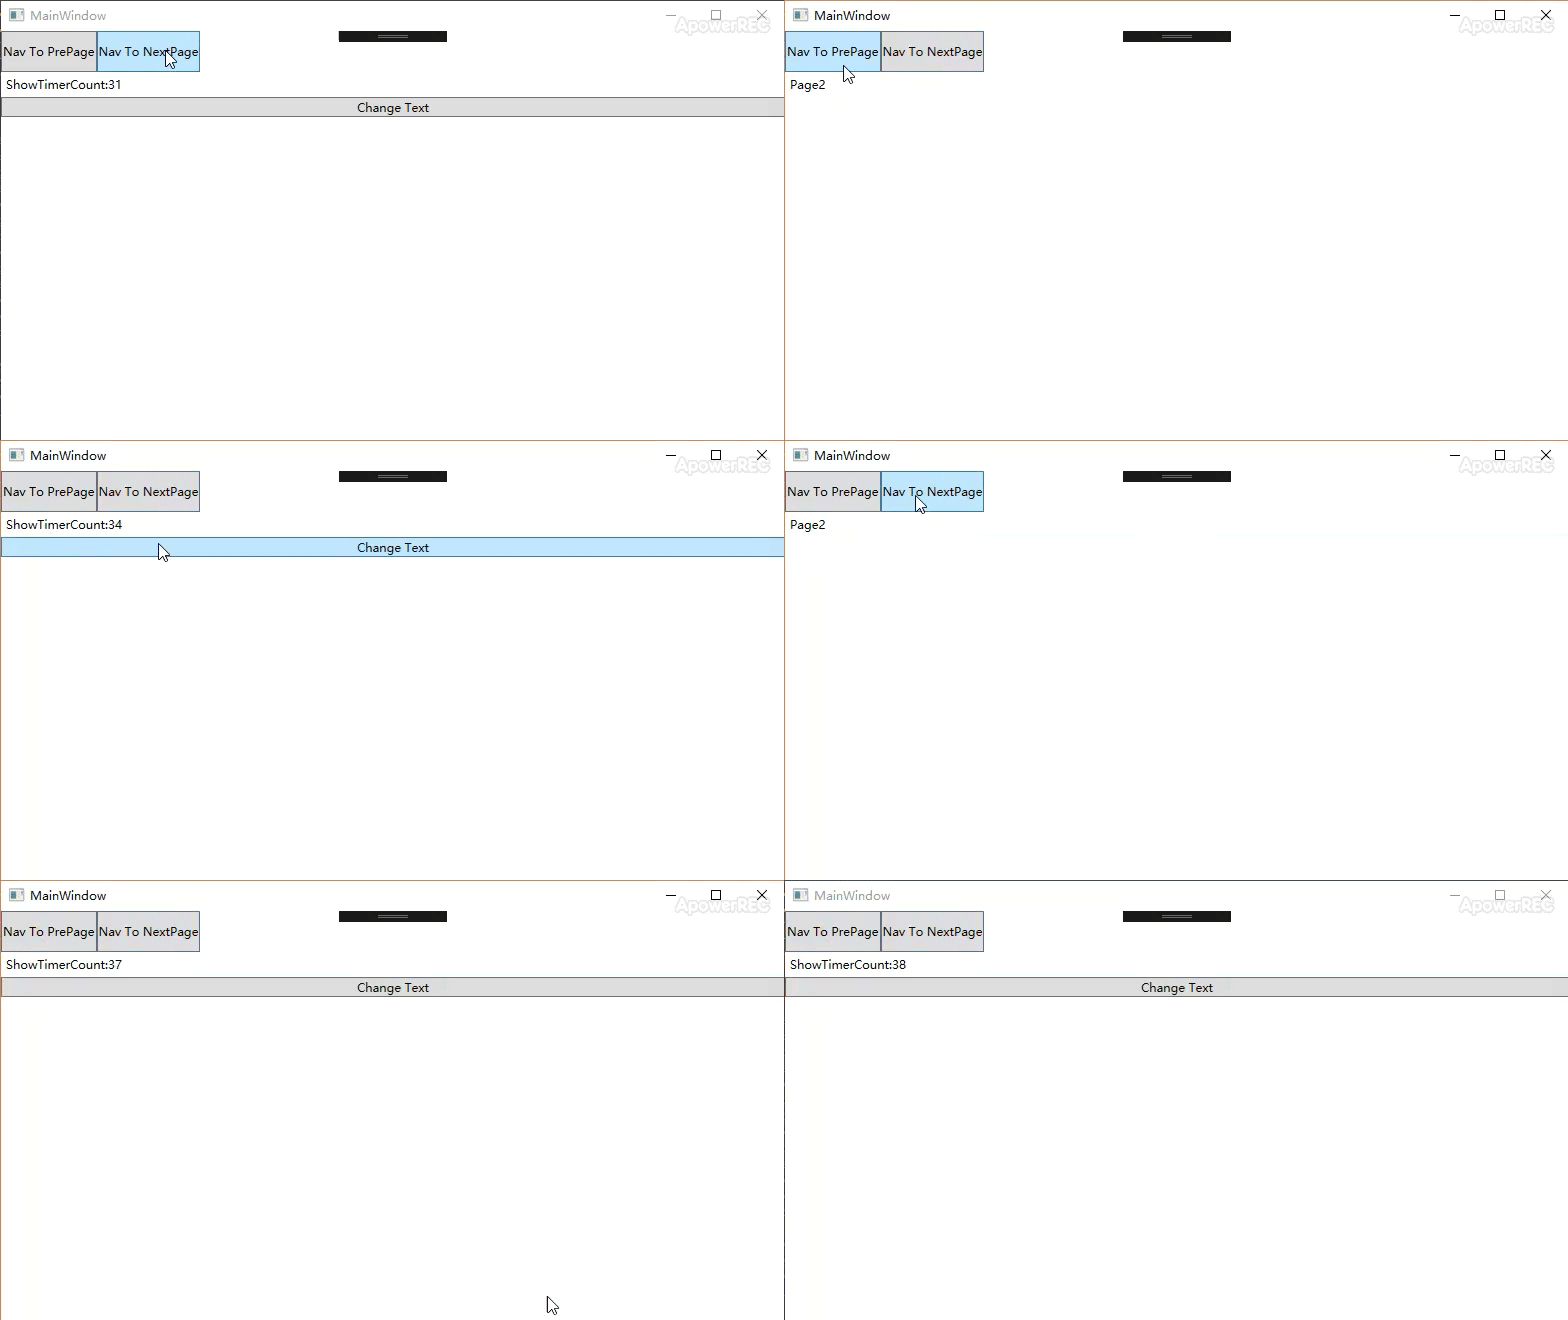
以下这个例子是利用RelayCommand实现一个前进后退按钮,可以导航控制Page页:

利用MvvmLight实现的优势就是:

  • 前端XMAL编写和后端ViewModel编写能够完全解耦和,互不干扰
  • ViewModel端直接控制自己的所有属性

有关在WPF中使用MVVMLight的基础知识一_第4张图片

View端:

<Window x:Class="MvvmLightDemo.MainWindow"
        xmlns="http://schemas.microsoft.com/winfx/2006/xaml/presentation"
        xmlns:x="http://schemas.microsoft.com/winfx/2006/xaml"
        xmlns:d="http://schemas.microsoft.com/expression/blend/2008"
        xmlns:mc="http://schemas.openxmlformats.org/markup-compatibility/2006"
        xmlns:local="clr-namespace:MvvmLightDemo"
        xmlns:vm="clr-namespace:MvvmLightDemo.ViewModel"
        mc:Ignorable="d"
        Title="MainWindow" Height="450" Width="800"
        DataContext="{Binding Source={StaticResource Locator}, Path=Main}">
    <Grid>
        
        <Grid.RowDefinitions>
            <RowDefinition Height="10*">RowDefinition>
            <RowDefinition Height="90*">RowDefinition>
        Grid.RowDefinitions>
        
        
        <StackPanel Orientation="Horizontal" Grid.Row="0" >
            <Button Command="{Binding NavToPrePage}">Nav To PrePageButton>
            <Button Command="{Binding NavToNextPage}">Nav To NextPageButton>
        StackPanel>

        
        <Frame Content="{Binding MainWindowFrame}" Grid.Row="1" NavigationUIVisibility="Hidden">Frame>
        
    Grid>
Window>

ViewModel端:

public class MainViewModel : ViewModelBase
{
    /// 
    /// 导航到下一页面按钮的依赖命令;
    /// 
    public RelayCommand NavToNextPage { get; set; }

    /// 
    /// 导航到上一页面按钮的依赖命令;
    /// 
    public RelayCommand NavToPrePage { get; set; }

    /// 
    /// 主页Frame;
    /// 
    private Frame m_MainWindowFrame;
    public Frame MainWindowFrame
    {
        get { return m_MainWindowFrame; }
        set { Set(ref m_MainWindowFrame, value); }
    }
    
    /// 
    /// 主标签页;
    /// 
    private Page m_MPage;
    public Page MPage
    {
        get { return m_MPage; }
        set { Set(ref m_MPage, value); }
    }

    /// 
    /// 附标签页;
    /// 
    private Page m_AttachPage;
    public Page AttachPage
    {
        get { return m_AttachPage; }
        set { Set(ref m_AttachPage, value); }
    }

    /// 
    /// Initializes a new instance of the MainViewModel class.
    /// 
    public MainViewModel()
    {
        NavToNextPage = new RelayCommand(NavNextPage);   // 导航到下一个Page页;
        NavToPrePage = new RelayCommand(NavPrePage);
        
        MPage = new MainPage();
        AttachPage = new PageTwo();
        MainWindowFrame = new Frame();

        MainWindowFrame.NavigationUIVisibility = System.Windows.Navigation.NavigationUIVisibility.Hidden;
        MainWindowFrame.Content = MPage;
    }
    
    /// 
    /// 处理点击下一页;
    /// 
    private void NavNextPage()
    {
        MainWindowFrame.Content = AttachPage;
    }

    /// 
    /// 处理点击上一页;
    /// 
    private void NavPrePage()
    {
        MainWindowFrame.Content = MPage;
    }

}

源代码可参见:https://github.com/visiontrail/CSharpKnowledge 在工程MvvmLightDemo工程当中,使用VS2015/VS2017编译

有关在WPF中使用MVVMLight的基础知识一_第5张图片

你可能感兴趣的:(WPF基础与应用)