Spring学习-02:入门案例
1、下载Spring的开发包
官网和github上下载比较麻烦,此处提供Spring3版本的网盘下载地址(链接:http://pan.baidu.com/s/1i497TsT 密码:gurb),初学者入门足够用了。
*.RELEASE-dist.zip-Spring开发包
docs:spring框架api和规范
libs:spring开发的jar包
schema:xml的约束文件
*.RELEASE-dependencies.zip-Spring开发中的依赖包
2、创建web工程引入相应jar包:(核心jar包如图所示)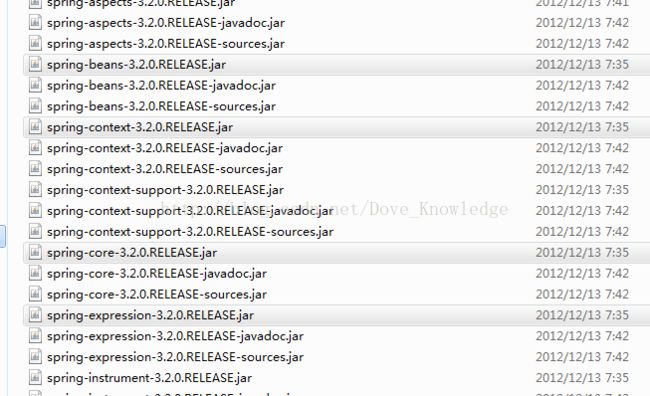
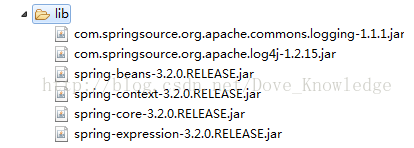
3、关于开发中的日志问题,需要引入用于整合其他日志的commons.logging包:com.springsource.org.apache.commons.logging-1.1.1.jar,类似于Hibernate中的slf4j,同时还需要引入log4j的jar包:com.springsource.org.apache.log4j-1.2.15.jar,都位于(spring-framework-3.0.2.RELEASE-dependencies中)。
jar包引入完成后如图所示:
4、创建java包等。完成效果如图所示:

5、首先,用传统方式来实现HelloService接口的实现类,并调用其方法。
package com.helloSpring.demo1;
/*
 * 入门案例:
 * @author js
 *
 * */
public interface HelloService {
	public void sayHello();
}
package com.helloSpring.demo1;
/*
 *入门案例实现类
 * */
public class HelloServiceImpl implements HelloService {

	@Override
	public void sayHello() {
		System.out.println("Hello Spring!");
	}

}
package com.helloSpring.demo1;
import org.junit.Test;
public class SpringTest1 {
	@Test
	//传统方式开发
	public void demo1(){
		HelloServiceImpl helloServiceImpl = new HelloServiceImpl();
		helloServiceImpl.sayHello();
	}
}
运行单元测试,控制台输出"Hello Spring!"。但是这种方式造成程序紧密耦合,我们应该使用工厂加配置文件、反射的机制。
下面我们使用Spring框架来实现。
6、在src下新建spring 的配置文件(可任意命名,一般默认为:applicationContext.xml),并引入beans约束。
package com.helloSpring.demo1;

import org.junit.Test;
import org.springframework.context.ApplicationContext;
import org.springframework.context.support.ClassPathXmlApplicationContext;

public class SpringTest2 {
	@Test
	public void demo2(){
		//创建一个工厂类
		ApplicationContext applicationContext = new ClassPathXmlApplicationContext("applicationContext.xml");
		HelloService helloService=(HelloService)applicationContext.getBean("userService");
		helloService.sayHello();
	}
}
10、IOC和DI(*****)区别?
IOC:控制反转:将对象的创建权,由Spring管理.
DI:依赖注入:在Spring创建对象的过程中,把对象依赖的属性注入到类中.
* 面向对象中对象之间的关系;
* 依赖:
public class A{
private B b;
}
* 继承:is a
* 聚合:
* 聚集:
* 组合: