YII如何与Smarty配合使用
第一步:
配置好PHP环境(Apache、php、mysql)
第二步:下载安装yii框架
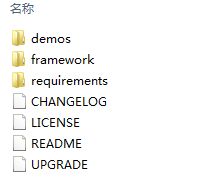
(1)在官网(http://www.yiichina.com/download/)下载yii框架最新源码,下载完解压之后目录为
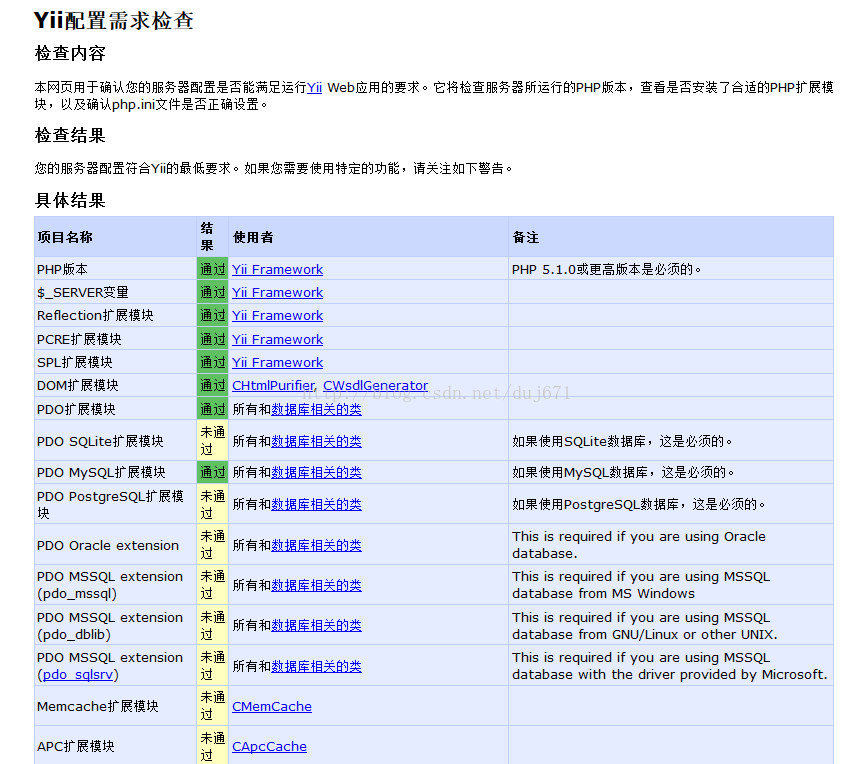
(2)检查电脑是否符合yii的要求,通过浏览器访问yii目录下的requirements/index.php,如下图
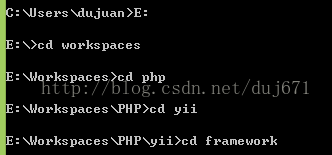
(3)符合yii要求之后开始创建一个yii的Webapp,用cmd命令进入framework目录(我把yii框架源码放在了E:\Workspaces\PHP\)
先创建好要放项目的文件,否则会提示找不到directory
(我在E:\Workspaces\PHP下创建了yiiWebRoot)在yiiWebRoot中创建了一个testdrive的项目
运行结果如下:最后会提示你的项目创建完成
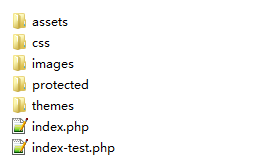
项目创建完成的初始目录:
注:yii和项目是关联的最好把yii放在项目当中,方便项目的迁移
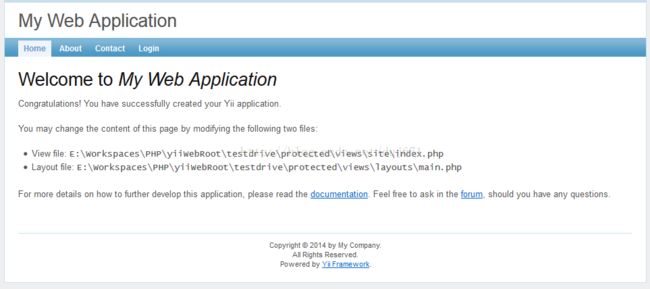
要看yii项目是否成功可以通过浏览器访问 yiiWebRoot/testdrive/index.php目录,看到如下则为成功
第三步:配置Smarty
(1)下载smarty,把smarty当中的lib包放到protected/vendor/smarty文件下
(2)在protected/extensions中添加smarty模板插件文件CSmarty.php文件
require_once(Yii::getPathOfAlias('application.extensions.smarty').DIRECTORY_SEPARATOR.'Smarty.class.php');
define('SMARTY_VIEW_DIR', Yii::getPathOfAlias('application.views.smarty'));
class CSmarty extends Smarty {
const DIR_SEP = DIRECTORY_SEPARATOR;
function __construct() {
parent::__construct();
//视图(模板)文件的目录
$this->template_dir = SMARTY_VIEW_DIR.self::DIR_SEP.'templates';
//编译文件的目录
$this->compile_dir = SMARTY_VIEW_DIR.self::DIR_SEP.'templates_c';
//静态缓存
$this->caching = false;
//静态缓存目录
$this->cache_dir = SMARTY_VIEW_DIR.self::DIR_SEP.'cache';
//指定左右界定符
$this->left_delimiter = '<{';
$this->right_delimiter = '}>';
//静态缓存时间(秒)
$this->cache_lifetime = 3600;
}
function init() {}
}
?>
(3)建立smarty所需的templates、templates_c、cache文件夹
(4)继续配置
打开protected/config/main.php在components数组中加入如下代码:
'smarty'=>array('class'=>'application.extensions.CSmarty',),
打开components下的Controller.php 加入以下代码protected $smarty = '';protected function init() {$this->smarty = Yii::app()->smarty;}(5)在yii的yiiBase.php的自动加载类 中加入if(preg_match('/smarty/i', $className)){//只要类名包含smarty的,无论大小写,都返回,这样就跳出了YII自动加载类而去执行 SMARTY的自动加载类函数了return;}
如果出现了如下问题就是在yii的自动加载的类中未加入smarty
附加:
