安装 & hello word!
- 创建项目目录myapp
$ mkdir myapp
$ cd myapp
- 初始化
npm init
- 入口js文件
entry point: (index.js)
app.js
- myapp目录下
npm install express --save
- 查看package.json
{
  "name": "webserver-do",
  "version": "1.0.0",
  "description": "",
  "main": "app.js",
  "scripts": {
    "test": "echo \"Error: no test specified\" && exit 1"
  },
  "author": "",
  "license": "ISC",
  "dependencies": {
    "express": "^4.14.0"
  }
}
"main": "app.js" 就是我们的入口js文件
dependencies.express是之前--save方式写入的
- 编写app.js
var express = require('express');
var app = express();

app.get('/', function (req, res) {
    res.send('hello word!');
});

var server = app.listen(3000, function () {
    var host = server.address().address;
    var port = server.address().port;

    console.log('server : http://%s:%s', host, port);
});
- 运行
$ node app.js
server : http://:::3000
- 查看
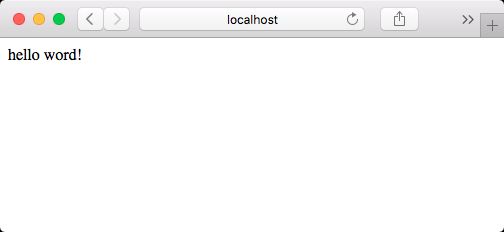
浏览器输入 http://localhost:3000
看起来工作的很好!
用脚手架方式创建项目
express-generator组件可以生成一个标准的express项目
- 安装
$ npm install express-generator -g
全局安装 -g
- 看下有哪些功能
$ express -h

  Usage: express [options] [dir]

  Options:

    -h, --help           output usage information
        --version        output the version number
    -e, --ejs            add ejs engine support
        --pug            add pug engine support
        --hbs            add handlebars engine support
    -H, --hogan          add hogan.js engine support
    -v, --view   add view  support (ejs|hbs|hjs|jade|pug|twig|vash) (defaults to jade)
    -c, --css    add stylesheet  support (less|stylus|compass|sass) (defaults to plain css)
        --git            add .gitignore
    -f, --force          force on non-empty directory
options 设置插件、模板引擎
其实自动都能改的,看需要吧
- 运行脚手架
$ express myapp
$ cd myapp
$ npm install
- 运行
$ DEBUG=myapp:* npm start
> [email protected] start /Users/hans/Documents/test/express-generator/myapp
> node ./bin/www

  myapp:server Myapp Listening on port 3000 +0ms
GET / 200 445.807 ms - 170
GET /stylesheets/style.css 200 4.529 ms - 111
注意这里是 myapp:* 否则 debug模块 不能正常运行
- 查看
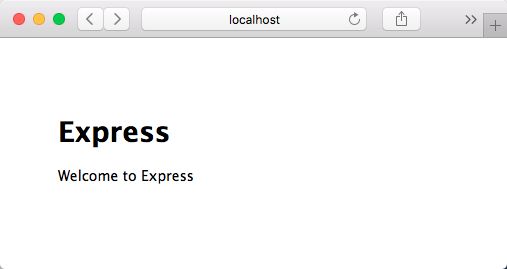
输入 http://localhost:3000
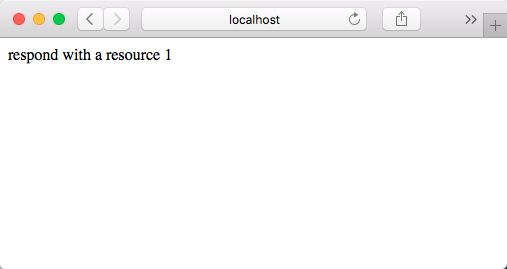
输入 http://localhost:3000/users
- 目录
.
├── app.js
├── bin
│   └── www
├── package.json
├── public
│   ├── images
│   ├── javascripts
│   └── stylesheets
│       └── style.css
├── routes
│   ├── index.js
│   └── users.js
└── views
    ├── error.jade
    ├── index.jade
    └── layout.jade
/app.js 主程序配置
/bin/www 服务器配置
/public 静态资源
/routes 路由配置
/views 模板视图
debug模块
平时开发输出都是写console.log方式,产品上线后,需要注释啥的,或者自己写个debug包
这个debug模块就直接能用了,运行前设置环境变量DEBUG
https://www.npmjs.com/package/debug
- 安装
$ npm install debug
- 代码
// 声明debug对象
var debug = require('debug')('myapp:server');
...
// 调用debug
debug('Myapp Listening on ' + bind);
- 运行
DEBUG=myapp:* npm start
- 输出
myapp:server Myapp Listening on port 3000 +0ms
开发方式1 WebStorm
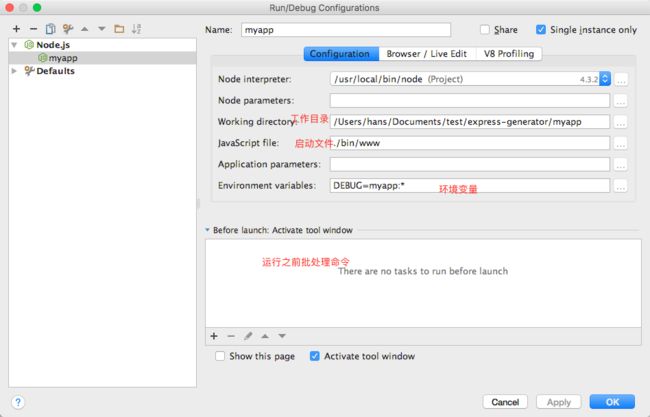
推荐用 WebStorm 开发,毕竟集成度高,专注开发。
- 配置调试
- 运行
开发方式2 VSCode + node-inspector
如果感觉 WebStorm 吃内存,可以试试这个 VSCode。
反正选轻量级的编辑器,最好带编码提示。
手册
https://github.com/node-inspector/node-inspector
- 安装调试插件 node-inspector
$ npm install -g node-inspector
- 运行
$ DEBUG=myapp:* node-debug npm start
DEBUG=myapp:* 环境变量
node-debug 启用调试
npm start npm运行
- 输出
Node Inspector v0.12.8
Visit http://127.0.0.1:8080/?port=5858 to start debugging.
Debugging `npm`

Debugger listening on port 5858

> [email protected] start /Users/hans/Documents/test/express-generator/myapp
> node ./bin/www

  myapp:server Myapp Listening on port 3000 +0ms
GET / 304 426.343 ms - -
GET /stylesheets/style.css 304 4.031 ms - -
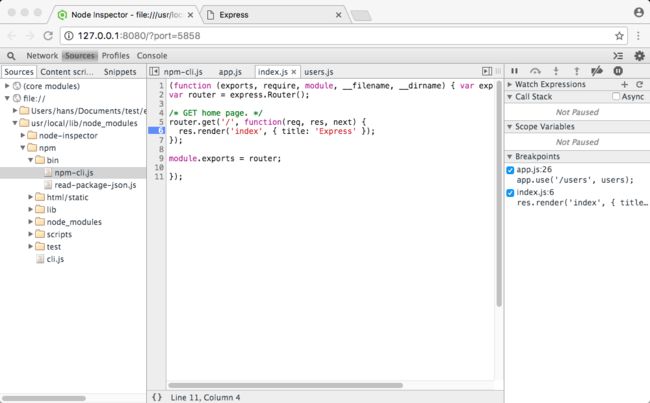
调试用chrome的devtool , chrome访问 http://127.0.0.1:8080/?port=5858
访问网站 http://127.0.0.1:3000/
我的博客
