目录
项目下载地址: CollectionView-Note
UICollectionView 01 - 基础布局篇
UICollectionView 02 - 布局和代理篇
UICollectionView 03 - 自定义布局原理篇
UICollectionView 04 - 卡片布局
UICollectionView 05 - 可伸缩Header
UICollectionView 06 - 瀑布流布局
UICollectionView 07 - 标签布局
简介
我们日常开发中大部分的列表视图都可以使用 UITableView 完美的实现,它使用起来非常的简单高效。但是面对一些网格视图和瀑布流,甚至交叉布局,圆形等各种创新布局,UITableView 显得束手无策,这时候我们需要祭出 UICollectionView ,它真的是一个非常强大的控件, 既可以实现简单的列表网格等布局,也可以完成各种复杂的自定义布局,以及动画特效。是一个非常值得花时间去学习的控件。所以我打算对此做一个总结,从基础的FlowLayout 到各种 自定义布局。全面的学习这个控件。
第一篇主要了解这个控件,以及使用他来做一个基本的网格布局。
UICollectionView 的基本使用非常简单,和UITableView类似。但是它将展示和布局分开处理。UICollectionView 负责展示数据,UICollectionViewLayout 负责处理布局信息,系统默认帮我们实现了一种流式布局 UICollectionViewFlowLayout ,可以满足大部分场景。下面展示简单的例子。
示例
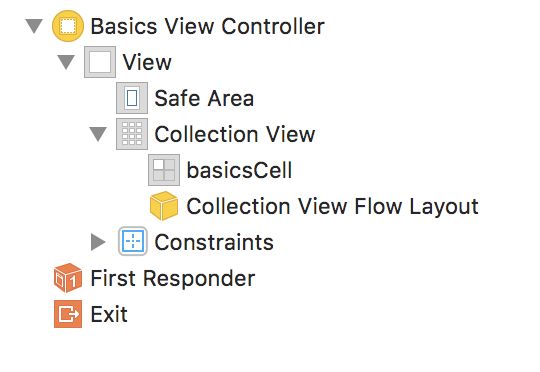
我们在 Storyboard 中拖一个 UICollectionView 然后自定义一个BasicsCell , CollectionView 默认是使用 UICollectionViewFlowLayout 布局的。所以看起来是这样。
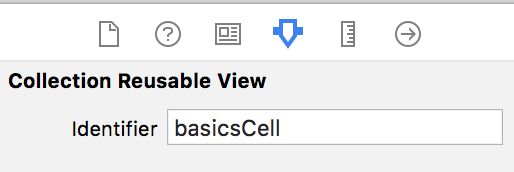
给Cell加上reuseIdentifier
我们的cell里面什么只有一行复用id ,这是一个简单的demo,并不准备加任何布局和逻辑,直接用色块表示单元格
class BasicsCell: UICollectionViewCell {
  static let reuseID = "basicsCell"
}
我们的 ViewController 顶部定义collectionView以及计算属性 flowLayout
@IBOutlet weak var collectionView: UICollectionView!

var flowLayout: UICollectionViewFlowLayout? {
    return collectionView.collectionViewLayout as? UICollectionViewFlowLayout
}
由于我们是使用色块,这里写一个便捷的方法生成随机颜色。和颜色数组。
extension UIColor {
  static func randomColor() -> UIColor{
    let red = CGFloat(arc4random_uniform(255) + 1)
    let green = CGFloat(arc4random_uniform(255) + 1)
    let blue = CGFloat(arc4random_uniform(255) + 1)
    return UIColor(red: red/255, green: green/255, blue: blue/255, alpha: 1)
  }
}

class DataManager {
  static let shared = DataManager()
  func generalColors(_ count: Int) -> [UIColor] {
    var colors = [UIColor]()
    for _ in 0..
在Controller中定义颜色数组,为了体现分组,这里定义二维数组。在viewDidLoad中对数组进行初始化。
var colors: [[UIColor]] = []

// viewDidLoad 中初始化code
colors.append(DataManager.shared.generalColors(8))
colors.append(DataManager.shared.generalColors(5))
colors.append(DataManager.shared.generalColors(7))
UICollectionViewFlowLayout 为我们提供了一些便捷的方式来指定单元格的大小间距等属性(如果自定义布局,这些都要我们自己计算,之后的文章会写)。UICollectionView是继承自UIScrollView的,所以UIScrollView 的所有方法和属性他都可以使用,我们这里做一个间距和边距都是1的正方形色块。所以对UICollectionView 左右加了内边距。
在viewDidLoad中加入如下代码。
// 加内边距
collectionView.contentInset = UIEdgeInsets(top: 0, left: 1, bottom: 0, right: 1)

let itemWidth = (view.bounds.width - 4)/3
flowLayout?.itemSize = CGSize(width: itemWidth, height: itemWidth)
// 最小行间距
flowLayout?.minimumLineSpacing = 1
// 最小元素之间的间距
flowLayout?.minimumInteritemSpacing = 1
flowLayout?.headerReferenceSize = CGSize(width: view.bounds.width, height: 50)
flowLayout?.footerReferenceSize = CGSize(width: view.bounds.width, height: 30)
我们这里一行放三个元素,这里使用垂直滚动,如果你想水平滚动只需要加上 flowLayout?.scrollDirection = .horizontal 。
这里的间距为啥都是最小间距? 因为他不是固定间距,比如水平宽度是400,每个元素width是120,这样水平放三个还剩下40,如果你设置最小间距是1,这里会自动拉大间距,将间距拉大为 40 / (itemcount - 1) 。
其实这些布局也可以通过一个代理设置,这样可以对每个item进行设置,为了使本篇简单化,后面再补充。
添加数据源。因为cell是在 Storyboard 中设置的,不需要再register , 如果是Xib或者纯代码,需要调用 collectionView.register(_ , forCellWithReuseIdentifier: )
collectionView.dataSource = self
// MARK: - UICollectionViewDataSource

extension BasicsViewController: UICollectionViewDataSource {

  func numberOfSections(in collectionView: UICollectionView) -> Int {
    return colors.count
  }

  func collectionView(_ collectionView: UICollectionView, numberOfItemsInSection section: Int) -> Int {
    return colors[section].count
  }

  func collectionView(_ collectionView: UICollectionView, cellForItemAt indexPath: IndexPath) -> UICollectionViewCell {
    let cell = collectionView.dequeueReusableCell(withReuseIdentifier: BasicsCell.reuseID, for: indexPath) as! BasicsCell
    cell.backgroundColor = colors[indexPath.section][indexPath.row]
    return cell
  }
}
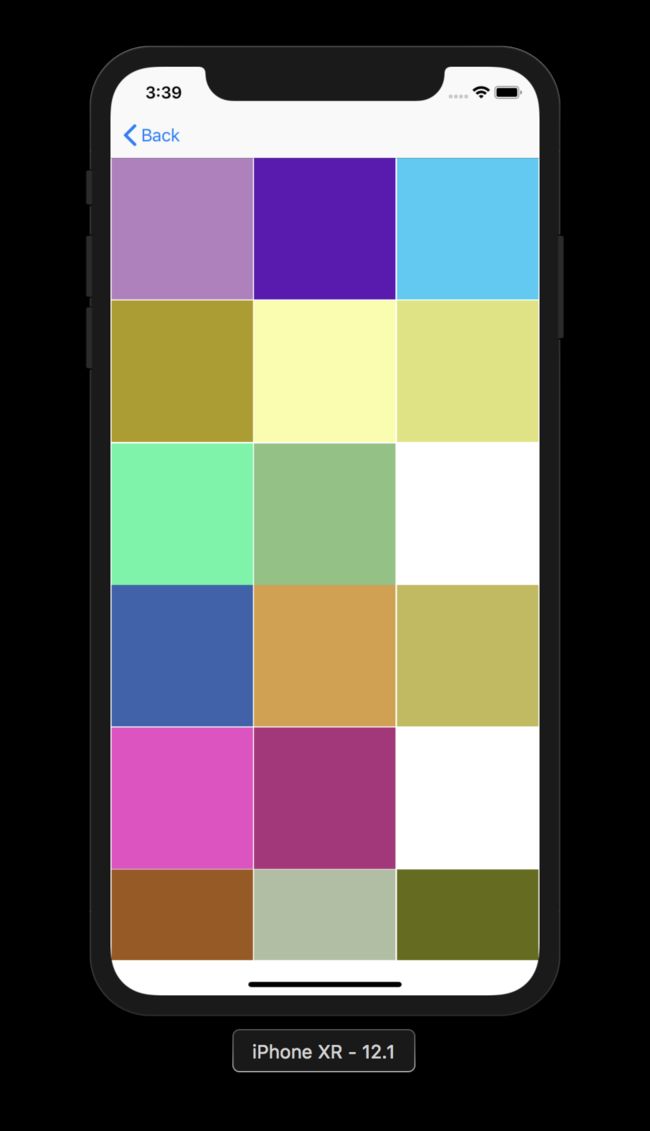
一个网格布局ok了,非常简单,代理方法几乎和UITableView一样。
白色并不是我们设置的 ,我们其实是有分组的,但是这里并没有明显感受到,所以我们需要给它加上Header和Footer。
UICollectionView中的Header和Footer都是使用Supplementary Views 来实现的。 只需要自定义继承自UICollectionReusableView 的view即可。
这里我们使用Xib来做,纯代码也一样,就一个Label标识一下
class BasicsHeaderView: UICollectionReusableView {

  static let reuseID = "BasicsHeaderView"

  @IBOutlet weak var titleLabel: UILabel!
  override func awakeFromNib() {
    super.awakeFromNib()
    titleLabel.textColor = UIColor.black
    titleLabel.font = UIFont.boldSystemFont(ofSize: 18)
  }
}
class BasicsFooterView: UICollectionReusableView {

  static let reuseID = "BasicsFooterView"
  @IBOutlet weak var titleLabel: UILabel!

  override func awakeFromNib() {
    super.awakeFromNib()
    titleLabel.textColor = UIColor.gray
    titleLabel.font = UIFont.systemFont(ofSize: 14)
  }
}
布局信息依然是由flowLayout 来设置,在viewDidLoad加上如下代码
collectionView.register(UINib(nibName: "BasicsHeaderView", bundle: nil), forSupplementaryViewOfKind: UICollectionView.elementKindSectionHeader, withReuseIdentifier: BasicsHeaderView.reuseID)
collectionView.register(UINib(nibName: "BasicsFooterView", bundle: nil), forSupplementaryViewOfKind: UICollectionView.elementKindSectionFooter, withReuseIdentifier: BasicsFooterView.reuseID)

flowLayout?.headerReferenceSize = CGSize(width: view.bounds.width, height: 50)
flowLayout?.footerReferenceSize = CGSize(width: view.bounds.width, height: 30)
在cellForItemAt 的代理下加上如下方法
func collectionView(_ collectionView: UICollectionView, viewForSupplementaryElementOfKind kind: String, at indexPath: IndexPath) -> UICollectionReusableView {
    switch kind {
    case UICollectionView.elementKindSectionHeader:
      let view = collectionView.dequeueReusableSupplementaryView(ofKind: kind, withReuseIdentifier: BasicsHeaderView.reuseID, for: indexPath) as! BasicsHeaderView
      view.titleLabel.text = "HEADER -- \(indexPath.section)"
      return view
    case UICollectionView.elementKindSectionFooter:
      let view = collectionView.dequeueReusableSupplementaryView(ofKind: kind, withReuseIdentifier: BasicsFooterView.reuseID, for: indexPath) as! BasicsFooterView
      view.titleLabel.text = "FOOTER -- \(indexPath.section)"
      return view
    default:
      fatalError("No such kind")
    }
}
我们只处理我们注册过的类型。
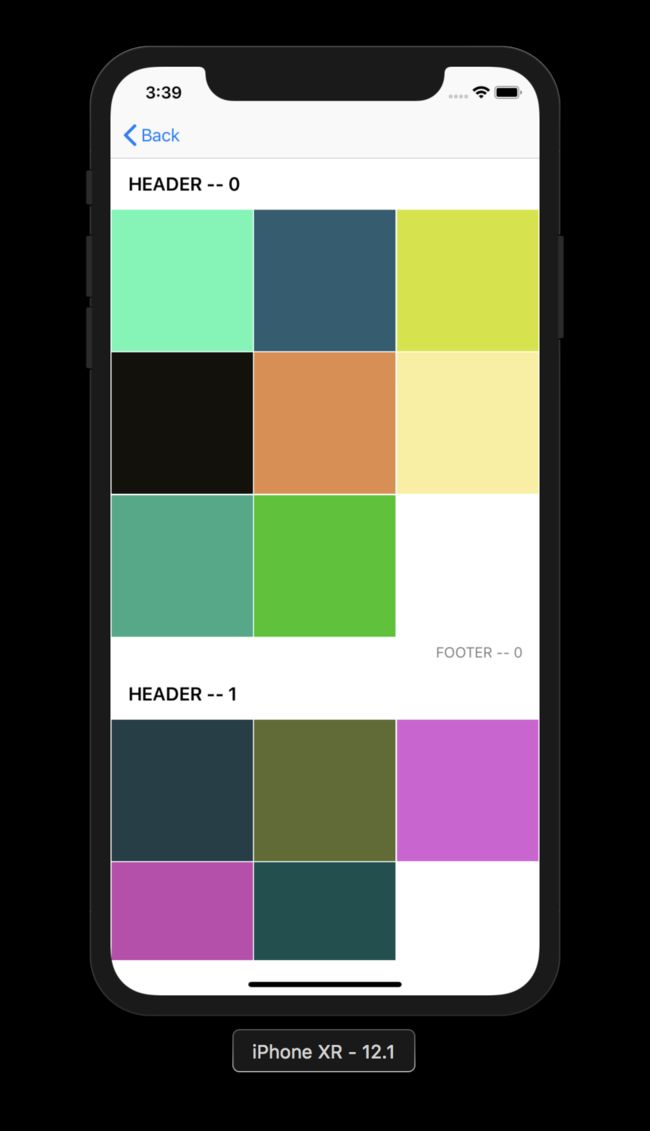
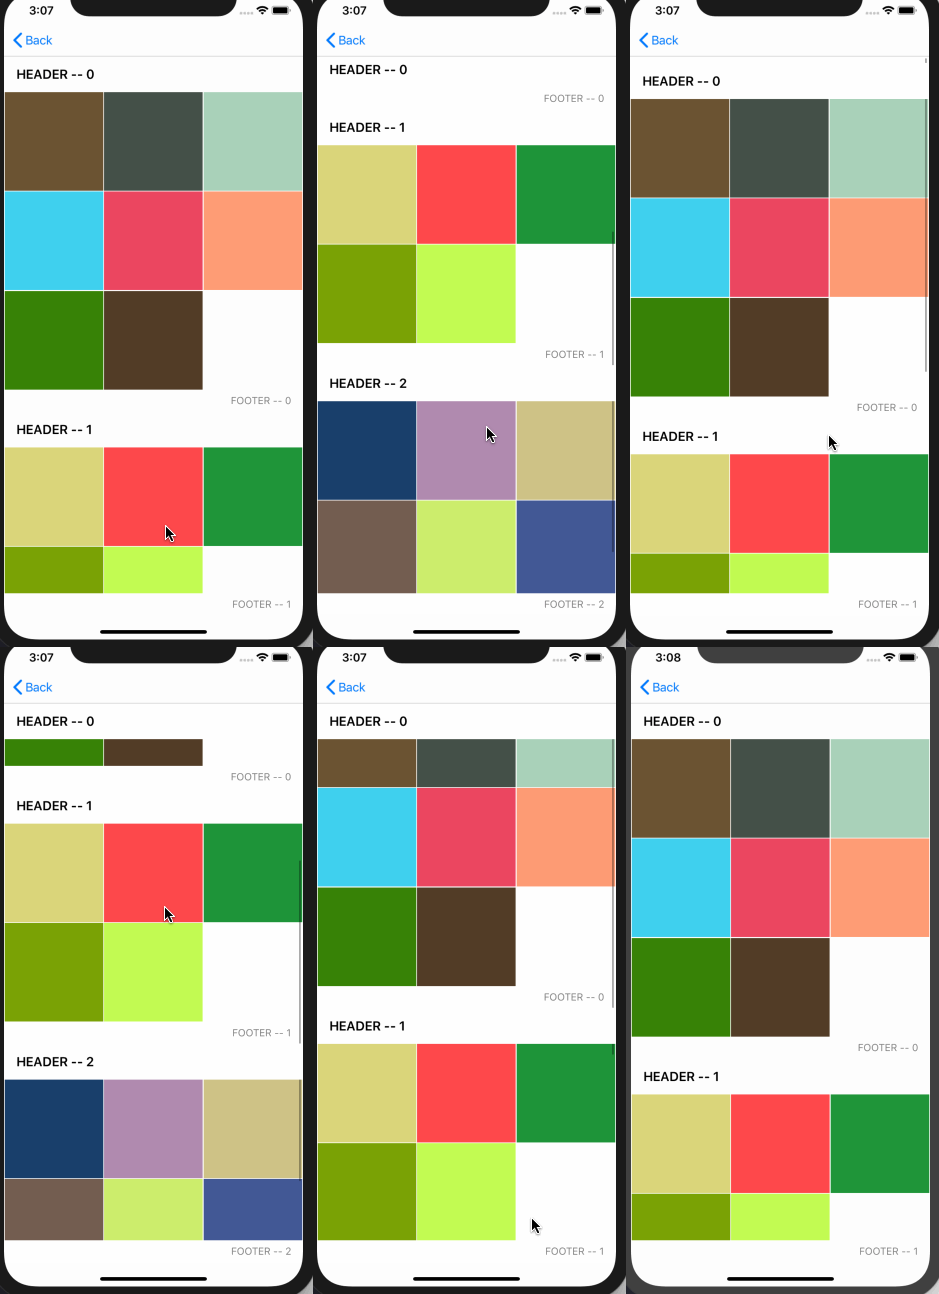
ok, 一个网格布局就完成了,非常easy。看下效果。
如果我们需要实现粘性的Header或者粘性的Footer,以前的话需要我们自定义Layout,从iOS 9 以后系统自动支持了。flowLayout的两个属性。
flowLayout?.sectionHeadersPinToVisibleBounds = true
flowLayout?.sectionFootersPinToVisibleBounds = true
效果:
本篇只介绍了一些基础的用法,后面的文章会介绍一些高级点的用法。
