1. 什么是dagger2
dagger2是一个依赖注入框架,依赖注入,我的理解是,一个类中所依赖实例变量,不在本类中直接创建,而是在其他类中赋值然后传入。
权威解释:依赖注入
2.为什么使用dagger2
dagger2设计的目的就是为了解耦合,避免了一个类中各种眼花缭乱、重复的赋值语句。
3.如何使用dagger2
dagger2使用正确步骤:导入依赖→编写代码↔rebuild工程(根据注解自动生成中间代码)→开始运行
dagger2使用官方教程:https://google.github.io/dagger/
dagger2 gitub:https://github.com/google/dagger
3.1.导入依赖
1.在gradle的buildscript下:
dependencies { ...
//添加apt插件 classpath 'com.neenbedankt.gradle.plugins:android-apt:1.8'
}
2.在build.gradle中:
apply plugin: 'com.neenbedankt.android-apt'
...
dependencies {
apt 'com.google.dagger:dagger-compiler:2.4'
compile 'com.google.dagger:dagger:2.4'
//java注解 provided 'org.glassfish:javax.annotation:10.0-b28'
}
3.2.代码编写
3.2.1.Componet + Inject
Componet组件:连接目标类和赋值类的桥梁,使用@Componet注解在对应组件类的类名前标注
Inject:说明目标类属性和赋值类赋值方法的位置,使用@Inject注解在对应类的构造方法前进行标注
赋值类:
1.使用Inject来赋值,只能使用构造标注,不能使用方法标注
//正确的用法
public class IntegerProducer {
private int num;
@Inject
public IntegerProducer() {
num = new Random().nextInt(9999);
}
public int produce() {
return num;
}
}
//错误的用法(以下用法编译不通过)
public class OtherProducer {
@Inject
public IntegerProducer get() {
return new IntegerProducer();
}
}
2.带参的构造方法,其参数应该也可以依赖注入
public class FatherProducer {
private IntegerProducer ip;
@Inject // IntegerProducer 已经支持依赖注入,可以参照上面的例子
public FatherProducer(IntegerProducer ip) {
this.ip = ip;
}
public int produce() {
return ip.produce();
}
}
3.一个Inject赋值类中只能提供一个赋值构造方法,也就是说只能有一个@Inject注解标注的构造函数
桥梁:
1.使用interface定义,在接口前使用@Component注解标注
2.接口内方法必须提供与目标类绑定或者关联的方法
@Component
public interface Case01Component {
void inject(Case01Activity activity);
}
目标类:
1.在目录类属性前使用@Inject注解
2.待注入的属性值不能用private修饰
public class Case01Activity extends AppCompatActivity {
@Inject
IntegerProducer ip;
@Inject
FatherProducer fp;
private TextView line1;
private TextView line2;
@Override
protected void onCreate(Bundle savedInstanceState) {
super.onCreate(savedInstanceState);
setContentView(R.layout.activity_case01);
line1 = (TextView) findViewById(R.id.line1);
line2 = (TextView) findViewById(R.id.line2);
DaggerCase01Component.builder().build().inject(this); // DaggerCase01Component是根据Component桥梁的代码,然后rebuild工程生成的
}
public void test(View v) {
line1.setText(String.valueOf(ip.produce()));
line2.setText(String.valueOf(fp.produce()));
}
}
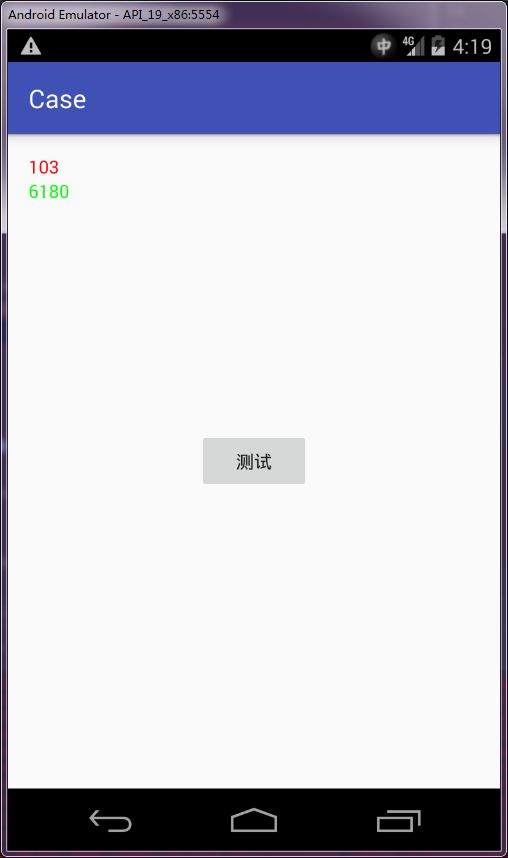
运行结果:
3.2.2.Component + Module
Module注解:Module的功能和Inject类似,也是用作赋值功能,使用@Module注解在Moudle类前标注
1.Module中提供赋值类的办法是,在方法上添加@Provides注解
@Module
public class Case02Module {
@Provides
public ColorPicker provideColorGreen() {
return new ColorPicker(Color.GREEN);
}
}
2.Component需与对应的Module关联起来(注:一个Component可与多个Module关联起来)
@Component(modules = Case02Module.class)
public interface Case02Component {
void inject(Case02Activityactivity);
}
3.目标类属性依然使用@Inject标注
public class Case02Activity extends AppCompatActivity {
@Inject
ColorPicker cp;
private TextView line1;
private TextView line2;
@Override
protected void onCreate(Bundle savedInstanceState) {
super.onCreate(savedInstanceState);
setContentView(R.layout.activity_case02);
line1 = (TextView) findViewById(R.id.line1);
line2 = (TextView) findViewById(R.id.line2);
}
public void test(View v) {
line1.setTextColor(cp.pick());
line2.setTextColor(cp.pick());
}
}
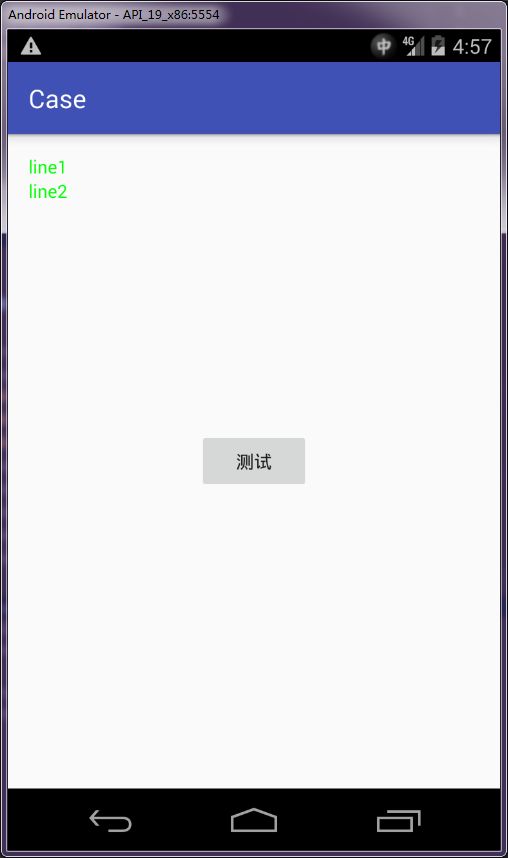
运行结果:
4.一个Module中对于同一种赋值类,可以使用@Named注解提供多钟赋值方法(与@Inject赋值的区别之一)
@Module
public class Case02Module {
@Provides
@Named("green")
public ColorPicker provideColorGreen() {
return new ColorPicker(Color.GREEN);
}
@Provides
@Named("blue")
public ColorPicker provideColorBlue() {
return new ColorPicker(Color.BLUE);
}
}
public class Case02Activity extends AppCompatActivity {
@Inject
@Named("green")
ColorPicker cp1;
@Inject
@Named("blue")
ColorPicker cp2;
private TextView line1;
private TextView line2;
@Override
protected void onCreate(Bundle savedInstanceState) {
super.onCreate(savedInstanceState);
setContentView(R.layout.activity_case02);
line1 = (TextView) findViewById(R.id.line1);
line2 = (TextView) finViewById(R.id.line2);
DaggerCase02Component.builder().build().inject(this);
}
public void test(View v) {
line1.setTextColor(cp1.pick());
line2.setTextColor(cp2.pick());
}
}
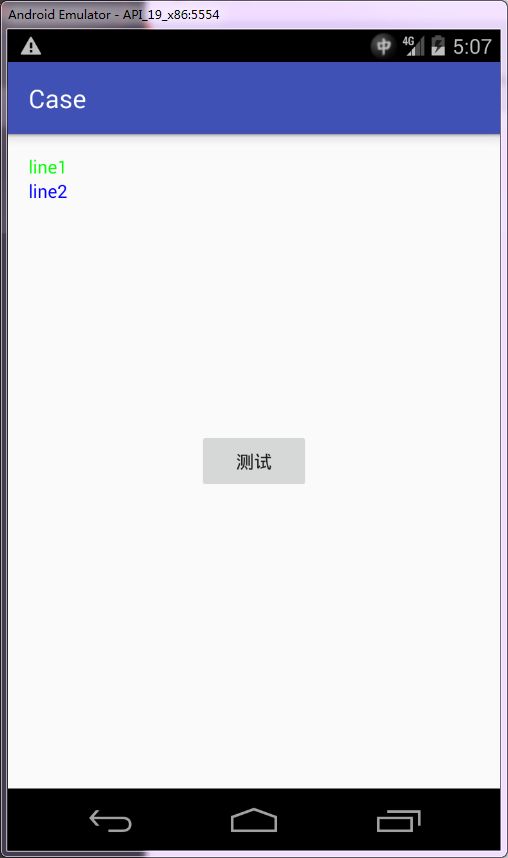
运行结果:
5.Module赋值和Inject赋值同时存在时,先查找Module,如果Module赋值成功,不再查找Inject注解;如果Module赋值不成功,继续查找Inject赋值
3.2.3.作用域Scope
作用域:限定赋值方法的使用范围
1.作用域如何自定义,类似于自定义注解,除此之外要加@Scope注解
@Scope
@Retention(RetentionPolicy.RUNTIME)
public @interface Color {}
@Scope
@Retention(RetentionPolicy.RUNTIME)
public @interface Content {}
2.作用域,限定了Component能使用哪些赋值方法
a)Componet和Module中赋值方法通过同一个作用域标注@Content联结起来,如何缺少Module中赋值方法的作用域,则会编译错误
@Module
public class Case03Module {
@Content
@Provides
public IntegerProducer produceNum() {
return new IntegerProducer();
}
}
@Content
@Component(modules = Case03Module.class)
public interface Case03Component {
void inject(Case03Activity activity);
}
b)有趣的是,Component可以同时有多个作用域,类似以下例子@Content @Color
@Module
public class Case03Module {
@Content
@Provides
public IntegerProducer produceNum() {
return new IntegerProducer();
}
@Color
@Provides
public ColorPicker produceColor() {
return new ColorPicker(android.graphics.Color.RED);
}
}
@Content
@Color
@Component(modules = Case03Module.class)
public interface Case03Component {
void inject(Case03Activity activity);
}
3.不加作用域,赋值时会生成新的变量
@Component(modules = Case04Module.class)
public interface Case04Component {
void inject(Case04Activity activity);
}
@Module
public class Case04Module {
@Provides
public AddressProducer provideAddress() {
return new AddressProducer();
}
}
public class Case04Activity extends AppCompatActivity {
@Inject
AddressProducer ap1;
@Inject
AddressProducer ap2;
private TextView line1;
private TextView line2;
@Override
protected void onCreate(Bundle savedInstanceState) {
super.onCreate(savedInstanceState);
setContentView(R.layout.activity_case04);
line1 = (TextView) findViewById(R.id.line1);
line2 = (TextView) findViewById(R.id.line2);
DaggerCase04Component.builder().build().inject(this);
}
public void test(View v) {
line1.setText(ap1.produce());
line2.setText(ap2.produce());
}
}
public class AddressProducer {
public AddressProducer() { }
public String produce() { return this.toString();
}
}
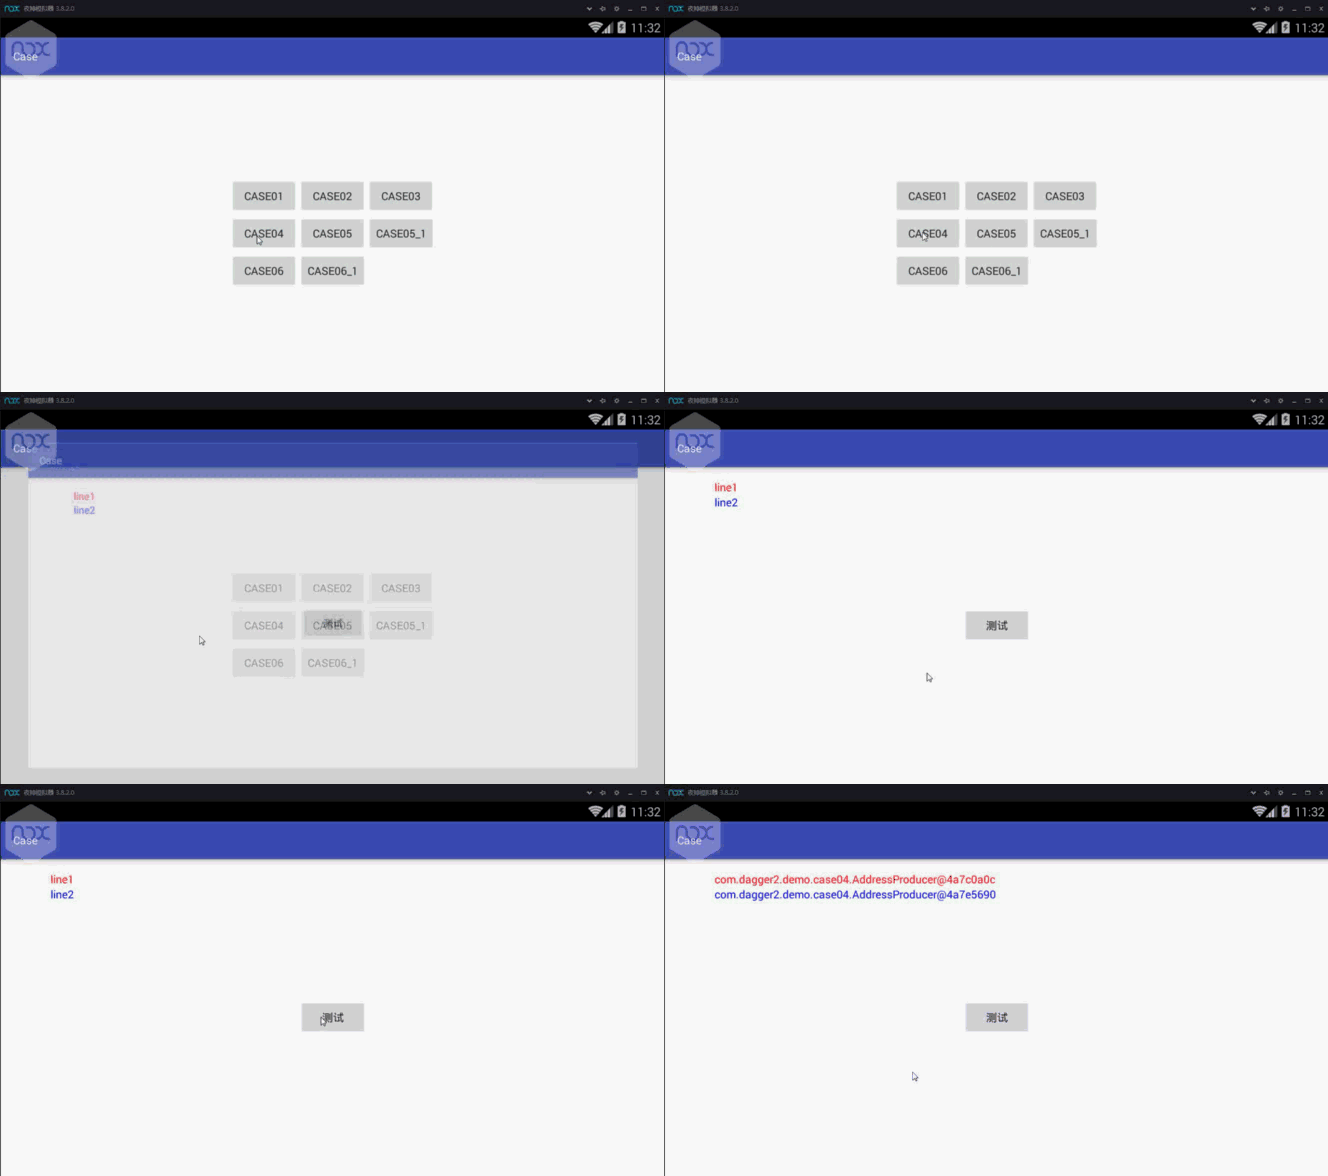
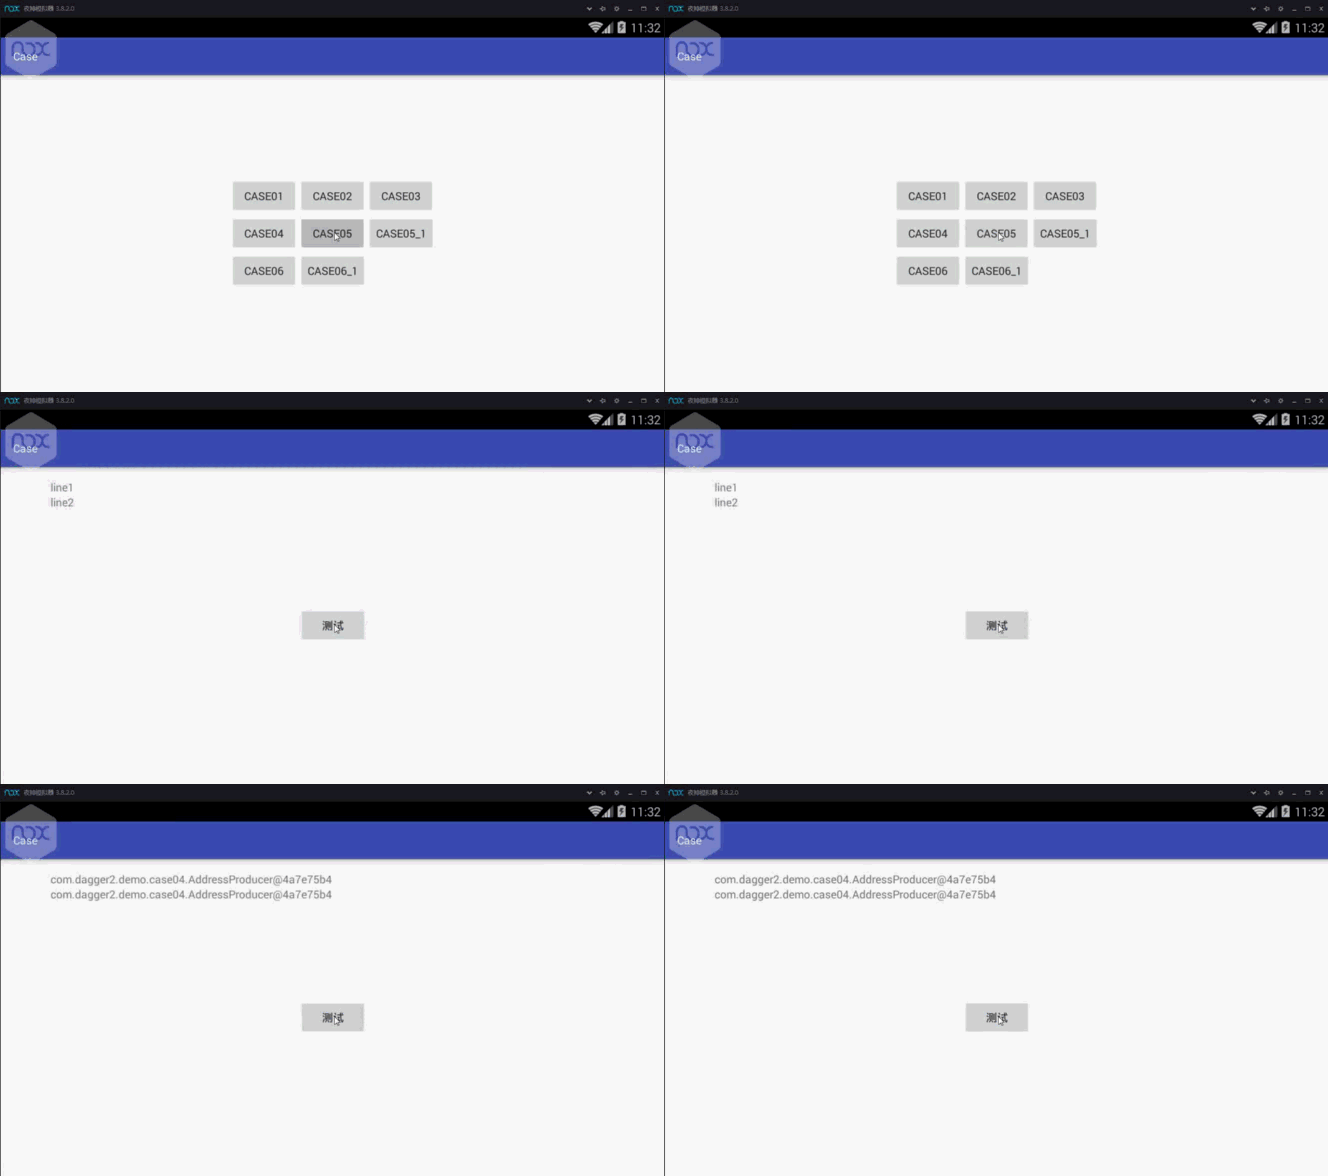
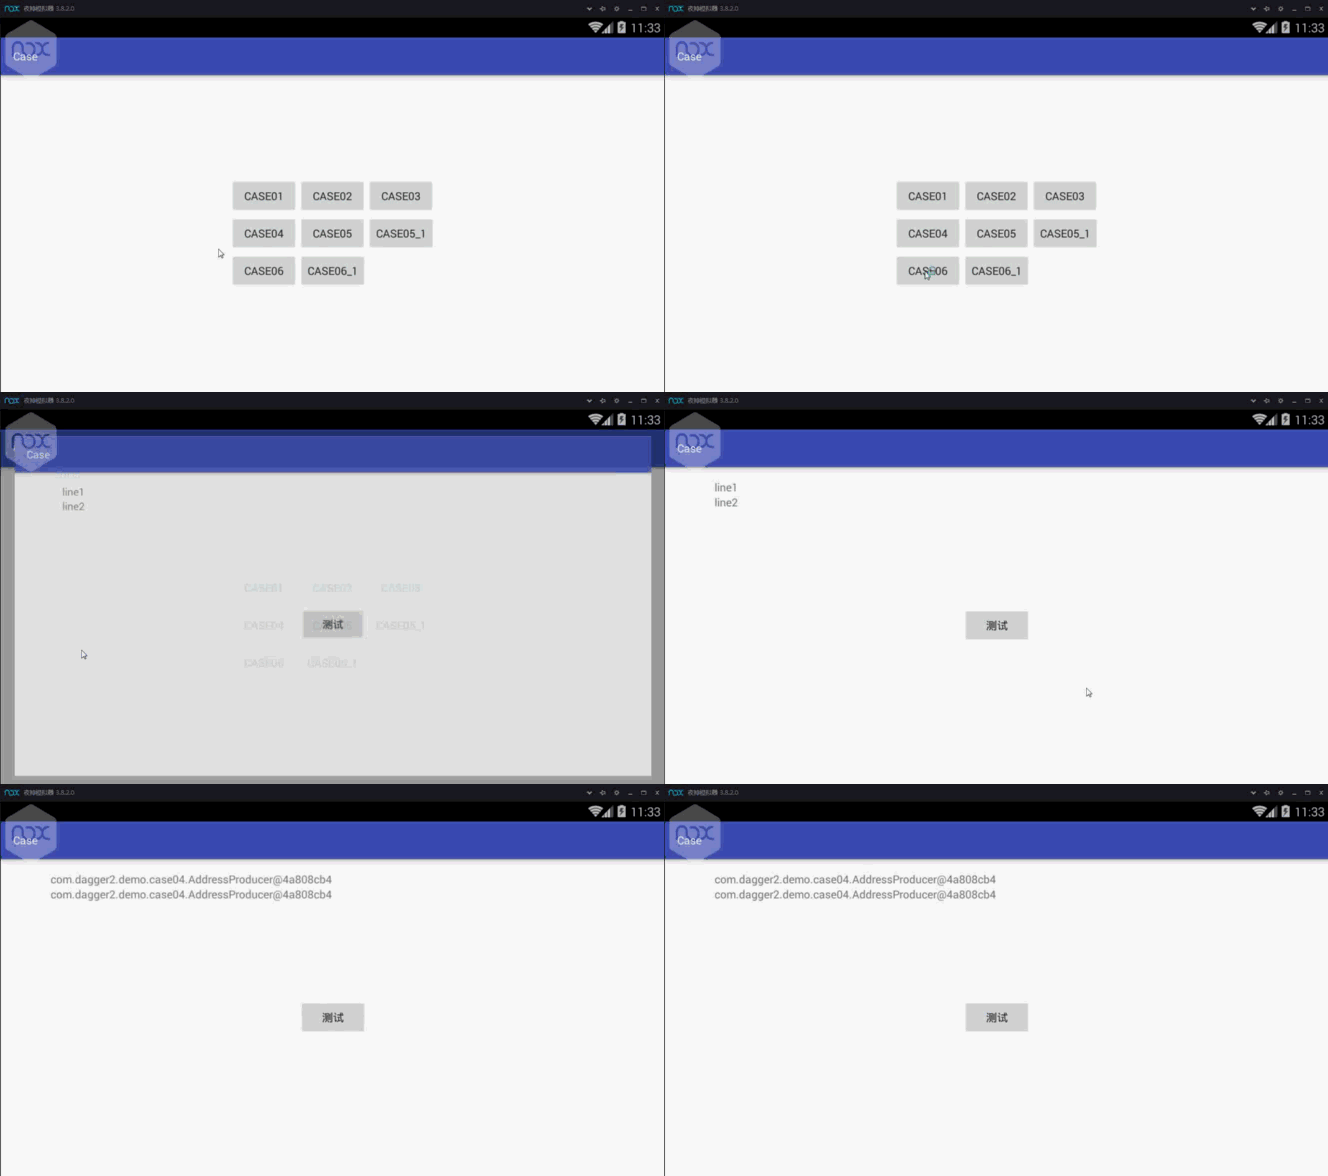
运行效果:
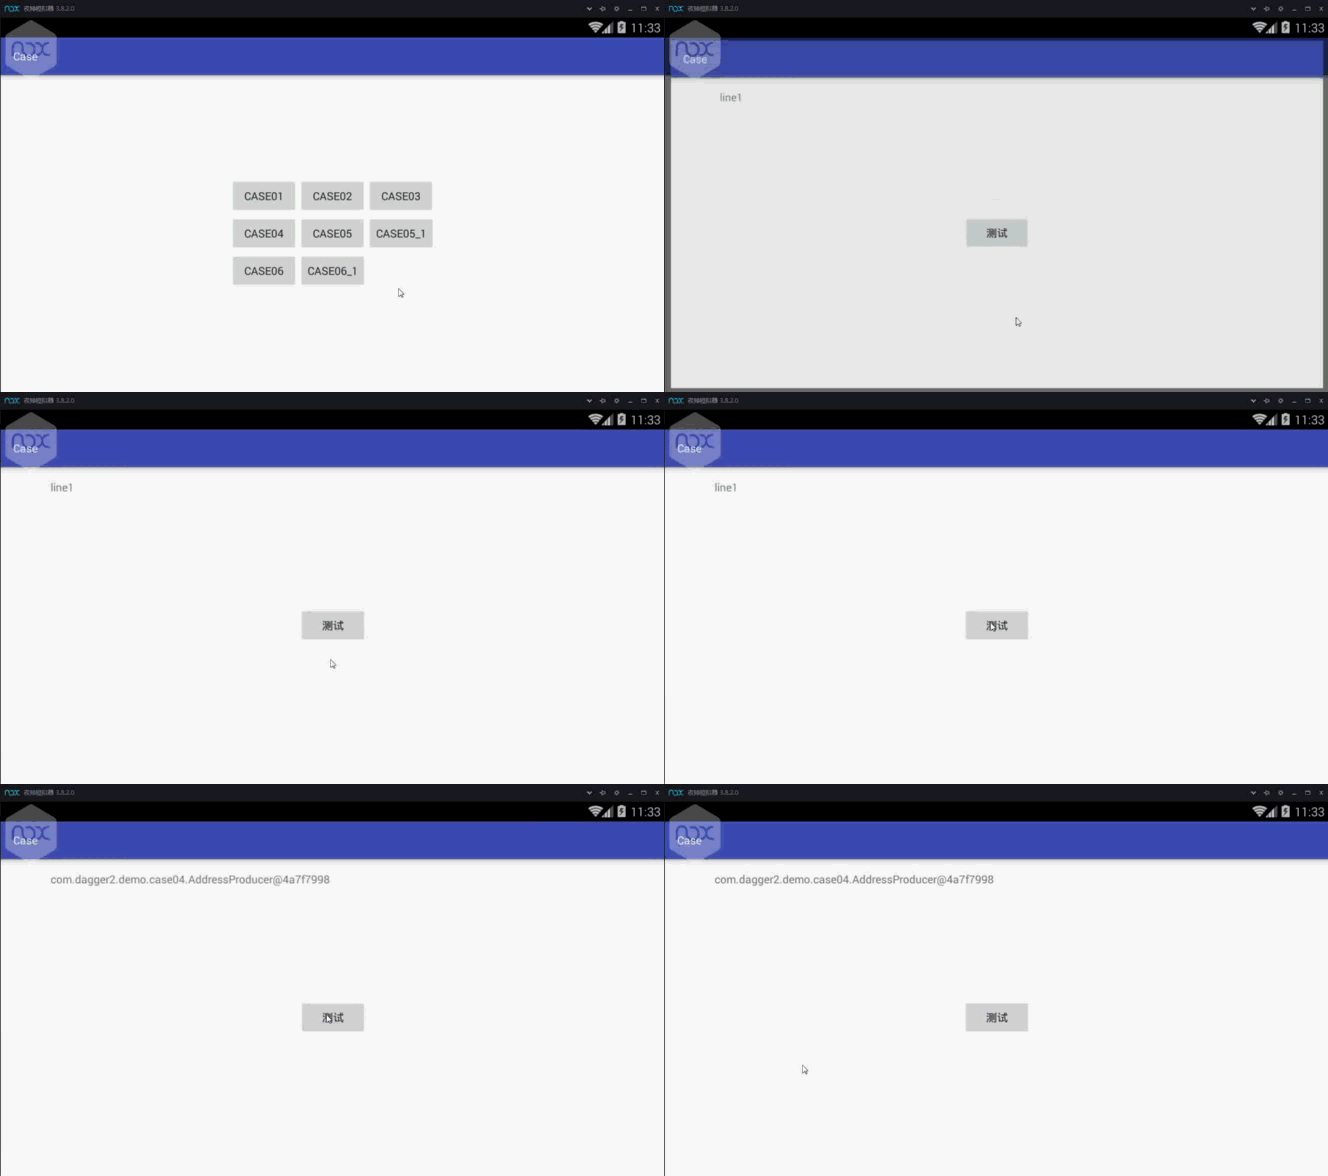
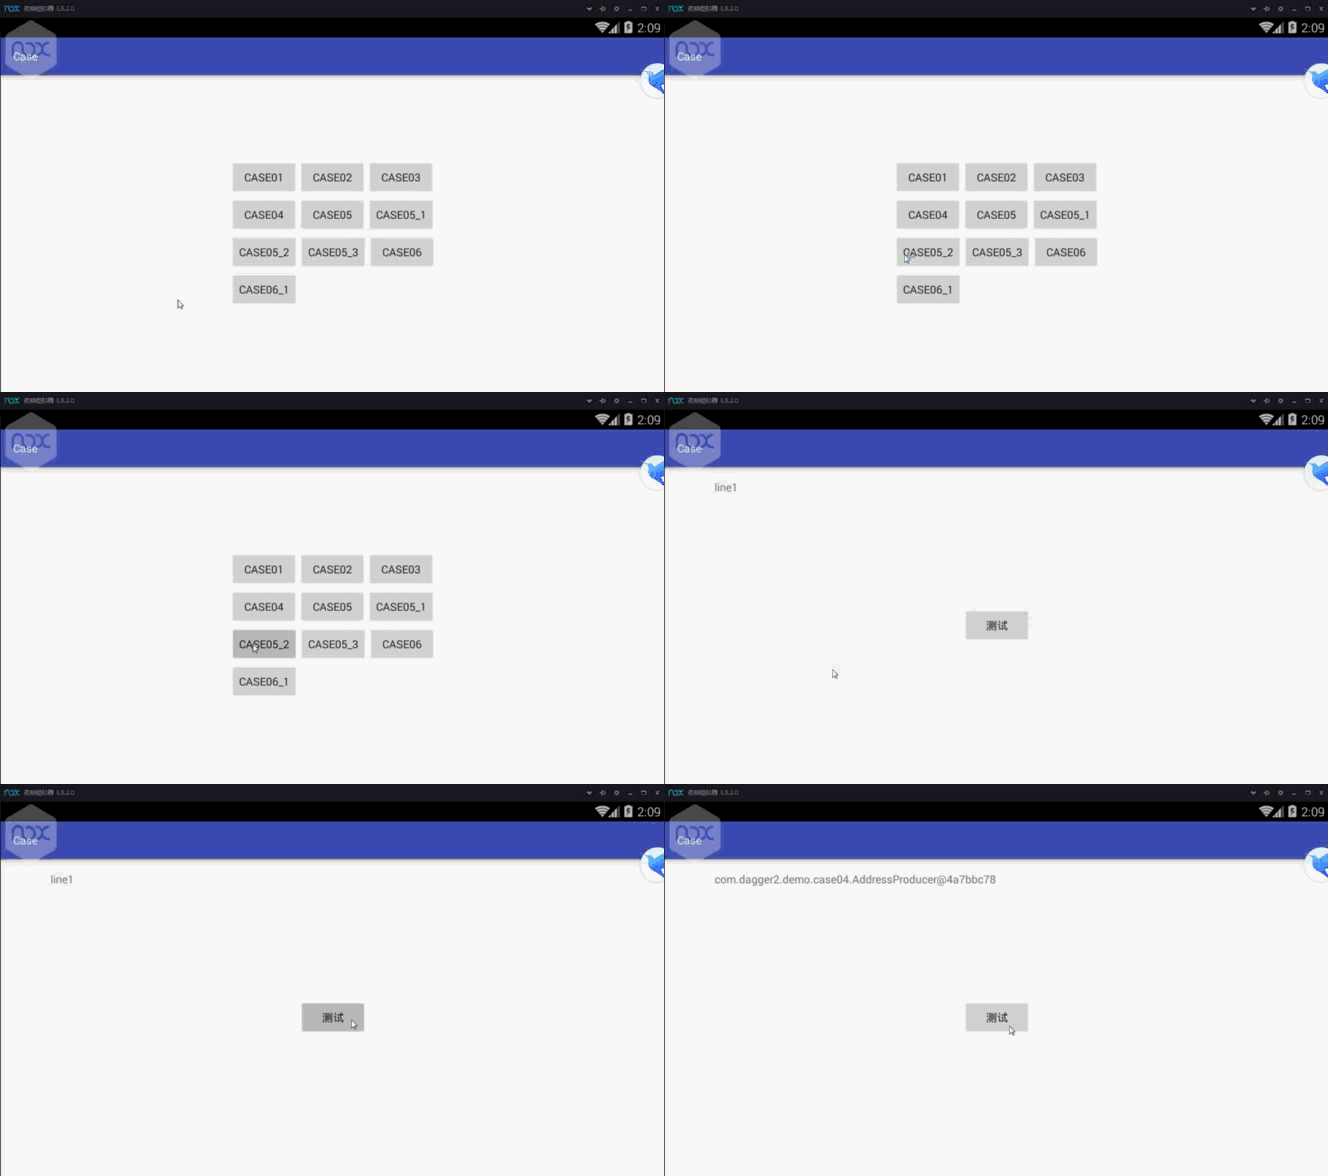
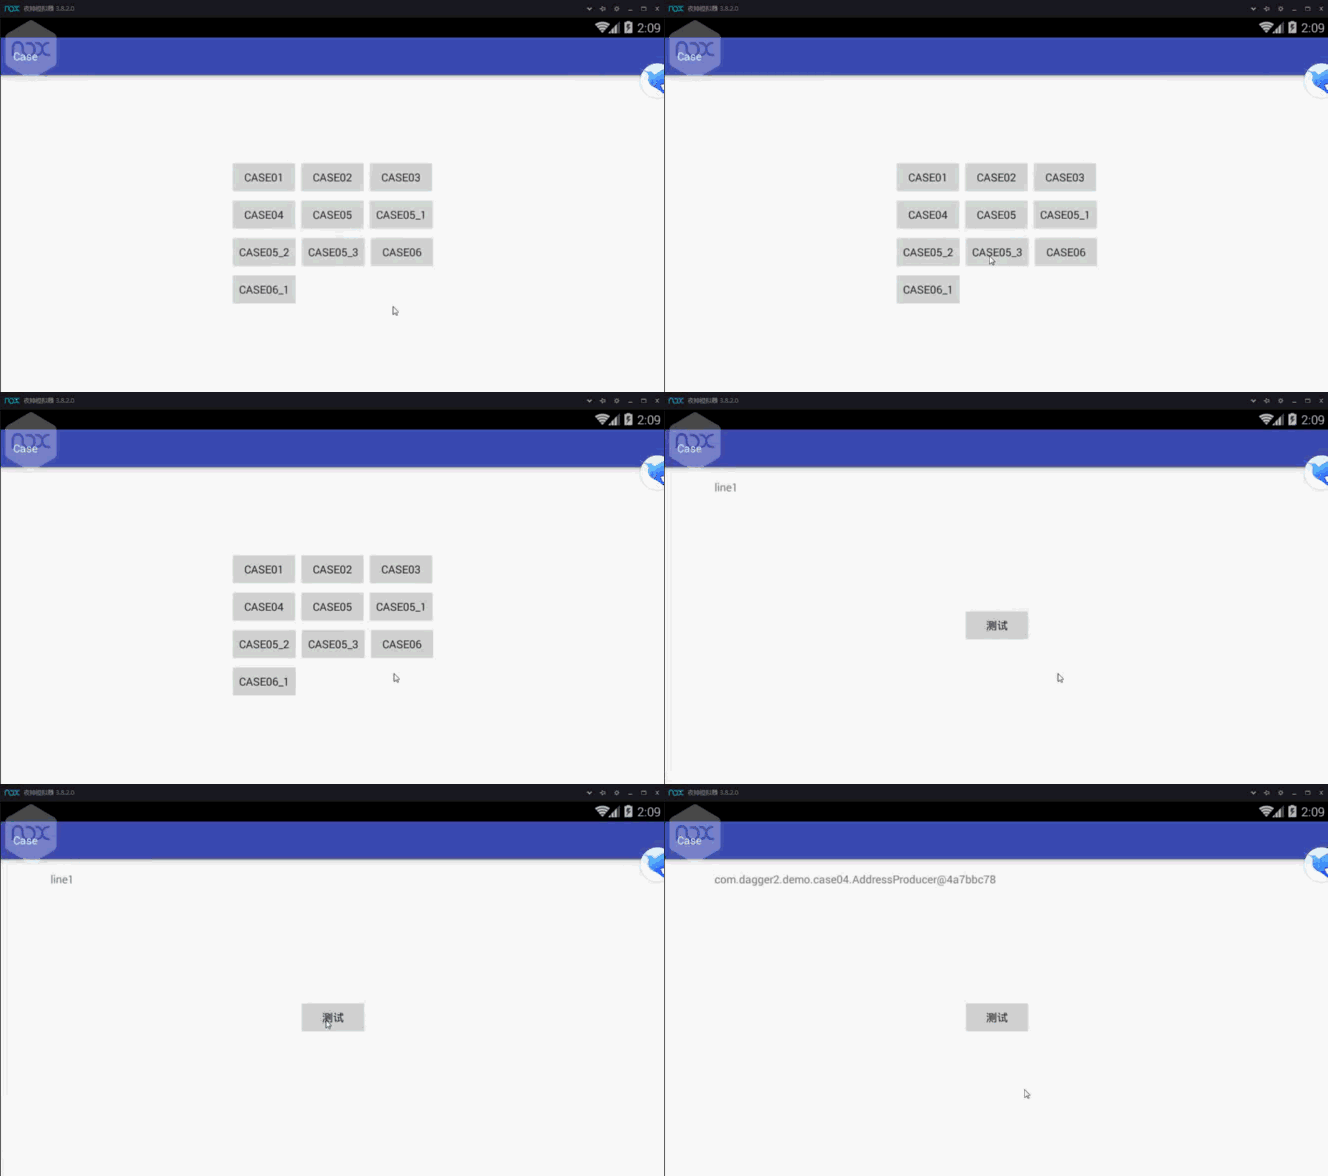
4.@Singleton标注一般用来做全局单例,实质上是没有直接使赋值变量成为单例的能力,以下例子可以看出其实注入的属性值是不是同一个,取决于是否为同一个Component注入;因此要想保持全局单例,正确的做法应该是在Application或者BaseActivity基类中去初始化Component,然后在Appliaction或者基类容器缓存单例Component,然后再其他地方去注入或者联结
@Component(modules = Case05Module.class)
@Singleton
public interface Case05Component {
void inject(Case05Activity activity);
void inject(Case051Activity activity);
void inject(Case052Activity activity);
void inject(Case053Activity activity);
}
@Module
public class Case05Module {
@Provides
@Singleton
public AddressProducer provideAddress() {
return new AddressProducer();
}
}
public class Case05Activity extends AppCompatActivity {
@Inject
AddressProducer ap1;
@Inject
AddressProducer ap2;
private TextView line1;
private TextView line2;
@Override
protected void onCreate(Bundle savedInstanceState) {
super.onCreate(savedInstanceState);
setContentView(R.layout.activity_case05);
//因为是使用同一个实例化的Component注入,两个变量相等
line1 = (TextView) findViewById(R.id.line1);
line2 = (TextView) findViewById(R.id.line2);
DaggerCase05Component.builder().build().inject(this);
}
public void test(View v) {
line1.setText(ap1.produce());
line2.setText(ap2.produce());
}
}
public class Case051Activity extends AppCompatActivity {
@Inject
AddressProducer ap1;
private TextView line1;
@Override
protected void onCreate(Bundle savedInstanceState) {
super.onCreate(savedInstanceState);
setContentView(R.layout.activity_case051);
line1 = (TextView) findViewById(R.id.line1);
DaggerCase05Component.builder().build().inject(this);
}
public void test(View v) {
line1.setText(ap1.produce());
}
}
public class App extends Application {
private Case05Component case05Component;
@Override
public void onCreate() {
super.onCreate();
case05Component = DaggerCase05Component.builder().build();
}
public Case05Component getCase05Component() { return case05Component; }
}
public class Case052Activity extends AppCompatActivity {
@Inject
AddressProducer ap1;
private TextView line1;
@Override
protected void onCreate(Bundle savedInstanceState) {
super.onCreate(savedInstanceState);
setContentView(R.layout.activity_case052);
line1 = (TextView) findViewById(R.id.line1);
App app = (App) getApplicationContext();
app.getCase05Component().inject(this);
}
public void test(View v) { line1.setText(ap1.produce()); }
}
public class Case053Activity extends AppCompatActivity {
@Inject
AddressProducer ap1;
private TextView line1;
@Override
protected void onCreate(Bundle savedInstanceState) {
super.onCreate(savedInstanceState);
setContentView(R.layout.activity_case053);
line1 = (TextView) findViewById(R.id.line1);
App app = (App) getApplicationContext();
app.getCase05Component().inject(this);
}
public void test(View v) { line1.setText(ap1.produce()); }
}
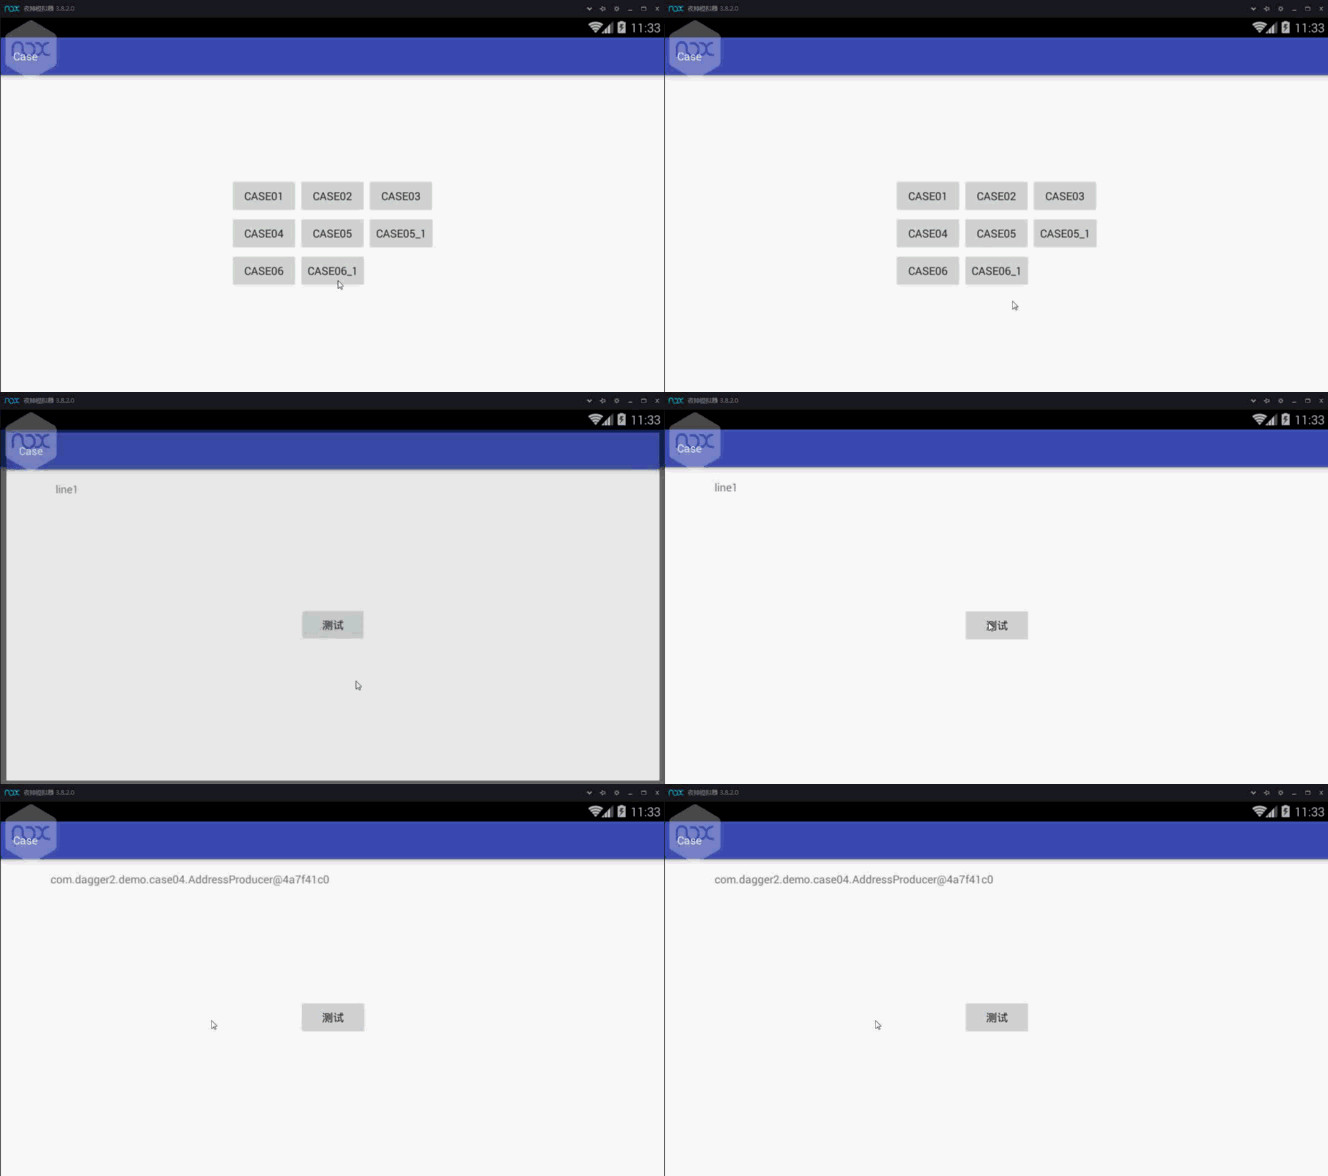
运行效果:
5.自定义作用域名义上是局部作用域,实质上和@Singleton一样是没有真正的限定使用范围的功能,还是通过缓存实例化的Component来达到真正的作用域功能
@Scope
@Retention(RetentionPolicy.RUNTIME)
public @interface address {}
@Component(modules = Case06Module.class)
@address
public interface Case06Component {
void inject(Case06Activity activity);
void inject(Case061Activity activity);
}
@Module
public class Case06Module {
@Provides
@address
public AddressProducer provideAddress() {
return new AddressProducer();
}
}
public class Case06Activity extends AppCompatActivity {
@Inject
AddressProducer ap1;
@Inject
AddressProducer ap2;
private TextView line1;
private TextView line2;
@Override
protected void onCreate(Bundle savedInstanceState) {
super.onCreate(savedInstanceState);
setContentView(R.layout.activity_case05);
line1 = (TextView) findViewById(R.id.line1);
line2 = (TextView) findViewById(R.id.line2);
DaggerCase06Component.builder().build().inject(this);
}
public void test(View v) {
line1.setText(ap1.produce());
line2.setText(ap2.produce());
}
}
public class Case061Activity extends AppCompatActivity {
@Inject
AddressProducer ap1;
private TextView line1;
@Override
protected void onCreate(Bundle savedInstanceState) {
super.onCreate(savedInstanceState);
setContentView(R.layout.activity_case061);
line1 = (TextView) findViewById(R.id.line1);
DaggerCase06Component.builder().build().inject(this);
}
public void test(View v) {
line1.setText(ap1.produce());
}
}
运行结果:
End:有关dagger2的简易使用教程,暂时就介绍到这里,有时间继续补充其他使用案例和原理,如果你发现了错误,欢迎批评与指正。
Demo 下载地址:demo
