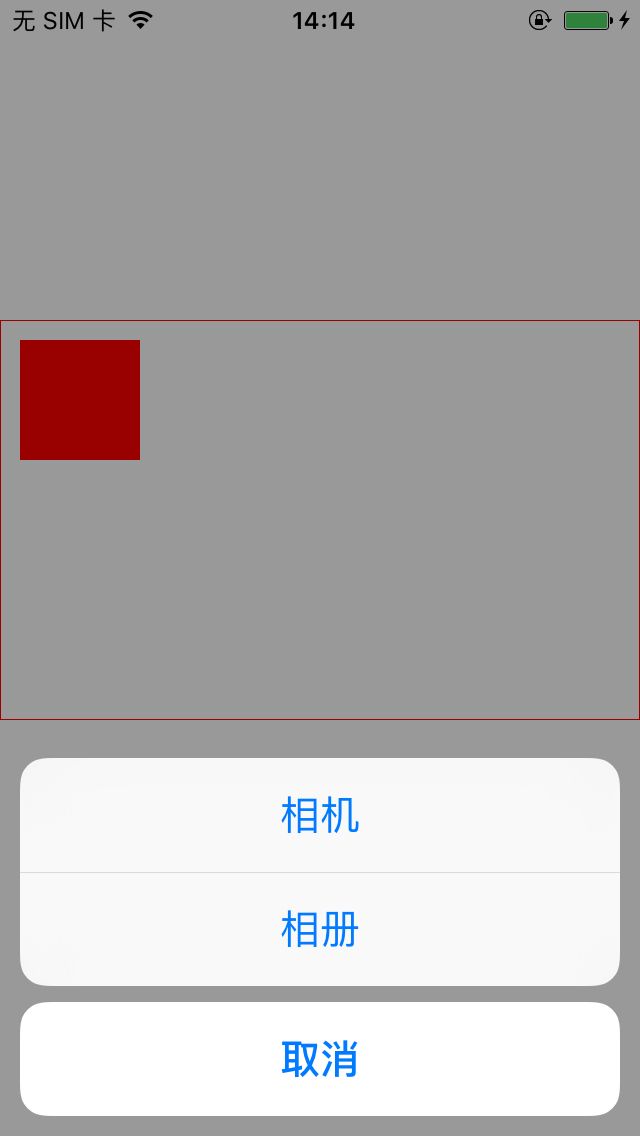
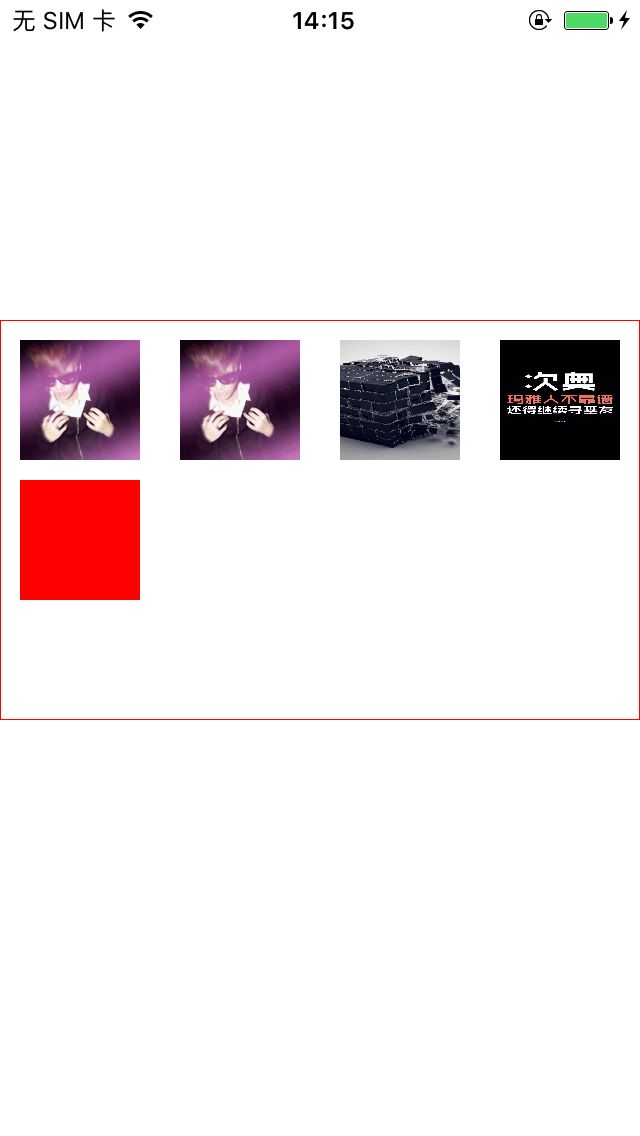
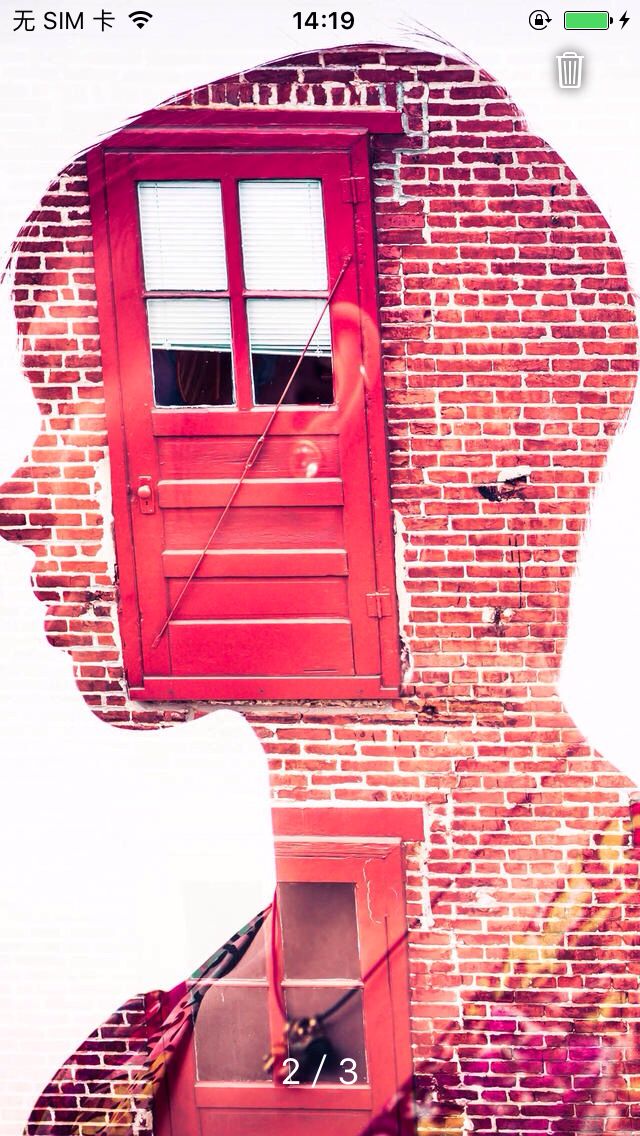
现在是个项目就要有图片上传所以下面介绍一下简单高端的图片选择器
感谢读者的细心发现bug,最近bug已经修复(github更新)所以对文章部分内容做出修改。
然后看一下实现代码 和效果图对比你就知道绝对可以带你装b带你飞!
B4F25DEC157D88BE0026E2246BB3445A.png
7D1EE10E2E807ED40427A9637211424B.jpg
8C2FC9D402191A7AD594F40FBA5AF23B.png
09D89C93E76EB1D38884A776AE486A59.png
AE2B983D7094C46948C372FD191D90BB.jpg
实现代码 可选择代理和block 我就直接都写上了 自己选择
#import"DzyImgPicker.h"#define DzyWid ([UIScreen mainScreen].bounds.size.width)#define DzyHei ([UIScreen mainScreen].bounds.size.height)@interfaceViewController() { DzyImgPicker *DzyView;}@end- (void)viewWillAppear:(BOOL)animated{ [superviewWillAppear:animated];//从相册返回的话需要刷新下界面[DzyView.collectionView reloadData];}#pragma - DzyImgDelegate- (void)getImages:(NSArray*)imgData{//此处返回的是选择图片的数组}- (void)viewDidLoad { [superviewDidLoad];self.view.backgroundColor = [UIColorwhiteColor];//此处需要注意 自己计算一下 我设置的每个cell 是60*60 间距10 所以 这里一般是设置 全屏宽度 如有特殊需求自行修改DzyView = [[DzyImgPicker alloc] initWithFrame:CGRectMake(0,160, DzyWid,200) andParentV:selfandMaxNum:9]; DzyView.dzyImgDelegate =self; DzyView.backgroundColor = [UIColororangeColor]; [self.view addSubview:DzyView]; __weaktypeof(self)weakSelf =self; [DzyView setDzyImgs:^(NSArray*data) {//此处返回的是选择图片的数组}];// Do any additional setup after loading the view.}
直接上代码看一下封装过程 DzyImgPicker.h
#import@protocolDzyImgDelegate//代理方式返回数组- (void)getImages:(NSArray*)imgData;@end@interfaceDzyImgPicker:UIView//初始化添加父类view进去- (instancetype)initWithFrame:(CGRect)frame andParentV:(UIViewController*)parentV andMaxNum:(NSInteger)maxNum;//处理block 返回的图片@property(nonatomic)void(^DzyImgs)(NSArray*data);//从选择器返回的时候需要刷新界面 所以在每次界面将要显示的时候刷新用@property(nonatomic)UICollectionView*collectionView;@property(nonatomic)id dzyImgDelegate;@end
DzyImgPicker.m
#import"DzyImgPicker.h"#import"LGPhoto.h"#import"MLPhotoBrowserViewController.h"#import"imageCell.h"@interfaceDzyImgPicker(){//存储图片NSMutableArray*imageArray;}//最大的图片张数@property(nonatomic)NSIntegermaxNum;//父类的view@property(nonatomic)UIViewController*parentV;@property(nonatomic,assign) LGShowImageType showType;@end@implementationDzyImgPicker#pragma mark -- (NSInteger) numberOfSectionInPhotosInPhotoBrowser:(MLPhotoBrowserViewController *)photoBrowser{return1;}- (NSInteger) photoBrowser:(MLPhotoBrowserViewController *)photoBrowser numberOfItemsInSection:(NSUInteger)section{returnimageArray.count;}#pragma mark - 每个组展示什么图片,需要包装下ZLPhotoPickerBrowserPhoto- (MLPhotoBrowserPhoto *)photoBrowser:(MLPhotoBrowserViewController *)photoBrowser photoAtIndexPath:(NSIndexPath*)indexPath{ MLPhotoBrowserPhoto *photo = [MLPhotoBrowserPhoto photoAnyImageObjWith:imageArray[indexPath.row]]; imageCell *cell = (imageCell *)[_collectionView cellForItemAtIndexPath:indexPath]; photo.toView = cell.imgView; photo.thumbImage = cell.imgView.image;returnphoto;}#pragma mark -#pragma mark 删除照片调用- (void)photoBrowser:(MLPhotoBrowserViewController *)photoBrowser removePhotoAtIndexPath:(NSIndexPath*)indexPat{if(imageArray.count ==1) { [imageArray removeAllObjects]; }else{ [imageArray removeObjectAtIndex:indexPat.row]; [self.collectionView reloadData]; }}#pragma mark - setupCell click ZLPhotoPickerBrowserViewController- (void) setupPhotoBrowser:(imageCell *) cell{NSIndexPath*indexPath = [self.collectionView indexPathForCell:cell];// 图片游览器MLPhotoBrowserViewController *photoBrowser = [[MLPhotoBrowserViewController alloc] init];// 缩放动画photoBrowser.status =UIViewAnimationAnimationStatusZoom;// 可以删除photoBrowser.editing =YES;// delegatephotoBrowser.delegate =self;// 数据源photoBrowser.dataSource =self;// 当前选中的值photoBrowser.currentIndexPath = [NSIndexPathindexPathForItem:indexPath.row inSection:0];// 展示控制器[photoBrowser show];}/**
* 初始化自定义相机(连拍)
*/#pragma mark - *初始化自定义相机(连拍)- (void)presentCameraContinuous { ZLCameraViewController *cameraVC = [[ZLCameraViewController alloc] init];// 拍照最多个数cameraVC.maxCount =self.maxNum-imageArray.count;// 连拍cameraVC.cameraType = ZLCameraContinuous; cameraVC.callback = ^(NSArray*cameras){//在这里得到拍照结果//数组元素是ZLCamera对象for(ZLCamera *canamerincameras) { [imageArray addObject:canamer.photoImage]; }NSLog(@"%lu",(unsignedlong)imageArray.count); };//展示在父类的View上[cameraVC showPickerVc:self.parentV]; [self.collectionView reloadData];}#pragma mark - *LGPhotoPickerViewControllerDelegate- (void)pickerViewControllerDoneAsstes:(NSArray*)assets isOriginal:(BOOL)original{//thumbImage (缩略图) fullResolutionImage(全屏图) 原图(originImage)NSMutableArray*originImage = [NSMutableArrayarray];for(LGPhotoAssets *photoinassets) {//原图[originImage addObject:photo.originImage]; [imageArray addObject:photo.originImage]; } [self.collectionView reloadData];}#pragma mark - * 初始化相册选择器- (void)presentPhotoPickerViewControllerWithStyle:(LGShowImageType)style { LGPhotoPickerViewController *pickerVc = [[LGPhotoPickerViewController alloc] initWithShowType:style]; pickerVc.status = PickerViewShowStatusCameraRoll; pickerVc.maxCount =self.maxNum-imageArray.count;//设置选择张数上线pickerVc.delegate =self;self.showType = style;//展示在父类的view上[pickerVc showPickerVc:self.parentV];}#pragma mark *UIActionsheetDelegate- (void)actionSheet:(UIActionSheet*)actionSheet clickedButtonAtIndex:(NSInteger)buttonIndex{NSString*msg = [NSStringstringWithFormat:@"选取图片最大为%ld张!",(long)self.maxNum];switch(buttonIndex) {case0: {NSLog(@"相机");if(self.maxNum-imageArray.count ==0) {UIAlertView*al = [[UIAlertViewalloc] initWithTitle:@"提示"message:msg delegate:nilcancelButtonTitle:nilotherButtonTitles:@"知道了",nil]; [al show]; }else{ [selfpresentCameraContinuous]; } }break;case1: {NSLog(@"相册");if(self.maxNum-imageArray.count ==0) {UIAlertView*al = [[UIAlertViewalloc] initWithTitle:@"提示"message:msg delegate:nilcancelButtonTitle:nilotherButtonTitles:@"知道了",nil]; [al show]; }else{ [selfpresentPhotoPickerViewControllerWithStyle:LGShowImageTypeImagePicker]; } }break;case2: {NSLog(@"取消"); }break;default:break; }}#pragma mark *UIActionSheet- (void)toChoose{UIActionSheet*actionSheet = [[UIActionSheetalloc] initWithTitle:nildelegate:selfcancelButtonTitle:@"取消"destructiveButtonTitle:nilotherButtonTitles:@"相机",@"相册",nil]; actionSheet.actionSheetStyle =UIActionSheetStyleBlackOpaque; [actionSheet showInView:self.parentV.view];}- (void)createUI{UICollectionViewFlowLayout*flow = [[UICollectionViewFlowLayoutalloc] init]; _collectionView = [[UICollectionViewalloc] initWithFrame:self.bounds collectionViewLayout:flow];//设置代理_collectionView.backgroundColor = [UIColorwhiteColor];#warning mark 此处需要注意当正式使用的时候需要将边去掉 我这里是方便测试的时候显示范围_collectionView.layer.borderColor = [[UIColorredColor]CGColor]; _collectionView.layer.borderWidth =0.5; _collectionView.delegate =self; _collectionView.dataSource =self;//注册cell和ReusableView(相当于头部)[self.collectionView registerClass:[imageCellclass] forCellWithReuseIdentifier:@"DzyImgCell"]; [selfaddSubview:_collectionView];}- (NSInteger)numberOfSectionsInCollectionView:(UICollectionView*)collectionView{return1;}- (NSInteger)collectionView:(UICollectionView*)collectionView numberOfItemsInSection:(NSInteger)section{//------ block 方式漏出图片组供使用if(_DzyImgs) { _DzyImgs(imageArray); }//------- 代理方式if(self.dzyImgDelegate && [self.dzyImgDelegate respondsToSelector:@selector(getImages:)]) { [self.dzyImgDelegate getImages:imageArray]; }//这里边设置 的是 点击添加图片按钮 如果没有到最上限 一直限制添加按钮 否则隐藏掉if(imageArray.count ==self.maxNum) {returnself.maxNum; }else{returnimageArray.count+1; }}- (UICollectionViewCell*)collectionView:(UICollectionView*)collectionView cellForItemAtIndexPath:(NSIndexPath*)indexPath{ imageCell *cell = [collectionView dequeueReusableCellWithReuseIdentifier:@"DzyImgCell"forIndexPath:indexPath];if(!cell) {// NSLog(@"不会进入");}if(indexPath.row == imageArray.count) {// NSLog(@"判断是最后一个 是添加按钮");#warning mark 更改添加按钮背景图片cell.imgView.image = [UIImageimageNamed:@"plus23.png"]; cell.imgView.contentMode =UIViewContentModeScaleAspectFit; }else{//从相册或者相机选择的图片cell.imgView.image = imageArray[indexPath.row]; cell.imgView.contentMode =UIViewContentModeScaleToFill; }#warning mark 修改背景颜色cell.imgView.backgroundColor = [UIColorredColor];returncell;}#pragma mark --UICollectionViewDelegate//UICollectionView被选中时调用的方法-(void)collectionView:(UICollectionView*)collectionView didSelectItemAtIndexPath:(NSIndexPath*)indexPath{if(indexPath.row == imageArray.count && indexPath.row
实现代码我就放在github上了Demo有朋友发现可优化更新的部分请联系我


