极光推送jpush(简单易懂,分分钟教你搞定)
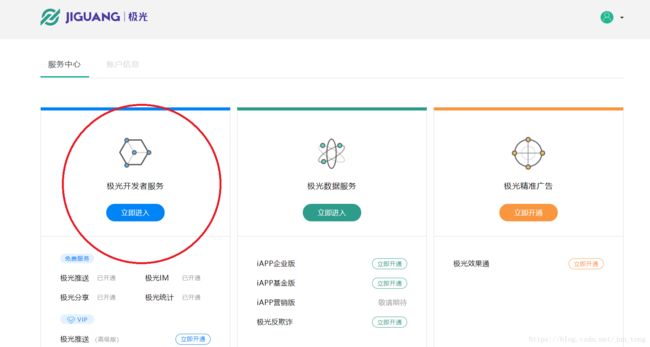
先注册账户:
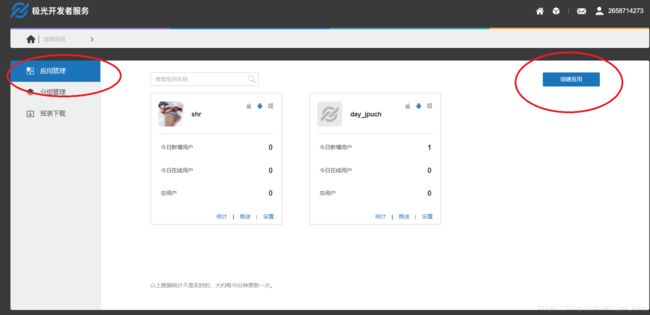
然后点击开发者服务:点击打开链接
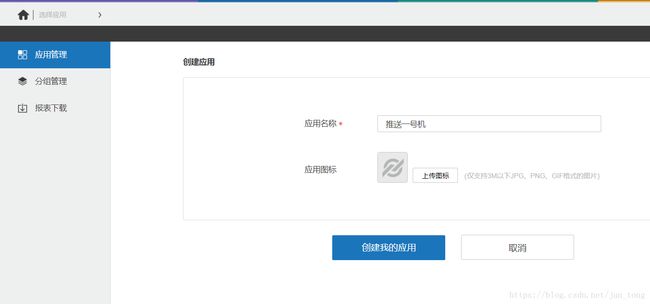
创建应用:
随便起个名字,但是最好和你的应用名字一样
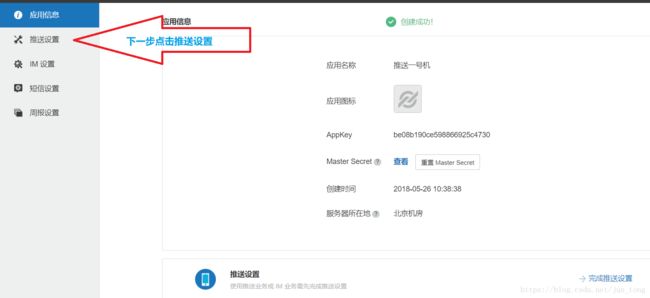
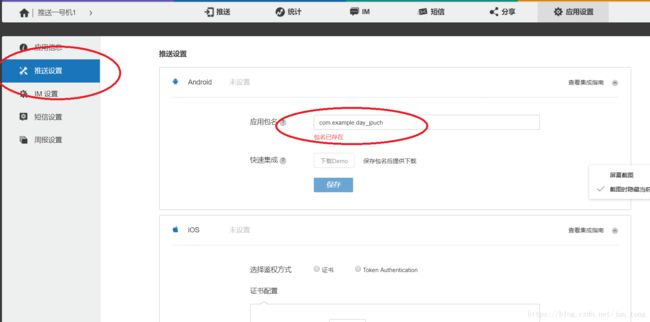
然后点击下一步推送设置
把你的工程应用名字输入:
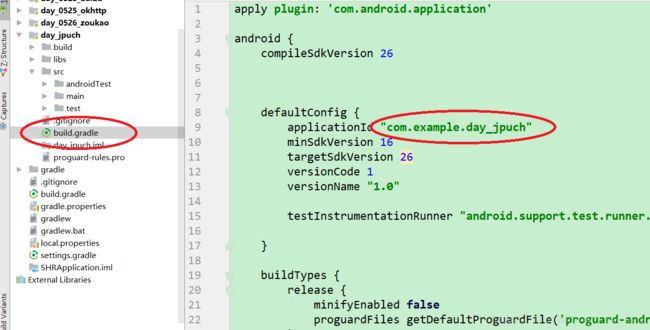
应用包名就是build.gradle文件里的applicationId 名字
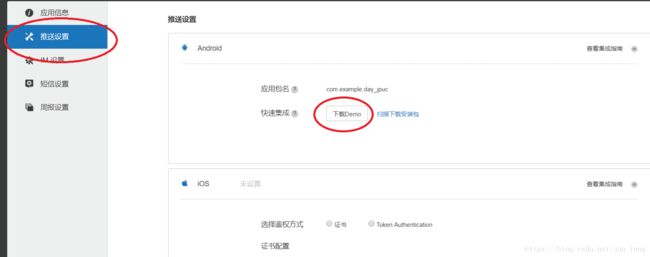
完成之后点击下载Demo
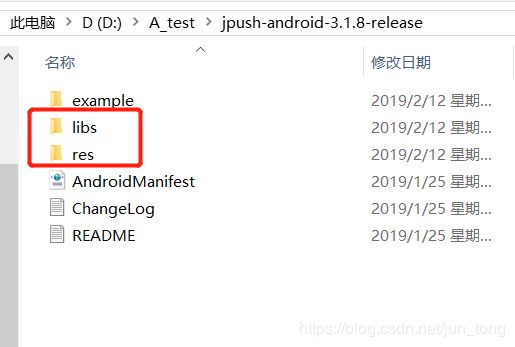
Demo下载完成之后解压 ,压缩包
将libs文件夹里的工具jar包全部复制到你的项目中,记得编译
将文件中的jar包导入工程中的libs文件夹 并引用,
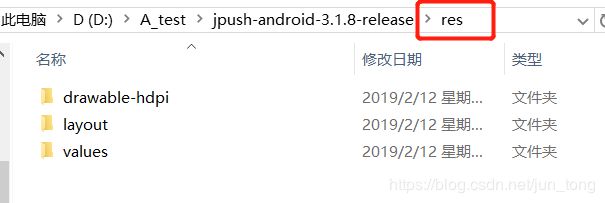
在将res文件夹直接复制到项目中的src文件夹下的main文件夹里,
它会直接补齐你工程中缺少的部分,所以不用害怕它会替换掉你的原文件
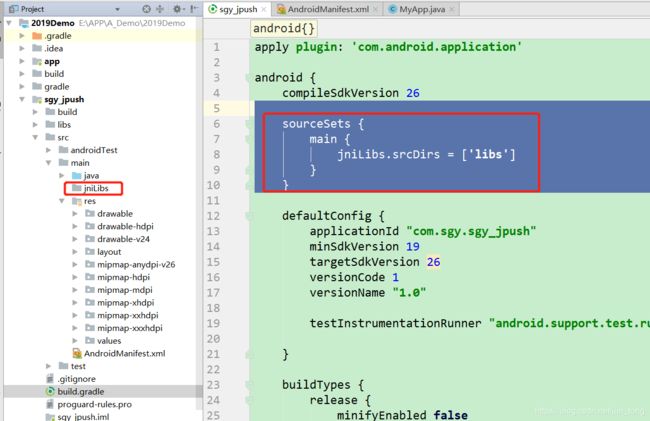
使用 android studio 的开发者,如果使用 jniLibs 文件夹导入 so 文件,则仅需将所有 cpu 类型的文件夹拷进去;如果将 so 文件添加在 module的libs 文件夹下,注意在 module 的 gradle 配置中添加一下配置:
sourceSets {
    main {
        jniLibs.srcDirs = ['libs']
    }
}
注意点,还有 jniLibs 空文件夹不要忘
MyApp 类(记得在清单文件中添加name)
public class MyApp extends Application {
    public static String registrationId ;//获取 极光推送的设备唯一性标识 RegistrationID

    @Override
    public void onCreate() {
        super.onCreate();


        //极光推送
        JPushInterface.setDebugMode(true); 	// 设置开启日志,发布时请关闭日志
        JPushInterface.init(this);  // 初始化 JPush

        registrationId = JPushInterface.getRegistrationID(this);//获取 极光推送的设备唯一性标识 RegistrationID
        Log.e("111111registrationId", "run:--------->:" + registrationId );
    }
}
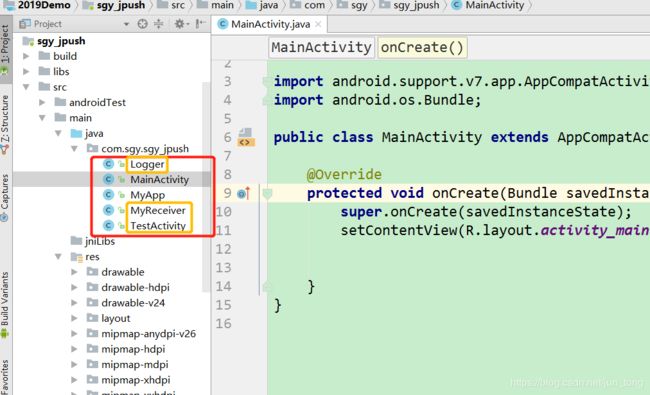
MyReceiver
TestActivity
Logger
| MyReceiver |
|
| TestActivity |
|
| Logger |
|
清单文件:加权限:
然后运行一下工程:
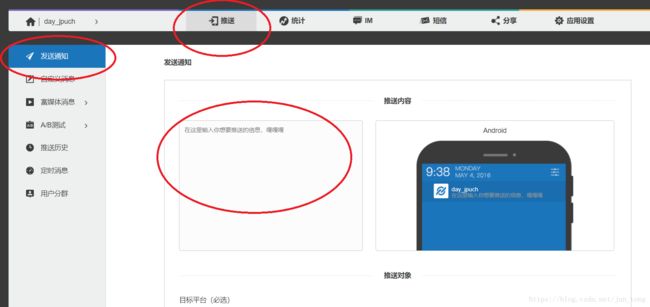
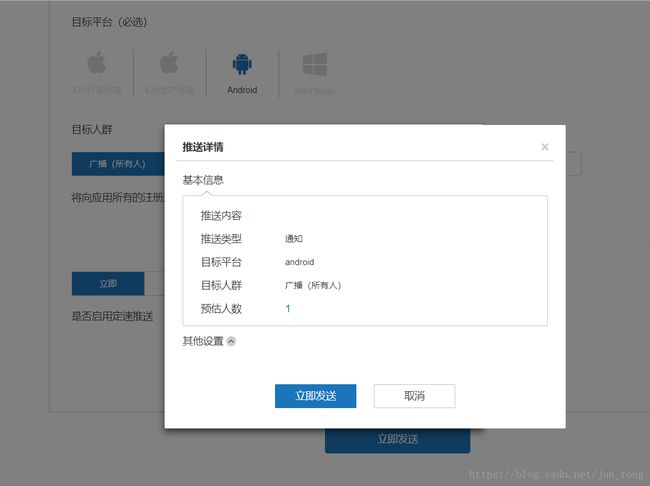
在回到极光平台:点击打开链接
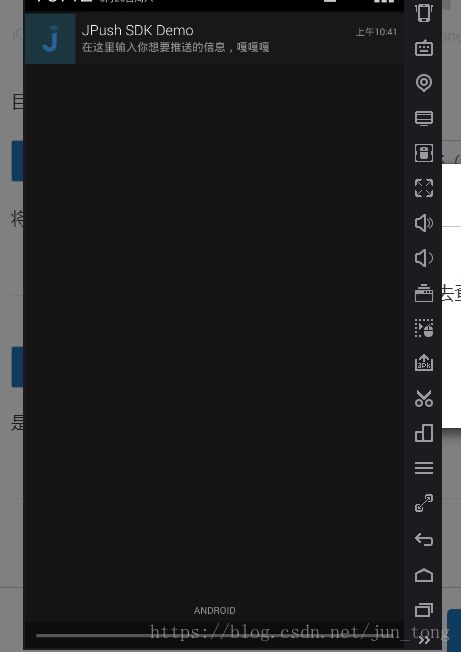
哈哈哈,然后你就可以收到推送的消息啦,是不是很简单呢!!!
最后在附上完整的AndroidManifest.xml清单文件:
android:protectionLevel="signature" />
android:allowBackup="true"
android:icon="@mipmap/ic_launcher"
android:label="@string/app_name"
android:roundIcon="@mipmap/ic_launcher_round"
android:supportsRtl="true"
android:theme="@style/AppTheme">
android:theme="@style/MyDialogStyle"
android:exported="false">
android:configChanges="orientation|keyboardHidden"
android:theme="@android:style/Theme.NoTitleBar"
android:exported="false">
android:process=":pushcore"
android:exported="false">
android:name="cn.jpush.android.service.DataProvider"
android:process=":pushcore"
android:exported="false"
/>
android:enabled="true"
android:exported="true">
android:name="cn.jpush.android.service.DownloadProvider"
android:exported="true"
/>
android:enabled="true"
android:exported="false">
android:exported="false"
android:enabled="true">
