Spring Cloud Alibaba(1)Spring Cloud搭建nacos最新版微服务体系快速入门 带源码
目录
1. 提供者-注册中心-消费者
2. 项目介绍:
源码地址:
3. 搭建nacos
4.搭建nacos-provider提供者
5.搭建nacos-consumer消费者
1. 提供者-注册中心-消费者
这是快速搭建spring cloud alibaba nacos0.9微服务体系的提供者-注册中心-消费者流程,开箱即用。
2. 项目介绍:
使用技术有spring cloud alibaba nacos0.9+spring cloud feign+spring boot2.x。
源码地址:
https://gitee.com/acelee723/acelee-SpringCloudAlibaba-nacosDemo
nacos0.8.0 服务注册中心
nacos-provider 服务提供者
nacos-consumer 服务消费者
3. 搭建nacos
什么是Nacos?参考官方文档https://nacos.io/zh-cn/docs/what-is-nacos.html
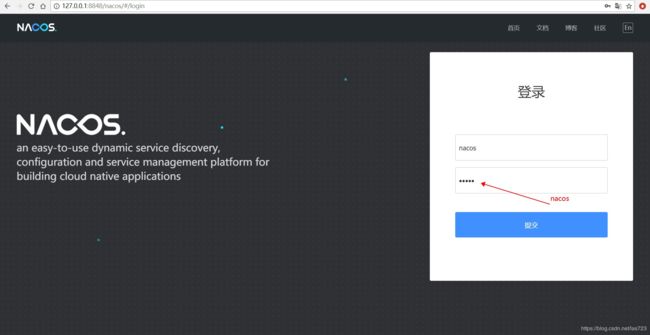
1)从官网https://github.com/alibaba/nacos/releases下载nacos-server-0.9.0.zip或者0.8.0.zip,我这里用的8。下载完毕后解压,打开bin目录下,双击startup.cmd启动,访问http://127.0.0.1:8848/nacos可以看到nacos登陆页面,默认账户名和密码都是nacos

4.搭建nacos-provider提供者
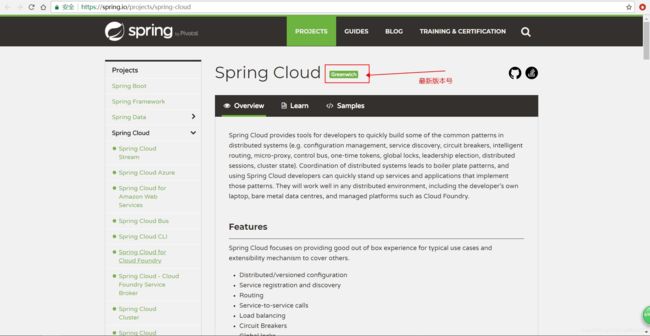
1)pom添加依赖,spring boot版本2.x,spring cloud版本Greenwich.RELEASE(最新版本查看https://spring.io/projects/spring-cloud)
    4.0.0

        org.springframework.boot
        spring-boot-starter-parent
        2.1.3.RELEASE


    nacos-provider
    nacos-provider
    Demo project for nacos-provider


        1.8
        Greenwich.RELEASE


            org.springframework.boot
            spring-boot-starter-web


            org.springframework.boot
            spring-boot-starter-test
            test


            org.springframework.cloud
            spring-cloud-starter-alibaba-nacos-discovery
            0.2.1.RELEASE


                org.springframework.cloud
                spring-cloud-dependencies
                ${spring-cloud.version}
                pom
                import


                org.springframework.boot
                spring-boot-maven-plugin
2)application.yml配置文件增加属性,server-addr对应的是nacos启动的地址和端口。
server:
  port: 8888
spring:
  application:
    name: nacos-provider
  cloud:
    nacos:
      discovery:
        server-addr: 127.0.0.1:8848
3) 启动类增加@EnableDiscoveryClient
package com.acelee.provider;

import org.springframework.boot.SpringApplication;
import org.springframework.boot.autoconfigure.SpringBootApplication;
import org.springframework.cloud.client.discovery.EnableDiscoveryClient;

@SpringBootApplication
@EnableDiscoveryClient
public class NacosProviderApplication {

    public static void main(String[] args) {
        SpringApplication.run(NacosProviderApplication.class, args);
    }

}
4)增加controller包,下面新增HelloController类。
package com.acelee.provider.controller;

import org.springframework.web.bind.annotation.RequestMapping;
import org.springframework.web.bind.annotation.RequestParam;
import org.springframework.web.bind.annotation.RestController;

/**
 * @Auther: Ace Lee
 * @Date: 2019/3/14 14:14
 */
@RestController
public class HelloController {

    @RequestMapping("/hello")
    public String hello(@RequestParam("name")String name){
        return "Hello "+name+", this is nacos-provider message.";
    }
}
5)启动nacos-provider,可以看到nacos服务列表多了一个服务


6)访问http://localhost:8888/hello?name=acelee返回:Hello acelee, this is nacos-provider message. 证明服务正常启动
![]()
5.搭建nacos-consumer消费者
1)pom添加依赖,spring boot版本2.1x,spring cloud版本Greenwich.RELEASE(用最新版本)
    4.0.0

        org.springframework.boot
        spring-boot-starter-parent
        2.1.3.RELEASE


    nacos-consumer
    nacos-consumer
    Demo project for nacos-consumer


        1.8
        Greenwich.RELEASE


            org.springframework.boot
            spring-boot-starter-web


            org.springframework.cloud
            spring-cloud-starter-openfeign


            org.springframework.boot
            spring-boot-starter-test
            test


            org.springframework.cloud
            spring-cloud-starter-alibaba-nacos-discovery
            0.2.1.RELEASE


                org.springframework.cloud
                spring-cloud-dependencies
                ${spring-cloud.version}
                pom
                import


                org.springframework.boot
                spring-boot-maven-plugin
2)application.yml配置文件增加属性
server:
  port: 8889
spring:
  application:
    name: nacos-consumer
  cloud:
    nacos:
      discovery:
        server-addr: 127.0.0.1:8848
3) 启动类增加@EnableDiscoveryClient和@EnableFeignClients
package com.acelee.consumer;

import org.springframework.boot.SpringApplication;
import org.springframework.boot.autoconfigure.SpringBootApplication;
import org.springframework.cloud.client.discovery.EnableDiscoveryClient;
import org.springframework.cloud.openfeign.EnableFeignClients;

@SpringBootApplication
@EnableDiscoveryClient
@EnableFeignClients
public class NacosConsumerApplication {

    public static void main(String[] args) {
        SpringApplication.run(NacosConsumerApplication.class, args);
    }

}
4)新增service包,下面新增HelloService接口
- @FeignClient("")里面的值对应nacos-provider服务提供者的spring.application.name属性的值;
- hello方法的路径和参数必须和nacos-provider服务提供者保持一致;
package com.acelee.consumer.service;

import org.springframework.cloud.openfeign.FeignClient;
import org.springframework.web.bind.annotation.RequestMapping;
import org.springframework.web.bind.annotation.RequestParam;

/**
 * @Auther: Ace Lee
 * @Date: 2019/3/14 14:03
 */
@FeignClient("nacos-provider")
public interface HelloService {

    @RequestMapping("/hello")
    String hello(@RequestParam("name")String name);
}
5)新增controller包,下面新增HelloController类,注入HelloService
package com.acelee.consumer.controller;

import com.acelee.consumer.service.HelloService;
import org.springframework.beans.factory.annotation.Autowired;
import org.springframework.web.bind.annotation.PathVariable;
import org.springframework.web.bind.annotation.RequestMapping;
import org.springframework.web.bind.annotation.RestController;

/**
 * @Auther: Ace Lee
 * @Date: 2019/3/14 14:05
 */
@RestController
public class HelloController {

    @Autowired
    private HelloService helloService;

    @RequestMapping("/hello/{name}")
    public String hello(@PathVariable String name){
        return helloService.hello(name);
    }

}
6)启动consumer消费者,可以看到nacos服务列表又多了一个服务
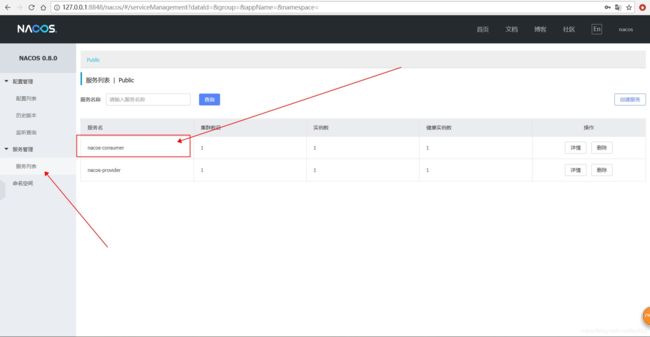
7)访问http://localhost:8889/hello/acelee返回:Hello acelee, this is nacos-provider message.证明消费者启动正常,且已经调用提供者服务成功。
![]()
欢迎关注博主博客,后期博主会持续更新spring cloud alibaba 系列文章,敬请期待!