-第一步:注册帐号
注册帐号地址:
https://bintray.com/signup/oss,https://bintray.com/signup/oss,https://bintray.com/signup/oss(重要的事情说三遍,不要自己在百度搜bintrary官网注册,不听劝者,后果自负,(对,没错,这就是我遇到的最后一个坑,我现在拿到第一步来说))
-第二步:创建仓库
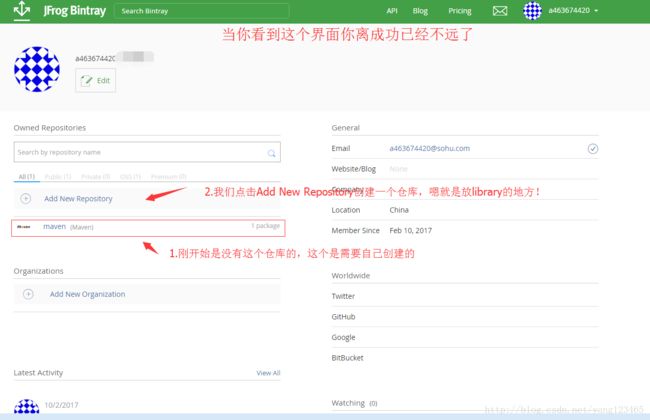
当我们成功的注册了帐号并且成功了登录的时候(嗯,你说的没错,我注册帐号花了1个小时,当时死磕QQ163邮箱,平时就用这俩,哈哈)
-第三步:获取bintray帐号Key
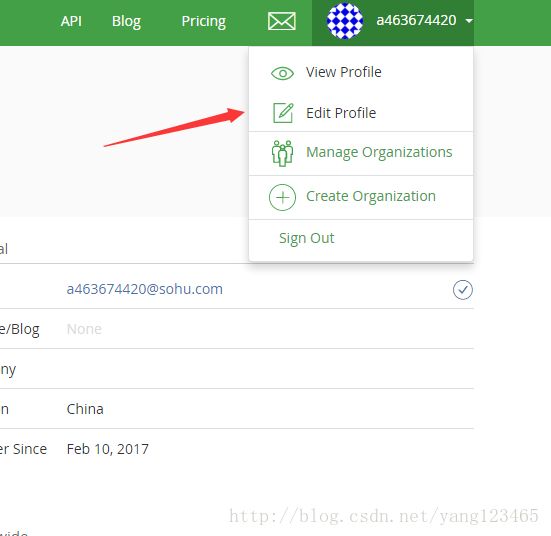
步骤一:
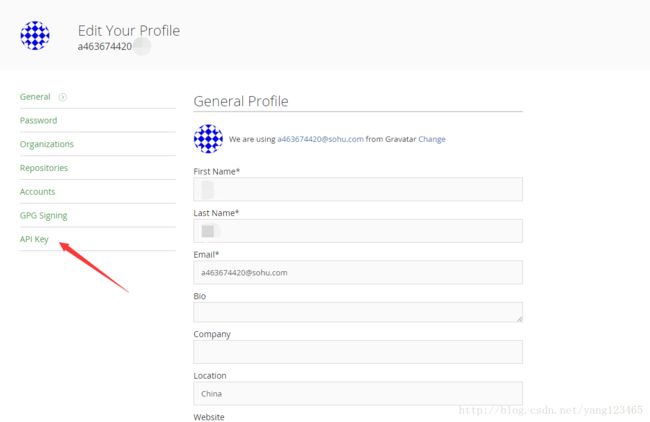
步骤二:
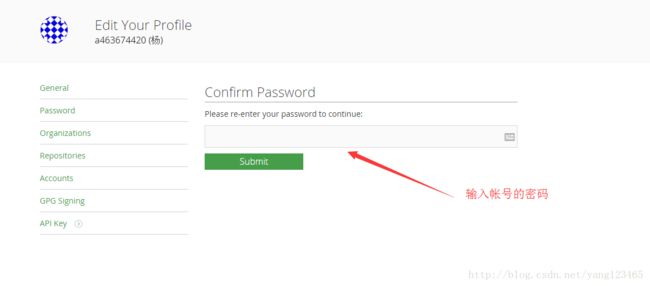
步骤三:
步骤四:
到这里,JCenter线上操作已经完成,接下来我们开始配置AndroidLibrary项目
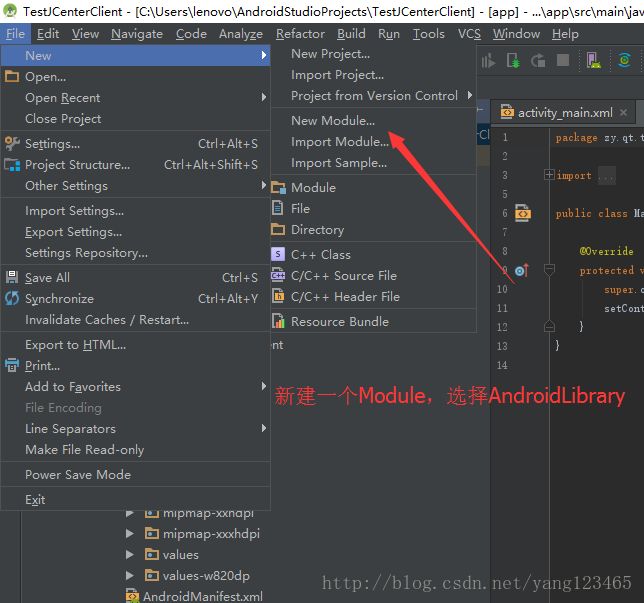
AndroidLibrary区
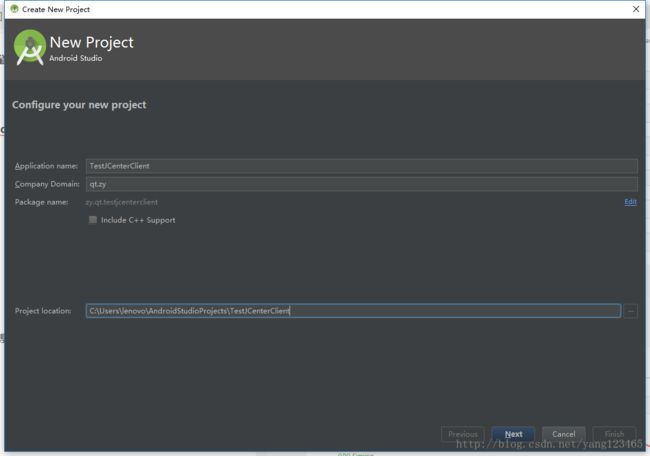
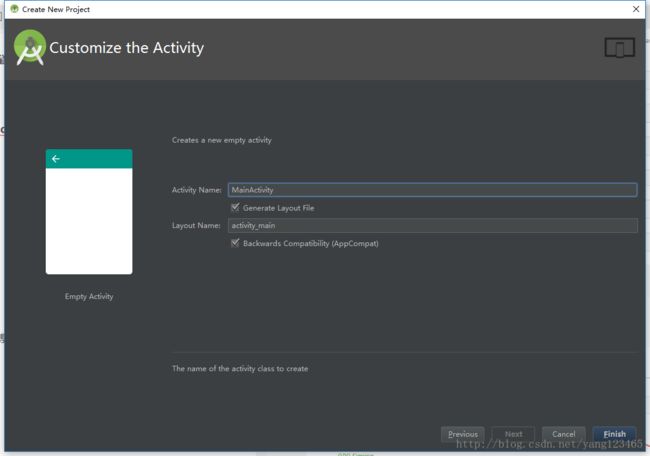
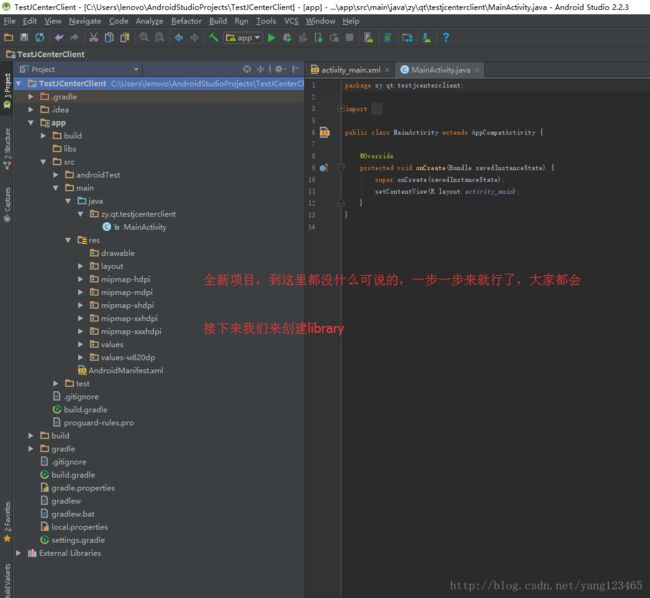
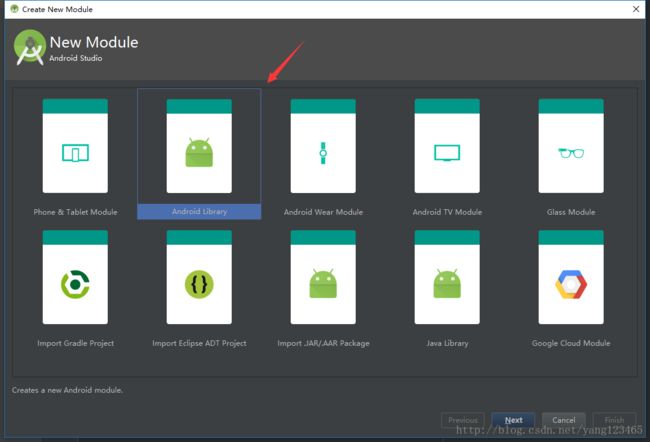
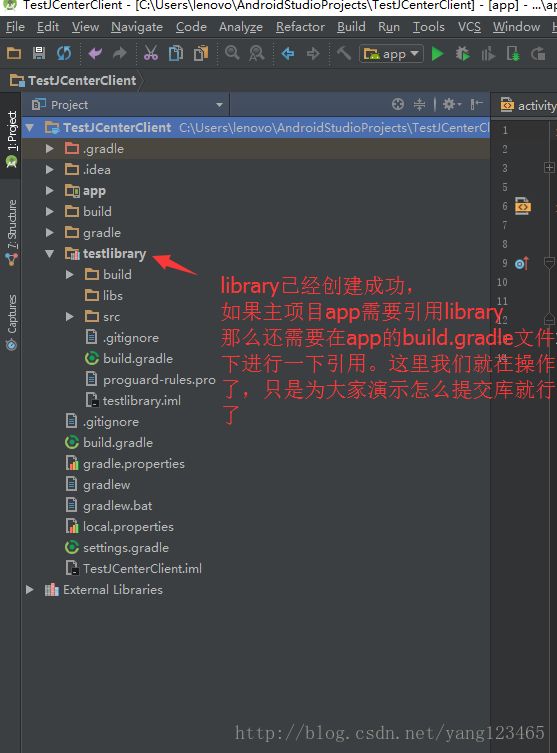
0.创建一个全新的Android项目
在
dependencies {
    classpath 'com.android.tools.build:gradle:2.2.3'

    // NOTE: Do not place your application dependencies here; they belong
    // in the individual module build.gradle files
}
添加
classpath 'com.novoda:bintray-release:0.8.0'
最终结果:
dependencies {
    classpath 'com.android.tools.build:gradle:2.2.3'
    classpath 'com.novoda:bintray-release:0.8.0'
    // NOTE: Do not place your application dependencies here; they belong
    // in the individual module build.gradle files
}
3.配置Library的build.gradle
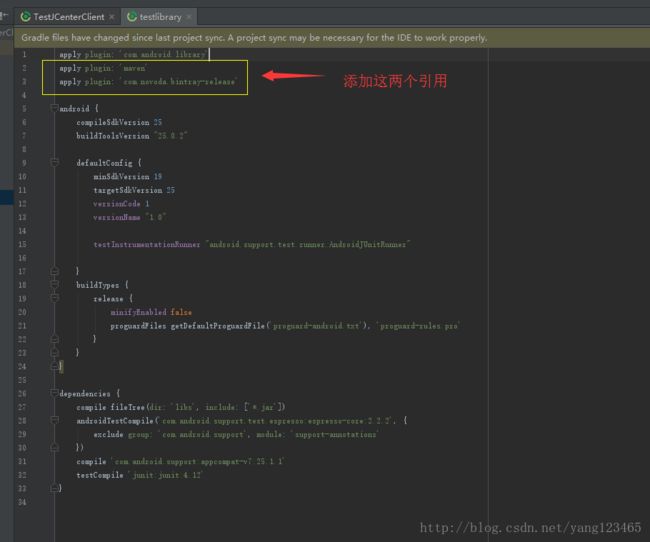
在文件顶部添加
apply plugin: 'maven'
apply plugin: 'com.novoda.bintray-release'
最终结果:
apply plugin: 'com.android.library'
apply plugin: 'maven'
apply plugin: 'com.novoda.bintray-release'
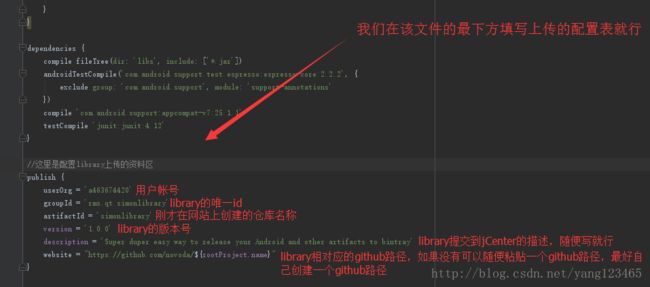
publish {
    userOrg = '***'
    groupId = 'com.wawi.android.utils'
    artifactId = 'utils'
    version = '0.0.1'
    description = '这是一个utils的集合'

 website = "https://github.com/novoda/$ rootProject.name"
}
提交到JCenter仓库
gradlew clean build bintrayUpload -PbintrayUser=****** -PbintrayKey=****************************-PdryRun=false --info
提交到github 上就改成这
website = "https://github.com/laogong/wawiUtils"
这是提交到自己的github
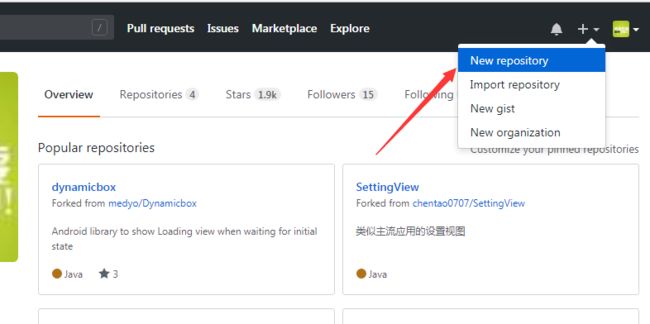
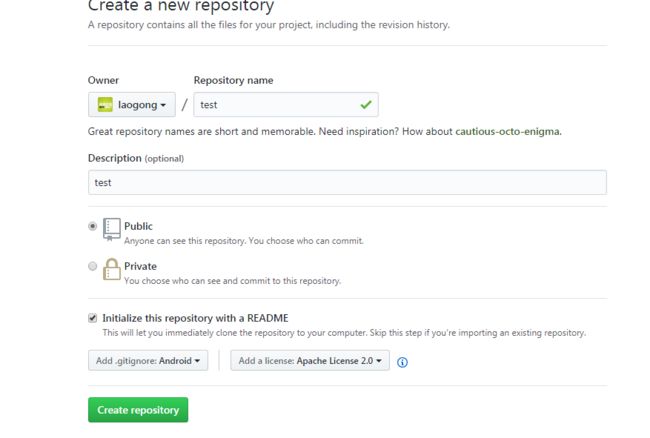
还要在github上新建
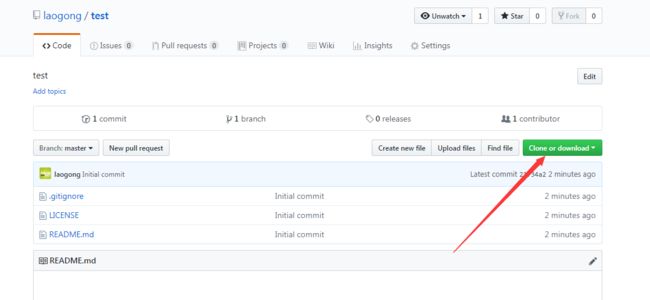
创建成功之后 克隆到本地
接下来就到本地操作了,首先右键你的项目,如果你之前安装git成功的话,右键会出现两个新选项,分别为Git Gui Here,Git Bash Here,这里我们选择Git Bash Here,进入如下界面,waiwidemo即为我的项目名。
接下来输入如下代码(关键步骤),把github上面的仓库克隆到本地
出现这种情况说明没有创建私钥公钥
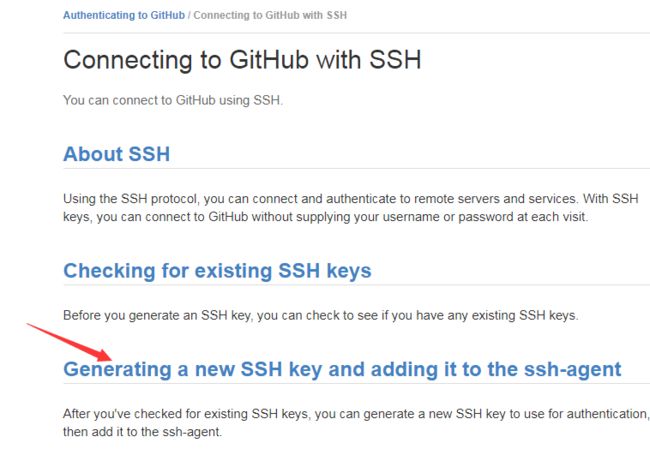
一步步创建吧
进去一步步的照着敲
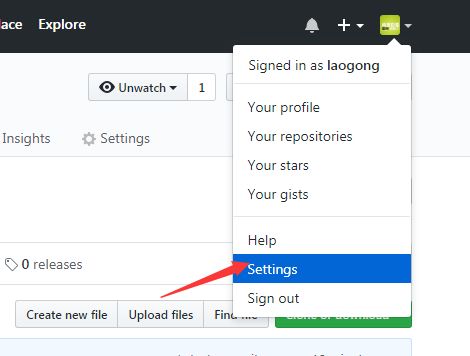
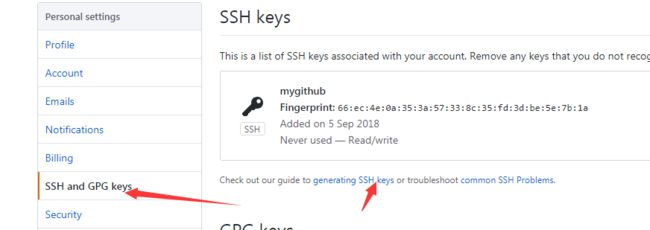
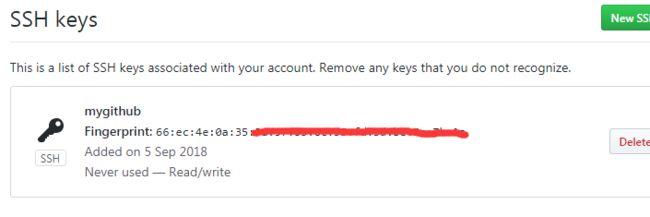
把得到的秘钥复制到github上去保存
然后提交
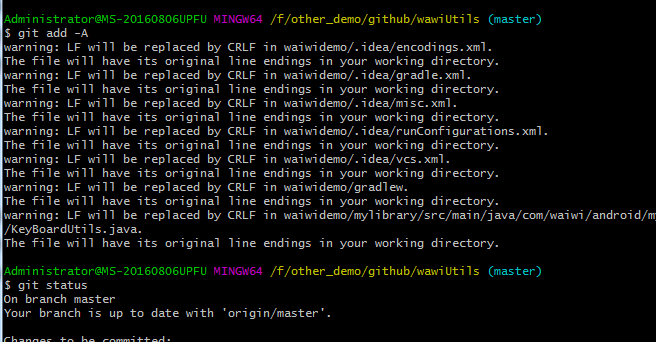
git add -A
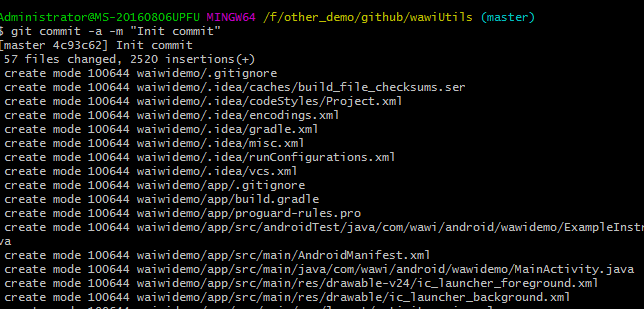
git commit -a -m "Init commit"
登陆
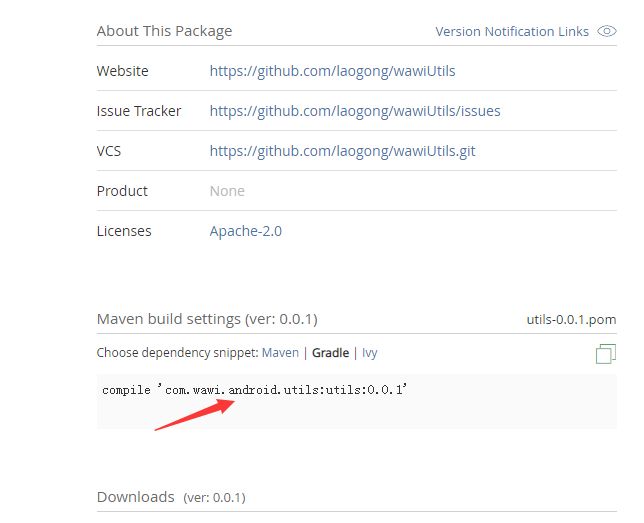
这样就能引用了
也可以用sourcetree提交到github
https://www.sourcetreeapp.com/ 下载下来 安装
需要跳过登录 在安装目录新建:
%LocalAppData%\Atlassian\SourceTree
新建 accounts.json 文件
[
  {
    "$id": "1",
    "$type": "SourceTree.Api.Host.Identity.Model.IdentityAccount, SourceTree.Api.Host.Identity",
    "Authenticate": true,
    "HostInstance": {
      "$id": "2",
      "$type": "SourceTree.Host.Atlassianaccount.AtlassianAccountInstance, SourceTree.Host.AtlassianAccount",
      "Host": {
        "$id": "3",
        "$type": "SourceTree.Host.Atlassianaccount.AtlassianAccountHost, SourceTree.Host.AtlassianAccount",
        "Id": "atlassian account"
      },
      "BaseUrl": "https://id.atlassian.com/"
    },
    "Credentials": {
      "$id": "4",
      "$type": "SourceTree.Model.BasicAuthCredentials, SourceTree.Api.Account",
      "Username": "",
      "Email": null
    },
    "IsDefault": false
  }
]
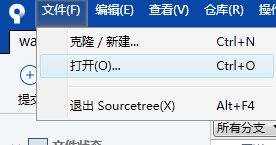
成功时候打开本地项目
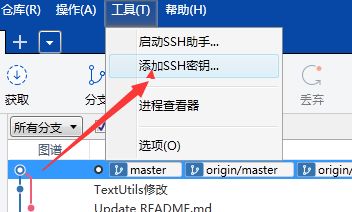
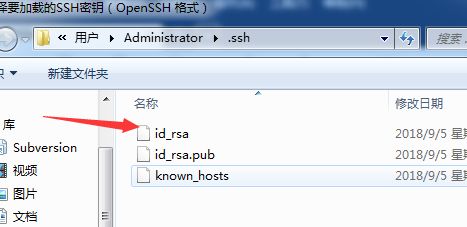
添加ssh秘钥
弹出dos命令 输入密码
先拉取再提交

