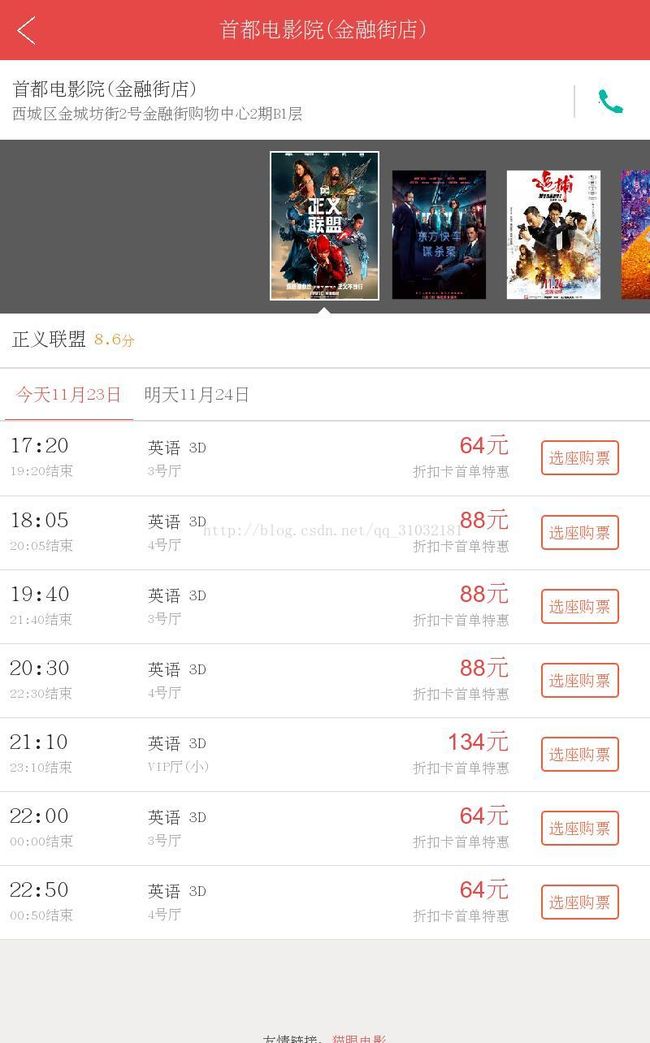
Selenium + PhantomJS + python图片全屏截取+定位坐标+抠图+图片识别
Selenium + PhantomJS + python图片全屏截取+定位坐标+抠图+图片识别 硬核破解猫眼加密
1.原图片(全屏截图)
import pytesseract
from PIL import Image
from selenium import webdriver
from selenium.webdriver.common.desired_capabilities import DesiredCapabilities
#设置浏览器参数,伪装成浏览器
dcap = dict(DesiredCapabilities.PHANTOMJS) #设置userAgent
dcap["phantomjs.page.settings.userAgent"] = ("Mozilla/5.0 (Macintosh; Intel Mac OS X 10.9; rv:25.0) Gecko/20100101 Firefox/25.0 ")
#打开浏览器并访问指定地址
wb = webdriver.PhantomJS(desired_capabilities=dcap)
url = "http://m.maoyan.com/shows/149?_v_=yes"
#窗口调成最大,方便截图
wb.maximize_window()
wb.get(url)
#定位到需要截图的div,或者标签位置。(注:此步骤是为了后续二次截图使用)
imgelement = wb.find_element_by_xpath('//div[@class="showtime-list"]/table/tbody/tr[1]/td[3]/span/span')
#图片坐标。(注:图片坐标为标签相对整个截图的坐标位置)
locations = imgelement.location
print(locations)
#图片大小
sizes = imgelement.size
print(sizes)
# 构造指数的位置,计算出需要截图的长宽、高度等
rangle = (int(locations['x']),int(locations['y']),int(locations['x'] + sizes['width']),int(locations['y'] + sizes['height']))
print rangle
# 截取当前浏览器。path1:存储全屏图片,path2:存储二次截图的图片
path1 = "/home/XXX/maoyan_shotImage/maoyan_PSeat_image/" + str(2)
path2 = "/home/XXX/maoyan_shotImage/maoyan_seat_image/" + str(2)
wb.save_screenshot(str(path1) + ".png")
# 打开截图切割,python一个库,尺寸就是上边调好的参数。
img = Image.open(str(path1) + ".png")
jpg = img.crop(rangle)
jpg.save(str(path2) + ".png")
print "图片截取成功!"
#图像识别。注:OCR识别的准确度是可以训练的,本图片不存在误差,顾不需要训练
#但是本教程部分步骤也适用验证码识别,则需要进行图片训练,有兴趣的可以百度一下。
image = Image.open(str(path2) + ".png")
image.load()
code = pytesseract.image_to_string(image)
print "图片内容识别为:"
print code
#关闭浏览器
wb.close()
print "结束"
2.定位坐标截图后的图片
![]()
3.识别后
64
大数据、数据分析、爬虫群: 《453908562》
