为Centos 7-docker镜像源码安装openssh-server7.9躲过漏扫
最近公司进行漏扫,所有的镜像由于openssh-server版本太低,22端口被扫出来,可以通过枚举法进入系统。存在严重的安全风险。
系统镜像:Centos7.3.16.11
1.按照镜像仓库中的镜像创建centos7.3容器
docker runt -d --privileged=true --name test centos /usr/sbin/init
2.进入容器,并创建 /opt/software/目录。将下载好的tar包上传到Linux上,我的tar包存放位置目录是:/opt/software
openssl-1.1.1b.tar.gz下载方式:
wget https://www.openssl.org/source/openssl-1.1.1c.tar.gzopenssh-7.9p1.tar.gz
wget http://cdn.openbsd.org/pub/OpenBSD/OpenSSH/portable/openssh-7.9p1.tar.gz
3.将yum源更换成阿里的源(此处不做讲解,可以自行百度)
4.使用yum 安装 编译工具
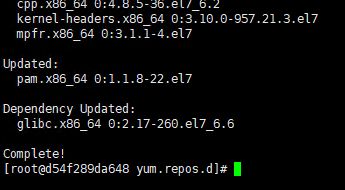
yum -y install gcc make perl zlib zlib-devel pam pam-devel5.安装openSSH之前,首先要安装OpenSSL。
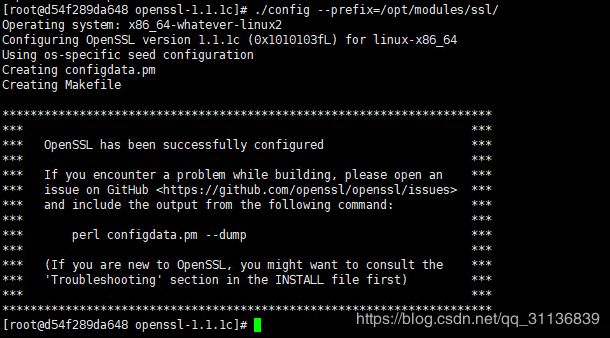
tar -zxvf ./openssl-1.1.1c.tar.gz -C ./到解压目录执行config 配置编译后安装目录:
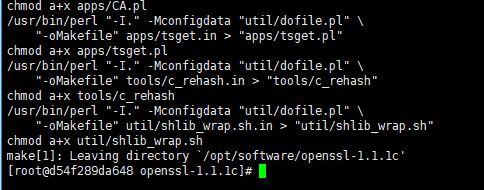
./config --prefix=/opt/modules/ssl/使用 make 来编译
编译后,使用make install 来安装
为Openssl库创建软连接,定位到正确位置
ln -s /opt/modules/ssl/lib/libssl.so.1.1 /usr/lib64/libssl.so.1.1

ln -s /opt/modules/ssl/lib/libcrypto.so.1.1 /usr/lib64/libcrypto.so.1.1
查看openssl 版本
/opt/modules/ssl/bin/openssl version将OpenSSL添加到环境变量
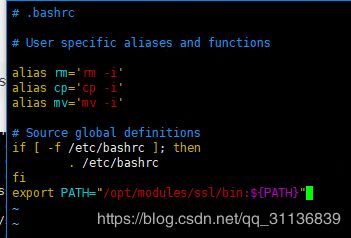
vi ~/.bashrc在最后添加PATH
export PATH="/opt/modules/ssl/bin:${PATH}"
查看环境变量是否添加成功
whereis openssl6.接下来安装openssh-7.9p1
(1) 解压OpenSSH的tar包并去到解压目录下
tar -zxvf openssh-7.9p1.tar.gz -C ./

cd openssh-7.9p1
(2)执行config
./configure --prefix=/opt/modules/ssh --sysconfdir=/etc/ssh --with-ssl-dir=/opt/modules/ssl(3) 执行make命令进行编译
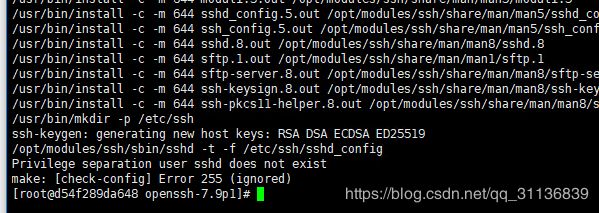
(4) 执行make install 安装
安装过程中会报一个权限的问题,此处可以先不用管,后面手动修改权限即可。
(5)验证版本
/opt/modules/ssh/bin/ssh -V(6) 设置sshd开机自启
cp /opt/software/openssh-7.9p1/contrib/redhat/sshd.init /etc/init.d/sshd(7)给sshd赋权
chmod u+x /etc/init.d/sshd(8)添加sshd服务
chkconfig --add sshd(9)替换配置文件
cp /opt/software/openssh-7.9p1/sshd_config /etc/ssh/sshd_config(10)修改配置文件sshd_config,将subsystem sftp路径变更为实际路径
vi /etc/ssh/sshd_config(11)备份命令
cd /usr/sbin
mv ./sshd ./sshd_bak
(12)拷贝命令
cp /opt/modules/ssh/bin/* /usr/bin/
cp /opt/modules/ssh/sbin/sshd /usr/sbin/
(13)修改配置文件sshd_config,密码认证和允许root用户远程直接登录
vi /etc/ssh/sshd_config


#PasswordAuthentication yes 行取消注释
PasswordAuthentication yes
并在下面添加:
PermitRootLogin yes
(14)修改安装过程中出现的权限问题
chmod 600 /etc/ssh/*(15)拷贝ssh-keygen和sshd文件
cp /opt/modules/ssh/bin/ssh-keygen /usr/bin/
cp /opt/modules/ssh/sbin/sshd /usr/sbin/
(15)修改 passwd
vi /etc/passwd

最后添加
sshd:x:74:74:Privilege-separated SSH:/var/empty/sshd:/sbin/nologin
(16)修改 /etc/rc.d/init.d/sshd
vim /etc/rc.d/init.d/sshd 注释16行:
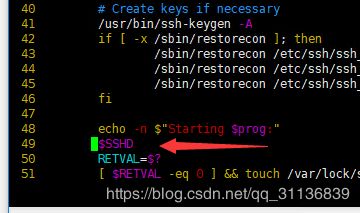
修改49行为
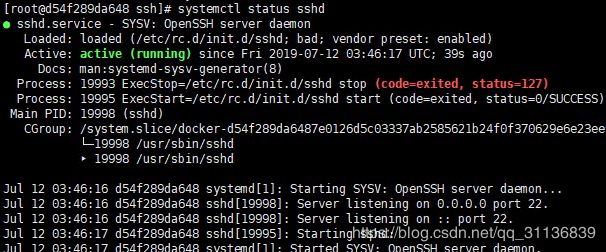
(18)重启sshd并查看状态
systemctl restart sshd至此 ,我们升级完成了,可以打成基础镜像了
7.配置sftp+httpd(apache)
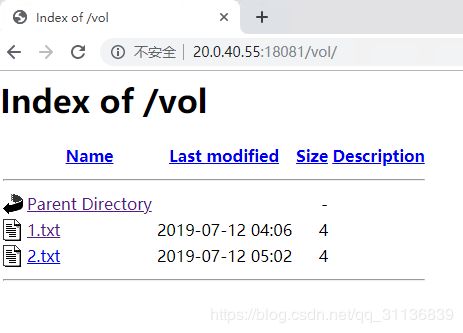
(1)创建 sftp上传文件的目录
mkdri -p /home/volume/vol(2) yum 安装 httpd
yum -y install httpd(3)创建sftp用户为其制定目录(ps:记住为www用户创建密码哦~)
useradd -M -d /home/volume/vol www
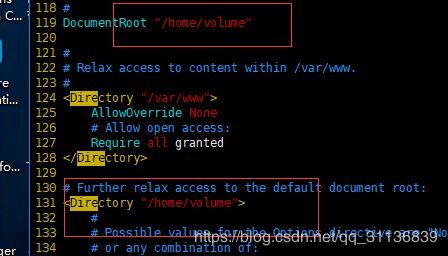
(4) 修改httpd目录/var/www/html 目录为 /home/volume
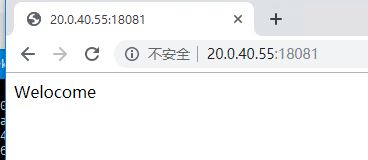
重写index.html页面
echo "Welcome ....." > /home/volume/index.html(5) 编辑 /etc/ssh/sshd_config 文件
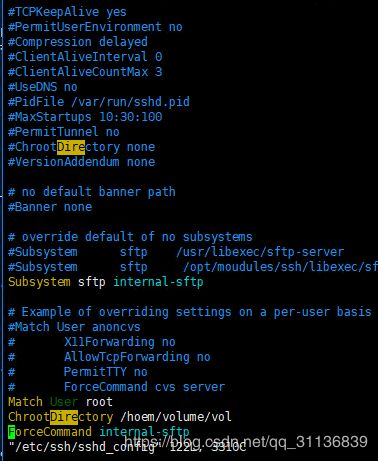
vim /etc/ssh/sshd_config以下为修改内容:
Subsystem sftp internal-sftp

Match User root
ChrootDirectory /hoem/volume/vol
ForceCommand internal-sftp
(6)修改权限
chmod 755  -R /home/volume/
chown www -R /home/volume/
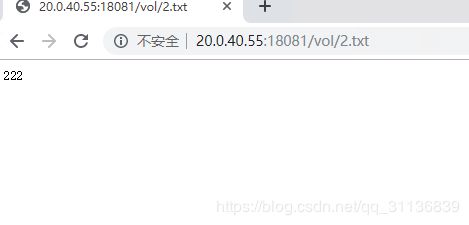
(7)重启httpd sshd设置开机自启及验证。
systemctl restart httpd && systemctl enabel httpd
systemctl restart  sshd && systemctl enable sshd
