快速搭建简单的Tomcat+nginx集群
一 Tomcat集群可以带来什么
1.提高服务的性能,并发能力,以及高可用性
2.提供项目架构的横向扩展能力
二 实现原理
通过Nginx负载均衡进行请求转发(本篇nginx负载均衡所用策略为权重)
三 Tomcat集群后带来的新的问题
session登录信息存储及读取的问题
服务器定时任务并发的问题
等等等
暂时解决方案:采用nginx ip hash 策略,即每个请求按访问IP的hash结果分配,这样以来,来自同一个IP固定访问一个后 端服务器
该方案优点:可以不改变现有的技术架构,直接实现横向扩展(非常省事,就是一条语句的事)
缺点:
1.导致服务器请求(负载)不平均,完全依赖于ip hash的结果
2.在客户端ip不断变化的环境下无法服务
具体的解决方案请看下篇博客,嘿嘿留个关子。
接下来回归正题
四 正式搭建(这里以单机部署多应用为例,多机部署多应用更简单)
系统:centos7
Tomcat:tomcat7
nginx: 1.10.2
1. 在一台服务器中安装两个Tomcat(安装过程省略。。),并在/etc/profile中添加Tomcat环境变量
安装两个Tomcat
添加环境变量:
2. 变更Tomcat中的端口号等会冲突的属性
首先,tomcat1保持不变,安装后啥样就啥样
打开tomcat2的bin目录下的catalina.sh, 并找到# OS specific support. $var _must_ be set to either true or false.
在这一行底下添加如下:
打开tomcat2下conf目录中的server.xml,更改三个冲突端口
第一个:Server port节点,在原端口号上加1000,具体多少随便
第二个: Connector port 同样加1000
第三个: Connector port protocol
3 分别进入两个Tomcat的bin目录,启动Tomcat
startup.sh
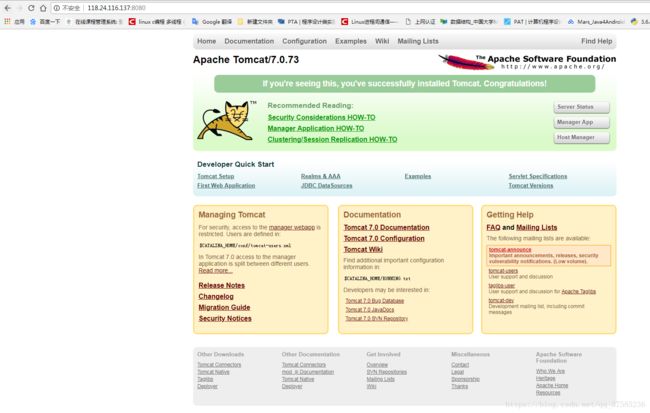
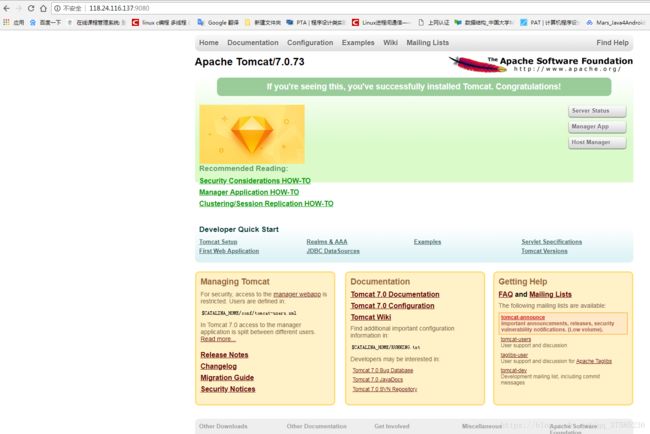
浏览器分别访问8080和9080端口验证是否配置成功
4 若想继续部署多个Tomcat实例,依照上述方法就行(端口号必须不能重复!!!)
五 nginx负载均衡配置(安装省略。。。)
在nginx.conf中添加如下语句,为的是可以不用将Server挤在一个conf下
创建vhost文件夹:
编写upstream.conf负载均衡配置文件
upstream luyue {
server 118.24.116.137:8080 weight=1;
server 118.24.116.137:9080 weight=1;
}
server {
listen 80;
server_name 106.12.20.136;
#charset koi8-r;
#access_log /var/log/nginx/host.access.log main;
location / {
proxy_pass http://luyue;
}
#error_page 404 /404.html;
# redirect server error pages to the static page /50x.html
#
error_page 500 502 503 504 /50x.html;
location = /50x.html {
root /usr/share/nginx/html;
}
# proxy the PHP scripts to Apache listening on 127.0.0.1:80
#
#location ~ \.php$ {
# proxy_pass http://127.0.0.1;
#}
# pass the PHP scripts to FastCGI server listening on 127.0.0.1:9000
#
#location ~ \.php$ {
# root html;
# fastcgi_pass 127.0.0.1:9000;
# fastcgi_index index.php;
# fastcgi_param SCRIPT_FILENAME /scripts$fastcgi_script_name;
# include fastcgi_params;
#}
# deny access to .htaccess files, if Apache's document root
# concurs with nginx's one
#
#location ~ /\.ht {
# deny all;
#}
}
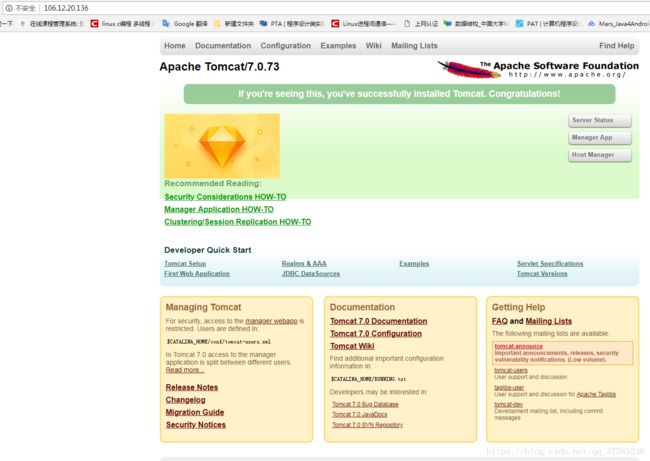
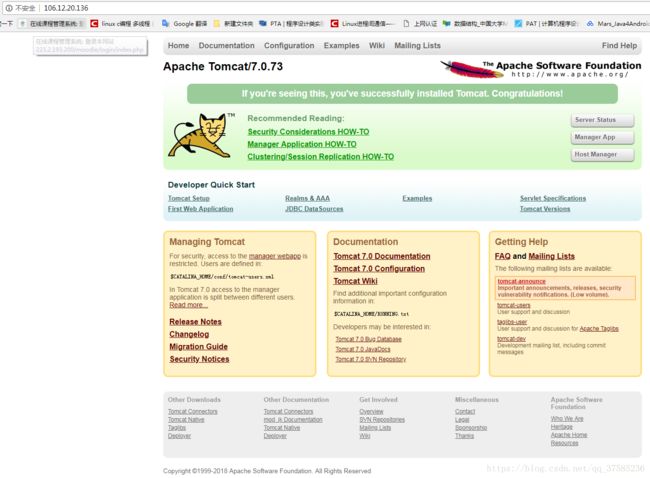
重启nginx,在浏览器中访问(注意浏览器缓存问题)
若要识别两次有什么不同,将Tomcat下webapps下的ROOT目录下的tomcat.png换成别的图片
![]()
至此,完成,谢谢观看。


