wax最新github托管地址 :https://github.com/alibaba/wax
现在由alibaba进行代码的维护.
功能1 代码覆盖
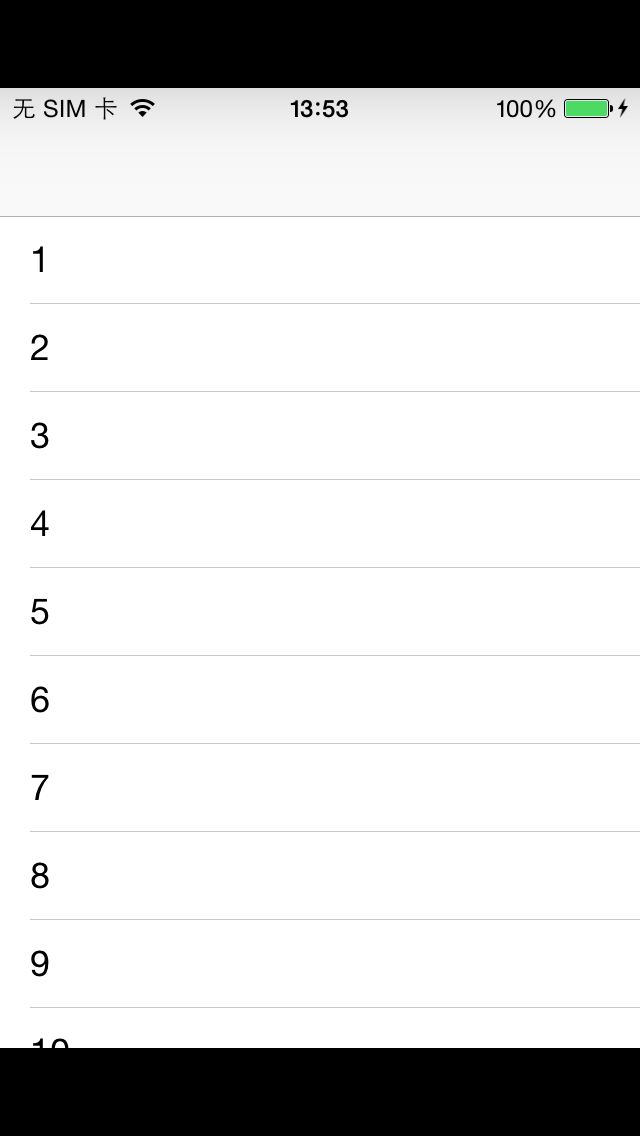
原始OB代码
 @implementation MainViewController

- (NSInteger)tableView:(UITableView *)tableView numberOfRowsInSection:(NSInteger)section {
    return 10;
}

- (UITableViewCell *)tableView:(UITableView *)tableView cellForRowAtIndexPath:(NSIndexPath *)indexPath {
    UITableViewCell *cell = [[UITableViewCell alloc] initWithStyle:UITableViewCellStyleSubtitle reuseIdentifier:@"Cell"];
    cell.textLabel.text = [NSString stringWithFormat:@"%d", indexPath.row + 1];
    return cell;
}
- (void)tableView:(UITableView *)tableView didSelectRowAtIndexPath:(NSIndexPath *)indexPath
{
    ViewController *vc = [[ViewController alloc] init];
    [self.navigationController pushViewController:vc animated:YES];
}
@end
画面效果图:
覆盖的lua代码
 waxClass{"MainViewController", UITableViewController}

function tableView_cellForRowAtIndexPath(self, tableView, indexPath)
    local cell = self:ORIGtableView_cellForRowAtIndexPath(tableView, indexPath)
    cell:textLabel():setText("" .. (10 - indexPath:row()))
    cell:detailTextLabel():setText("zhaozihui")
    cell:textLabel():setTextColor(UIColor:redColor())
    return cell
end
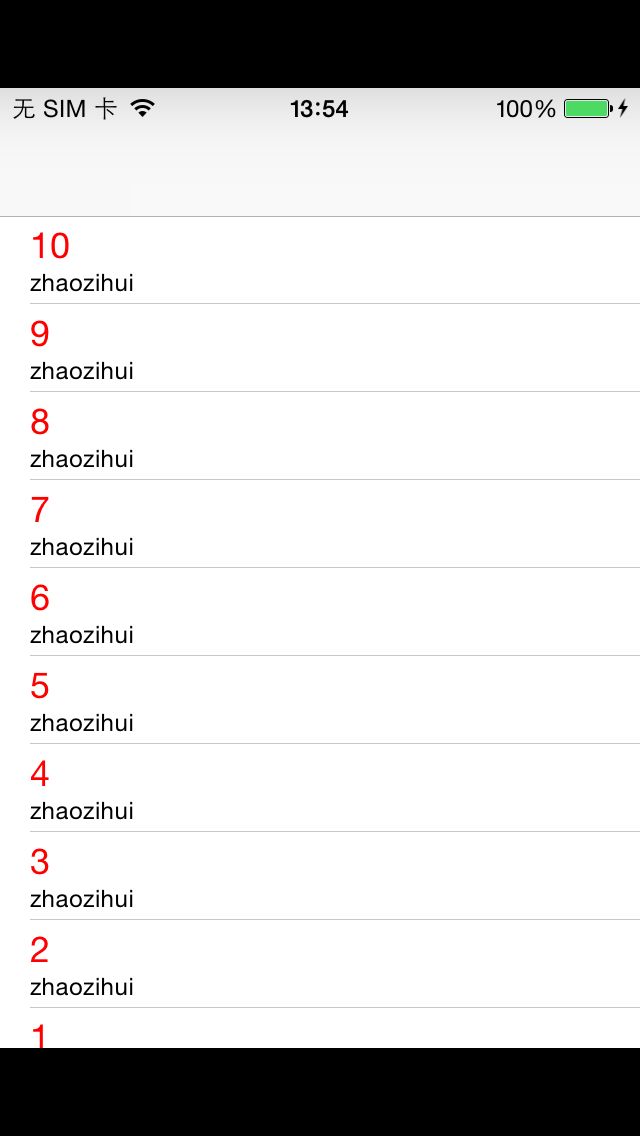
覆盖后画面效果图:
功能就是替换每个cell中的显示内容
功能2 控制画面逻辑
在功能1 的基础上覆盖OC的画面逻辑
原始代码逻辑:
@implementation ViewController
{
    NSString *testStr;
}

- (void)viewDidLoad {
    [super viewDidLoad];
    testStr = @"显示内容";
    [self setTitle:@"我是标题OC"];
    // Do any additional setup after loading the view.
    [self.view setBackgroundColor:[UIColor whiteColor]];
    UIWebView *wb = [[UIWebView alloc] init];
    NSURLRequest *url = [NSURLRequest requestWithURL:[NSURL URLWithString:@""]];
    [wb loadRequest:url];

}

- (void)didReceiveMemoryWarning {
    [super didReceiveMemoryWarning];
    // Dispose of any resources that can be recreated.
}

- (NSInteger)tableView:(UITableView *)tableView numberOfRowsInSection:(NSInteger)section {
    return 2;
}

- (UITableViewCell *)tableView:(UITableView *)tableView cellForRowAtIndexPath:(NSIndexPath *)indexPath {
    UITableViewCell *cell = [[UITableViewCell alloc] initWithStyle:UITableViewCellStyleSubtitle reuseIdentifier:@"Cell"];
    cell.textLabel.text = testStr;
    return cell;
}
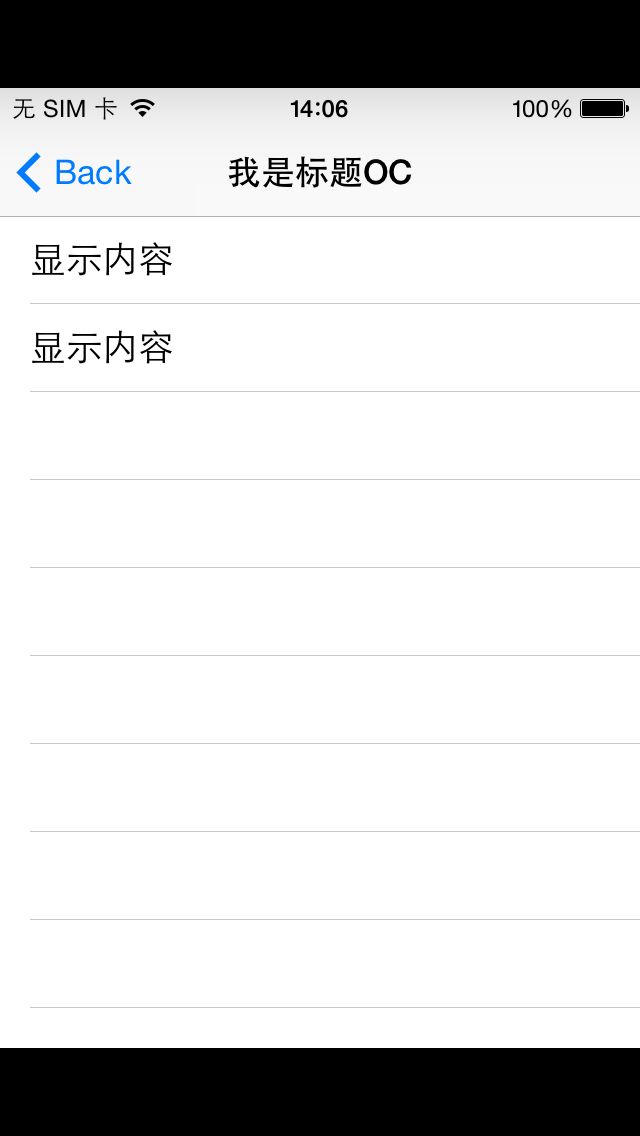
原始的画面效果:
新的lua代码可以改变原始代码的显示和逻辑控制
以下的代码控制原始的oc的controller 跳转到一个新的lua制作的页面
require "SimpleMapController"

waxClass{"ViewController", UITableViewController}

local string = "a string"
function viewDidLoad(self)
 testStr = "哈哈哈我是lua的cell内容"
 self:setTitle("我是标题LUA");
end

function tableView_cellForRowAtIndexPath(self, tableView, indexPath)
    local cell = self:ORIGtableView_cellForRowAtIndexPath(tableView, indexPath)
    cell:textLabel():setText("" .. indexPath:row())
    cell:detailTextLabel():setText(testStr)
    cell:textLabel():setTextColor(UIColor:redColor())
    cell:detailTextLabel():setTextColor(UIColor:greenColor())
    return cell
end

function tableView_didSelectRowAtIndexPath(self,tableView, indexPath)
    local mapController = SimpleMapController:alloc():init()
    self:navigationController():pushViewController_animated(mapController, true)
end
wax覆盖后的效果图:
不仅替换了画面的显示,还将cell的点击事件重新定义,定义到了一个心的wax制作的 SimpleMapController页面
完全使用wax书写一个页面
waxClass{"SimpleMapController", UIViewController}
function init(self)
  self.super:init()
  --设置title
  self:setTitle("States")
  self.trends = {}
  return self
end

function viewDidLoad(self)
--设置页面背景
  self:view():setBackgroundColor(UIColor:blueColor());
--自定义一个Label
  local label = UILabel:initWithFrame(CGRect(100, 100, 200, 100))
  label:setText("你好我是Lua界面")
  label:setTextColor(UIColor:redColor())
  self:view():addSubview(label)
--自定义一个Button
  local play = UIButton:buttonWithType(UIButtonTypeCustom)
  play:setFrame(CGRect(100,200, 100, 40))
  play:setTitle_forState("action",UIControlStateNormal);
  play:addTarget_action_forControlEvents(self,"onDeleteIconClick:",UIControlEventTouchUpInside)
  self:view():addSubview(play)
  --自定义一个webview
  local wb = UIWebView:initWithFrame(CGRect(0, 250, 320, 200))
  local url = NSURLRequest:requestWithURL(NSURL:URLWithString("http://www.163.com"));
  wb:loadRequest(url);
  self:view():addSubview(wb);


end
//Button 点击事件
function onDeleteIconClick(self, sender)
    alert("warning","YOU CAN");
end
//弹出框显示
function alert(title,content)
  UIAlertView:alloc():initWithTitle_message_delegate_cancelButtonTitle_otherButtonTitles(title,content,nil,"OK",nil):show()
end
画面效果:
Demo下载地址:https://github.com/zhaozihui/waxDemo


