一. UITabBarController
- 在使用初始化tabBarController的过程中,如果给其
set tabBarItems时像给其setViewControllers一样去set, (这样set viewControllers没问题,但是对于tabBarItems就有问题了)会报'Directly modifying a tab bar managed by a tab bar controller is not allowed.'这样的错误:
    func application(_ application: UIApplication, didFinishLaunchingWithOptions launchOptions: [UIApplication.LaunchOptionsKey: Any]?) -> Bool {

        let vc = ViewController( )
        let tabBarVC = UITabBarController()
        tabBarVC.viewControllers = [vc]
        tabBarVC.tabBar.items = [UITabBarItem(tabBarSystemItem: .contacts, tag: 0)]


        window = UIWindow(frame: UIScreen.main.bounds)
        window?.rootViewController = tabBarVC
        window?.makeKeyAndVisible()
        return true
    }
解决办法1:
func application(_ application: UIApplication, didFinishLaunchingWithOptions launchOptions: [UIApplication.LaunchOptionsKey: Any]?) -> Bool {

        let vc = ViewController()
        let tabBarVC = UITabBarController()

        tabBarVC.viewControllers = [vc]
  或者: tabBarVC.setViewControllers([vc], animated: false)

        for i in 0..<[vc].count {
            tabBarVC.tabBar.items?[i].image = nil
            tabBarVC.tabBar.items?[i].title = "\(i)title"
        }
        // 这样子可以实现去set tabarItem


        window = UIWindow(frame: UIScreen.main.bounds)
        window?.rootViewController = tabBarVC
        window?.makeKeyAndVisible()
        return true
    }
解决办法2:
func application(_ application: UIApplication, didFinishLaunchingWithOptions launchOptions: [UIApplication.LaunchOptionsKey: Any]?) -> Bool {

        let vc = ViewController()
        let tabBarVC = UITabBarController()

        // 直接设置vc的tabBarItem, 其实这也是最友好最直观的一种处理方法
        vc.tabBarItem = UITabBarItem(tabBarSystemItem: .contacts, tag: 0)
        tabBarVC.setViewControllers([vc], animated: false)

        window = UIWindow(frame: UIScreen.main.bounds)
        window?.rootViewController = tabBarVC
        window?.makeKeyAndVisible()
        return true
    }
遇到的坑1:
一开始做testDemo时想以最快的速度生成四个tabControllers, 于是这样写:
func application(_ application: UIApplication, didFinishLaunchingWithOptions launchOptions: [UIApplication.LaunchOptionsKey: Any]?) -> Bool {

        let vc = ViewController()
        let tabBarVC = UITabBarController()

        let vcs = [vc, vc, vc, vc]
        tabBarVC.setViewControllers(vcs, animated: false)

for i in 0..这样看起来没有错,但跑起来会报*** -[__NSSingleObjectArrayI objectAtIndex:]: index 1 beyond bounds [0 .. 0]越界的错误,原因是因为vcs里虽然有四个元素[vc, vc, vc, vc], 但它们是同一个vc, 对于tabBarController来说它们是同一个,这时候tabBarController给它们创建的item就只会有一个,因此在for i in 0..
修改方法:
 let vc1 = ViewController()
 let vc2 = ViewController()
 let vc3 = ViewController()
 let vc4 = ViewController()

let vcs = [vc1, vc2, vc3, vc4]
let tabBarVC = UITabBarController()
tabBarVC.setViewControllers(vcs, animated: false)

for i in 0..
这样创建了4个不同的vc,传到tabBarController里时才会是四个独立的vc而不会越界。
遇到的坑2:配合NavigationController使用时
想要配合导航栏使用,于是这样写:
func application(_ application: UIApplication, didFinishLaunchingWithOptions launchOptions: [UIApplication.LaunchOptionsKey: Any]?) -> Bool {

        let vc = ViewController()
        let tabBarVC = UITabBarController()
        vc.tabBarItem = UITabBarItem(tabBarSystemItem: .contacts, tag: 0)
        tabBarVC.setViewControllers([vc], animated: false)

        window = UIWindow(frame: UIScreen.main.bounds)
        window?.rootViewController = UINavigationController(rootViewController: tabBarVC)
        window?.makeKeyAndVisible()
        return true
    }
看起来似乎没有什么问题,但跑起来后会发现: 即使我在ViewController里手动设置了title,但模拟器上的导航栏仍然不会显示title
class ViewController: UIViewController {
    override func viewDidLoad() {
        super.viewDidLoad()

        title = "ViewController1"
      //或者换成: navigationItem.title = "ViewController1"  亦然
        view.backgroundColor = .white
}
或者在外面创建这个navigationController时给其写上title,亦然不成功显示:
        let nav = UINavigationController(rootViewController: tabBarVC)
        nav.navigationItem.title = "444"
  //或者 nav.title = "444" 亦然

        window = UIWindow(frame: UIScreen.main.bounds)
        window?.rootViewController = nav
        window?.makeKeyAndVisible()
而且这些处理方法还有可能会触发底部的tabBarItem的title变化, 比如
func application(_ application: UIApplication, didFinishLaunchingWithOptions launchOptions: [UIApplication.LaunchOptionsKey: Any]?) -> Bool {

        let vc1 = ViewController()
        let vc2 = ViewController()
        let tabBarVC = UITabBarController()

        let vcs = [vc1, vc2]
        tabBarVC.setViewControllers(vcs, animated: false)

for i in 0..需要解决这个tabBarItem的title变化的问题可以将ViewController里的title = "ViewController1"换成navigationItem.title = "ViewController1", 但这样仍然解决不了导航栏不显示tittle的问题;
解决办法
创建相应的子控制器(viewControllers)(子视图,新建自己需要的UIViewController或者UITableViewController等等, 如果需要组合使用UINavigationController, 需要将这些视图作为UINavigationController的根视图,使用initWithRootViewController创建nav, 然后再将这些nav做成tabBarController的viewControllers)
func application(_ application: UIApplication, didFinishLaunchingWithOptions launchOptions: [UIApplication.LaunchOptionsKey: Any]?) -> Bool {

        let vc1 = ViewController()
        let vc2 = ViewController()
        let tabBarVC = UITabBarController()

        let nav1 = UINavigationController(rootViewController: vc1)
        let nav2 = UINavigationController(rootViewController: vc2)

        tabBarVC.setViewControllers([nav1, nav2], animated: false)

      ...
      ...

        window = UIWindow(frame: UIScreen.main.bounds)
        window?.rootViewController = tabBarVC
        window?.makeKeyAndVisible()
        return true
    }

这时候在ViewController设置自己的`navigationItem.title = ""`就可以了,(注意: 不能直接self.title = "",这样会设置更新到tabBarItem的title)

假如要在外面(AppDelegate或者tabBarController去设置每一个子vc的title,)可以在创建子vc的时候:
子vc.navigationItem.title = “vc1”...
如果有navgation, 用nav.title/nav.navigationItem.title都是不行,一定要用vc.navigationItem.title = “vc1”...才会正常显示
遇到的坑2:
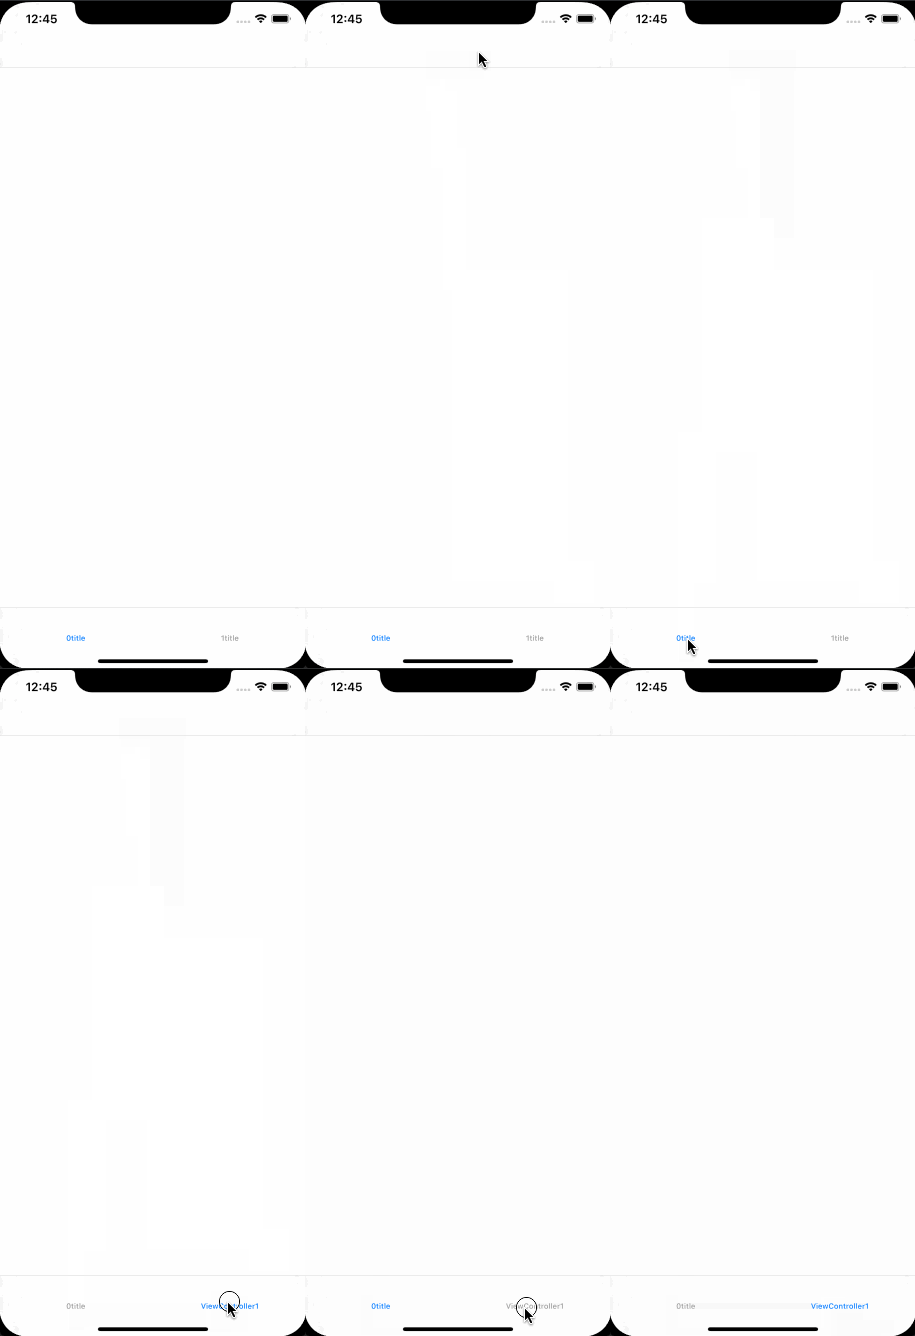
在给tabBarItem设置字体或者字体颜色时遇到了给title selected 状态的字体时无效的问题。
如图,想要设置在选中状态时字体不同:
        tabBar.tintColor = .textBrand
        tabBar.unselectedItemTintColor = .textDefault

        UITabBarItem.appearance().setTitleTextAttributes([NSAttributedString.Key.font: UIFont.caption1], for: .normal)
        UITabBarItem.appearance().setTitleTextAttributes([NSAttributedString.Key.font: UIFont.body], for: .selected)
理想是这样的,但发现无论怎么弄,在给selected状态设置的字体都不生效,最后找到的解决办法是在其点选的代理方法中修改:
    {
        ...
        tabBar.tintColor = .textBrand
        tabBar.unselectedItemTintColor = .textDefault
        ...
    }

    override func tabBar(_ tabBar: UITabBar, didSelect item: UITabBarItem) {
        tabBar.items?.forEach {
            if $0 != item {
                $0.setTitleTextAttributes([NSAttributedString.Key.font: UIFont.caption1], for: .normal)
            }
        }
        item.setTitleTextAttributes([NSAttributedString.Key.font: UIFont.body], for: .normal)
      //既然设置selected 状态无效,而normal有效,那么我们就都设置成normal,区分开选中与不选中来单独设置
    }
这样写完发现点选过程中可以实现预期效果了,但还有一个问题,第一次进入这个页面时默认选中第一个,且这时候并不会调用这个代理方法,这样就会使用第一次进入时第一个被选中但字体却不是我们想要的。
所以,这里还需要手动去调用一下这个方法:
//在设置tintColor处加上这句就可以了
self.tabBar(self.tabBar, didSelect: navHome.tabBarItem)
参考: iOS 设置 tabbar 选中状态字体大小

