前言
iOS的CoreAnimation框架下有一些特殊的layer,使用它们往往会做出非常炫丽的动画效果,不需要使用图片,不需要帧动画。下面我们就来看看三种常见的layer动画,分别是CAReplicatorLayer、CAEmitterLayer和CAGradientLayer。
一、复制层动画 CAReplicatorLayer
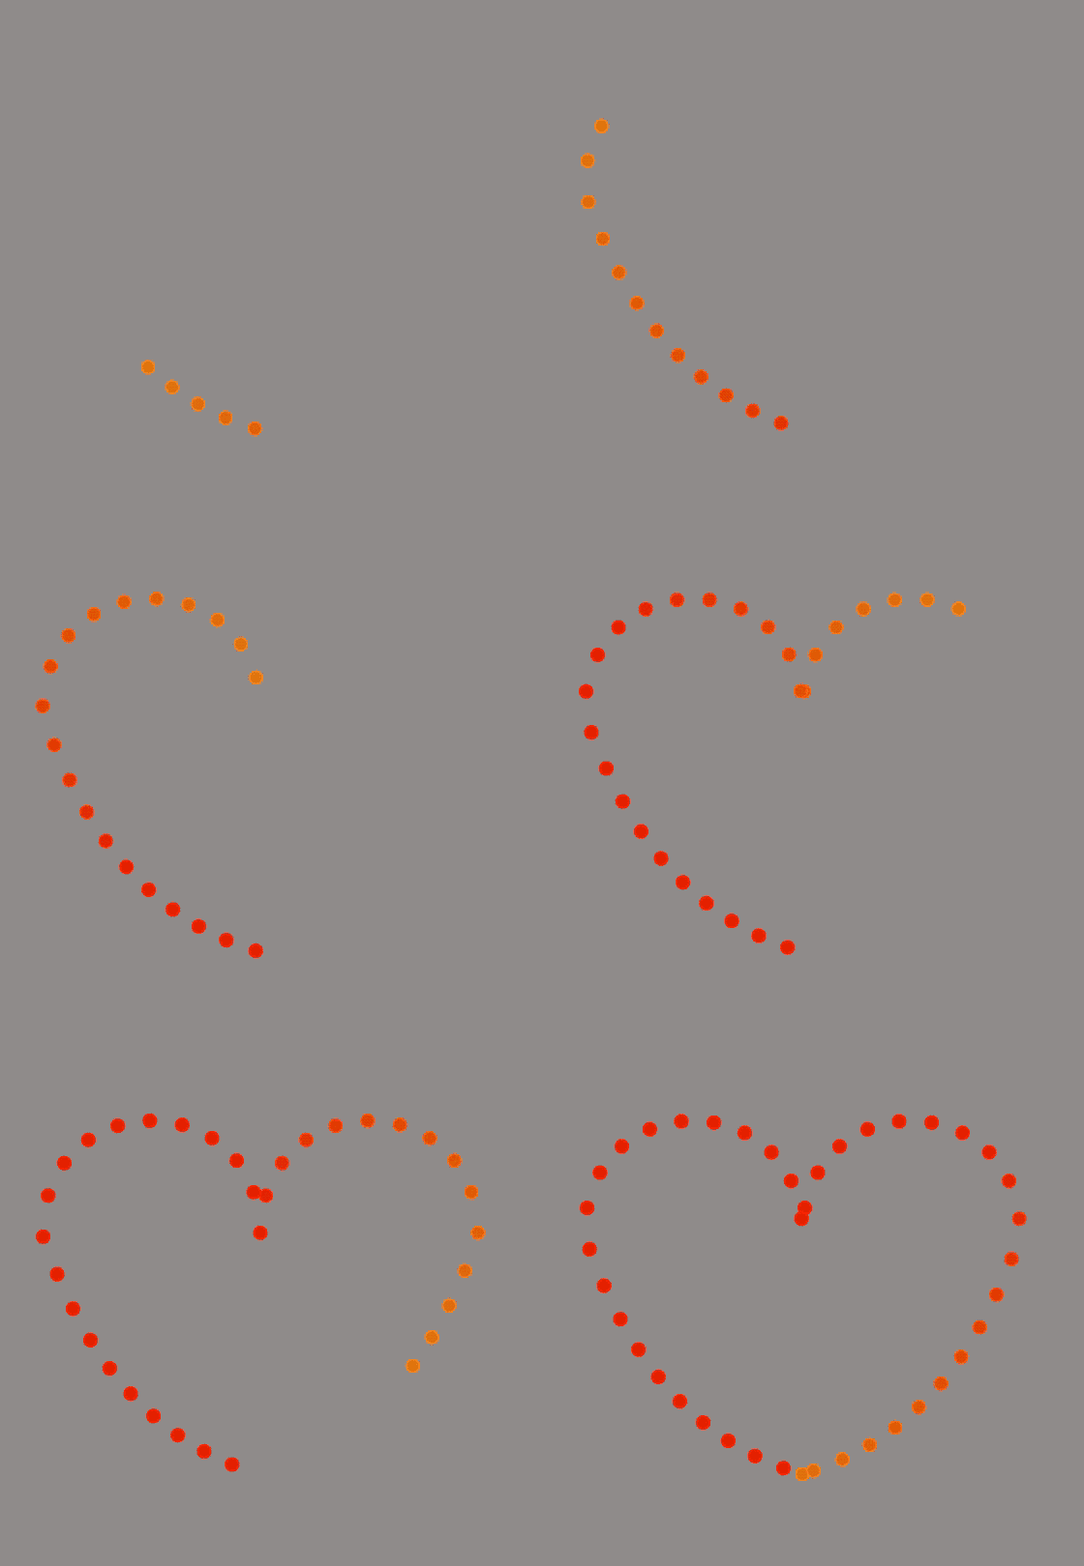
CAReplicatorLayer可以复制自己子层的layer,并且复制的出来的layer和原来的子layer拥有相同的动效。然后通过设置一些属性,就可以完成很酷的效果,非常强大。。
效果1:
实现:
1.首先我们要得到一个love路径,这个路径用UIBezierPath来制作;
+ (CGPathRef)heartPath
{
    CGFloat W = 25;
    CGFloat marginX = 10;
    CGFloat marginY = 15/25.0 * W;
    CGFloat space = 5/25.0 * W;

    UIBezierPath *bezierPath = [UIBezierPath new];

    [bezierPath moveToPoint:(CGPointMake(marginX + W * 2, W * 4 + space))];
    [bezierPath addQuadCurveToPoint:CGPointMake(marginX, W * 2) controlPoint:CGPointMake(W, W * 4 - space)];
    [bezierPath addCurveToPoint:CGPointMake(marginX + W * 2, W * 2) controlPoint1:CGPointMake(marginX, marginY) controlPoint2:CGPointMake(marginX + W * 2, marginY)];
    [bezierPath addCurveToPoint:CGPointMake(marginX + W * 4, W * 2) controlPoint1:CGPointMake(marginX + W * 2, marginY) controlPoint2:CGPointMake(marginX + W * 4, marginY)];
    [bezierPath addQuadCurveToPoint:CGPointMake(marginX + W * 2, W * 4 + space) controlPoint:CGPointMake(marginX * 2 + W * 3, W * 4 - space)];

    [bezierPath closePath];

    CGAffineTransform T = CGAffineTransformMakeScale(3.0, 3.0);
    return CGPathCreateCopyByTransformingPath(bezierPath.CGPath, &T);
}
2.创建CAReplicatorLayer,添加上CAKeyframeAnimation动效;
+ (CALayer *)replicatorLayer_Heart{

    CAReplicatorLayer *replicatorLayer = [CAReplicatorLayer new];
    replicatorLayer.frame = CGRectMake(0, 0, 200, 200);
    //    replicatorLayer.backgroundColor = [UIColor colorWithWhite:0 alpha:0.75].CGColor;

    CALayer *subLayer = [CALayer new];
    subLayer.bounds = CGRectMake(60, 105, 10, 10);
    subLayer.backgroundColor = [UIColor colorWithWhite:0.8 alpha:1.0].CGColor;
    subLayer.borderColor = [UIColor colorWithWhite:1.0 alpha:1.0].CGColor;
    subLayer.borderWidth = 1.0;
    subLayer.cornerRadius = 5.0;
    subLayer.shouldRasterize = YES;
    subLayer.rasterizationScale = [UIScreen mainScreen].scale;
    [replicatorLayer addSublayer:subLayer];

    CAKeyframeAnimation *move = [CAKeyframeAnimation animationWithKeyPath:@"position"];
    move.path = [self heartPath];
    move.repeatCount = INFINITY;
    move.duration = 6.0;
    //    move.autoreverses = YES;
    [subLayer addAnimation:move forKey:nil];

    replicatorLayer.instanceDelay = 6/50.0;
    replicatorLayer.instanceCount = 50;
    replicatorLayer.instanceColor = [UIColor orangeColor].CGColor;
    replicatorLayer.instanceGreenOffset = -0.03;

    return replicatorLayer;
}
3.创建一个UIView,将CAReplicatorLayer添加上去。
- (void)setReplicatorLayerType:(YUReplicatorLayerType)replicatorLayerType
{
    CGFloat width = 100;
    UIView *aniView = [[UIView alloc] initWithFrame:CGRectMake(0, 150, width, width)];
    [self.view addSubview:aniView];
    [aniView.layer addSublayer: [YUReplicatorAnimation replicatorLayerWithType:replicatorLayerType]];
    self.view.backgroundColor = [UIColor grayColor];
}
CAReplicatorLayer动画效果合集:
CAReplicatorLayer动画合集.gif
实现:点击下载demo源代码
二、粒子动画 CAEmitterLayer
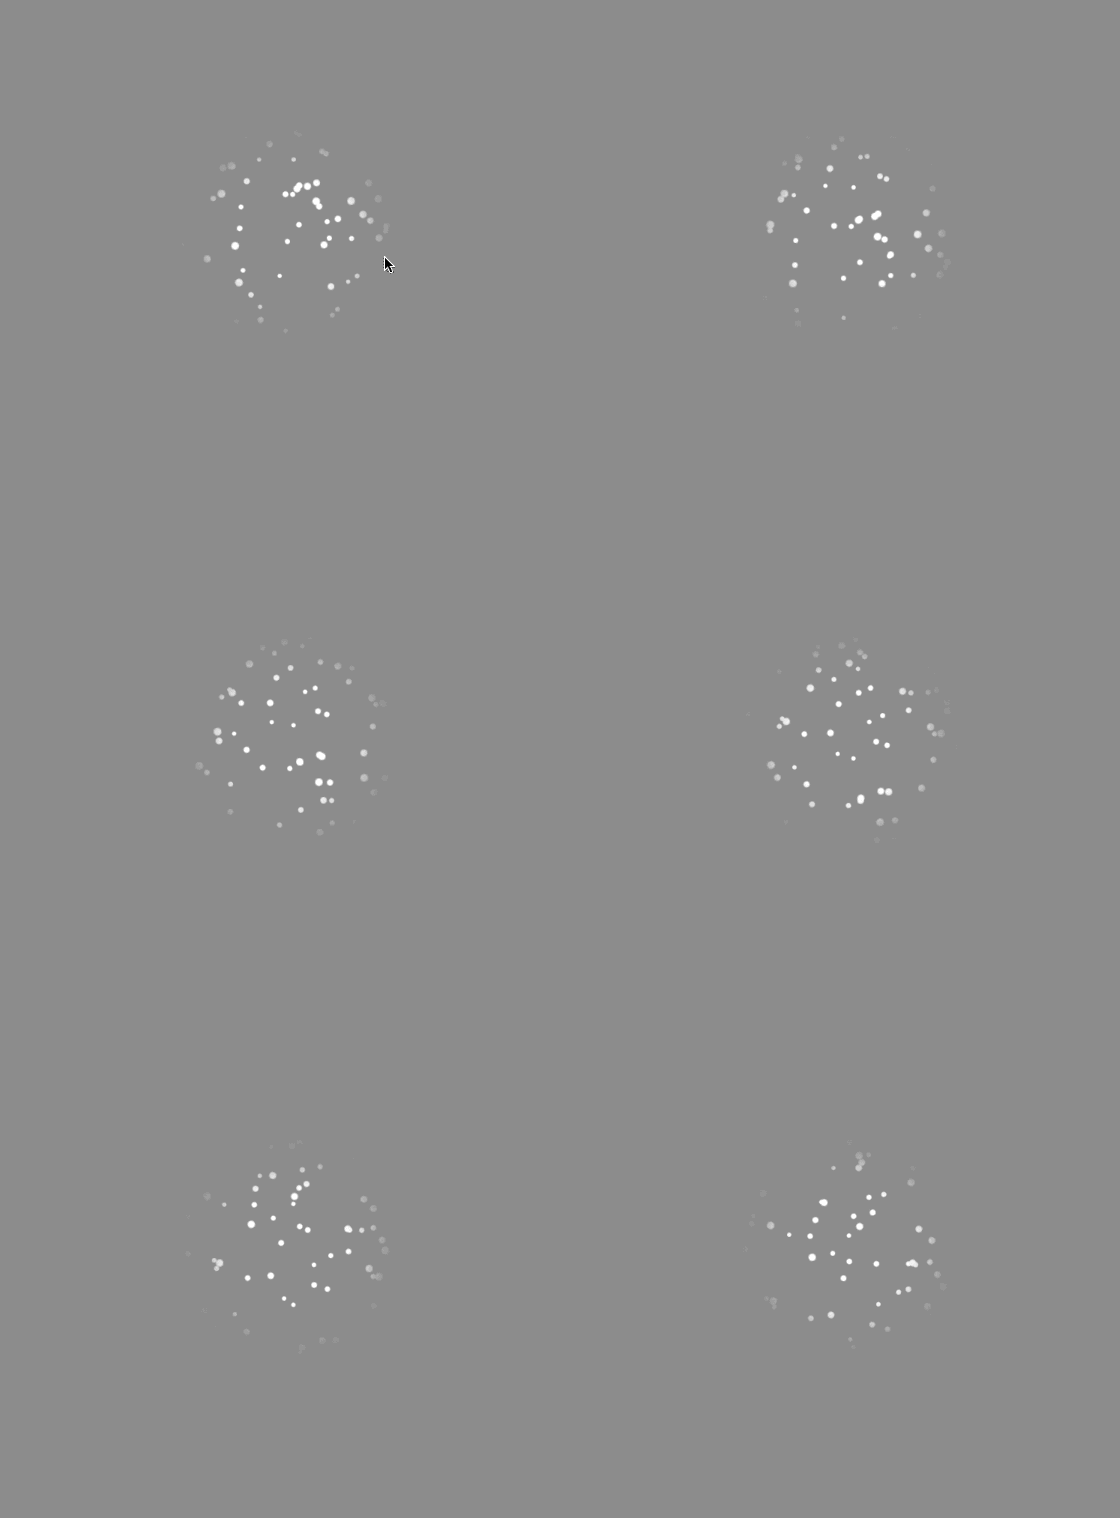
CAEmitterLayer 是一个高性能的粒子引擎,被用来创建复杂的粒子动画如:烟雾,火,雨等效果,并且很好地控制了性能。
CAEmitterLayer 看上去像是许多 CAEmitterCell 的容器,这些 CAEmitterCell 定义了一个例子效果。你将会为不同的例子效果定义一个或多个 CAEmitterCell 作为模版,同时 CAEmitterLayer 负责基于这些模版实例化一个粒子流。一个 CAEmitterCell 类似于一个 CALayer :它有一个 contents 属性可以定义为一个 CGImage ,另外还有一些可设置属性控制着表现和行为。
下雪效果:
三、渐变层 CAGradientLayer
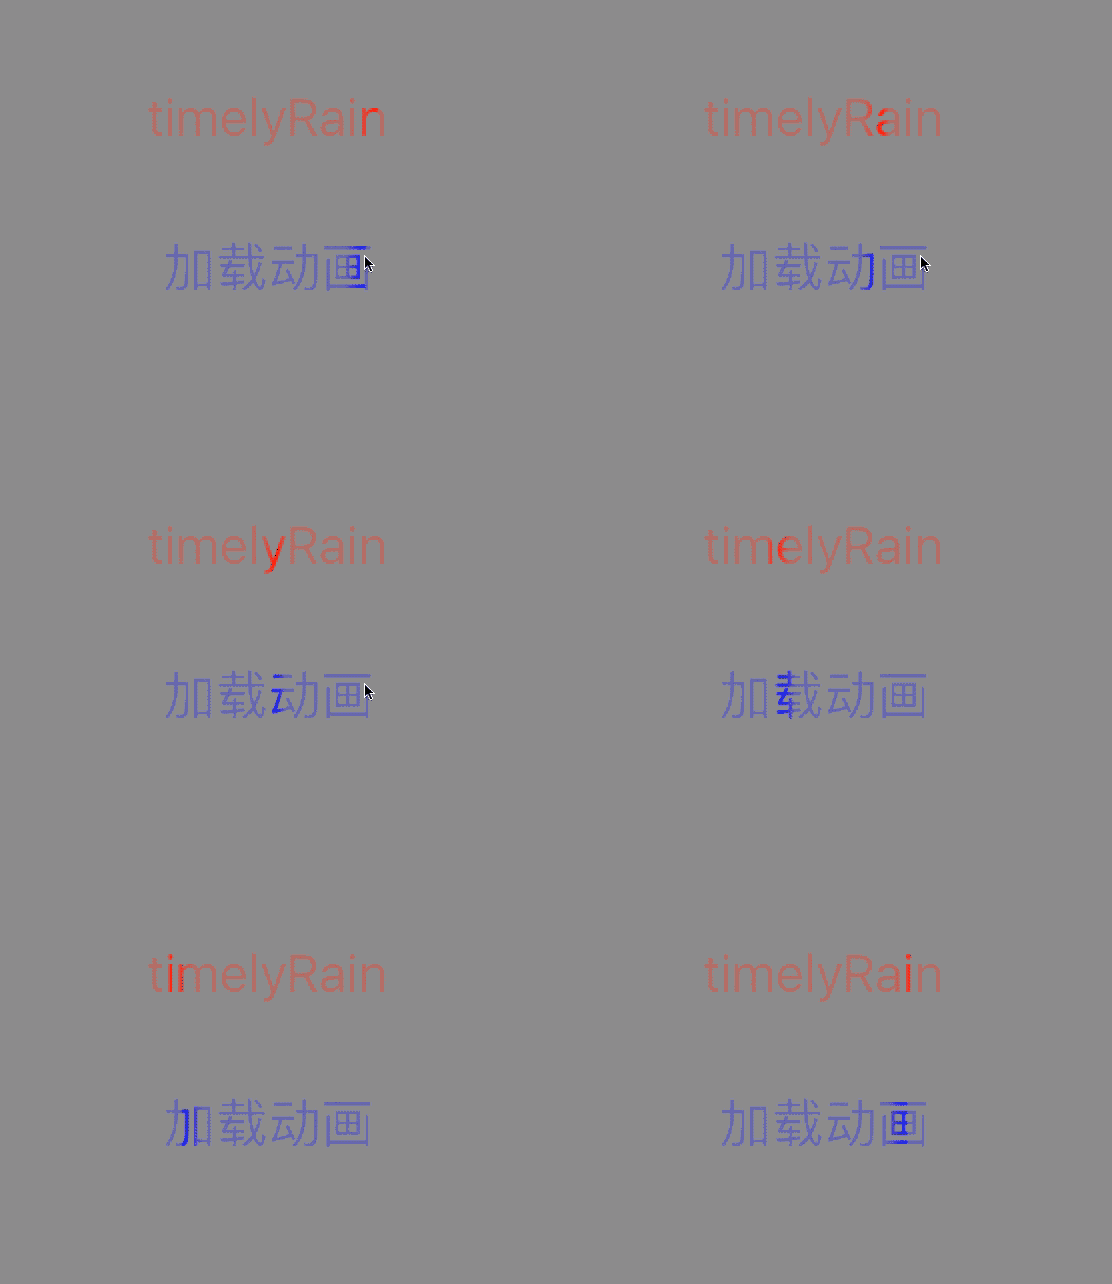
使用CAGradientLayer可以实现色差动画效果。
效果:
主要实现代码:
- (void)showLoadingInView:(UIView *)view text:(NSString *)text
{
    [view addSubview:self];
    if (text) {
        self.text = text;
    }
    [self sizeToFit];

    // 创建渐变效果的layer
    CAGradientLayer *graLayer = [CAGradientLayer layer];
    graLayer.frame = self.bounds;
    graLayer.colors = @[(__bridge id)[[UIColor greenColor] colorWithAlphaComponent:0.3].CGColor,
                        (__bridge id)[UIColor yellowColor].CGColor,
                        (__bridge id)[[UIColor yellowColor] colorWithAlphaComponent:0.3].CGColor];

    graLayer.startPoint = CGPointMake(0, 0);//设置渐变方向起点
    graLayer.endPoint = CGPointMake(1, 0);  //设置渐变方向终点
    graLayer.locations = @[@(0.0), @(0.0), @(0.1)]; //colors中各颜色对应的初始渐变点

    // 创建动画
    CABasicAnimation *animation = [CABasicAnimation animationWithKeyPath:@"locations"];
    animation.duration = 1.0f;
    animation.toValue = @[@(0.9), @(1.0), @(1.0)];
    animation.removedOnCompletion = NO;
    animation.repeatCount = HUGE_VALF;
    animation.fillMode = kCAFillModeForwards;
    [graLayer addAnimation:animation forKey:@"xindong"];

    // 将graLayer设置成textLabel的遮罩
    self.layer.mask = graLayer;
}
demo下载
点击下载demo源代码
喜欢就点个关注吧
总结
iOS的动画非常强大,还有很多很多有待我去学习。另外,写的很不好的地方,希望各位大神能够指正,我会尽量去修改,谢谢。


