一、实验目的:
1、理解glance镜像服务在OpenStack框架中的作用
2、掌握glance服务安装的基本方法
3、掌握glance的配置基本方法
二、实验步骤:
1、在controller节点上为glance服务创建数据库,并创建访问数据库用户glance并授权,参考命令
登录mysql
#mysql -u root -p (用数据库连接客户端以 root 用户连接到数据库服务器)
#CREATE DATABASE glance;(创建 glance 数据库)
授权
GRANT ALL PRIVILEGES ON glance.* TO 'glance'@'localhost' \
IDENTIFIED BY '密码'; (对``glance``数据库授予恰当的权限)
GRANT ALL PRIVILEGES ON glance.* TO 'glance'@'%' \
IDENTIFIED BY '密码';(对``glance``数据库授予恰当的权限)
2、在controller上为glance访问创建用户、角色和服务访问点。
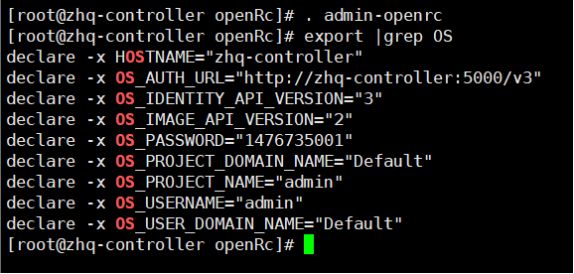
运行环境变量:
#. admin-openrc
创建glance用户信息:
#openstack user create --domain default --password-prompt glance
添加 admin 角色到 glance 用户和 service 项目上
#openstack role add --project service --user glance admin
创建``glance``服务实体:
#openstack service create --name glance --description "OpenStack Image" image
#openstack endpoint create --region RegionOne image public http://controller:9292
#openstack endpoint create --region RegionOne image internal http://controller:9292
#openstack endpoint create --region RegionOne image admin http://controller:9292
3、在controller上安装glance服务,参考命令
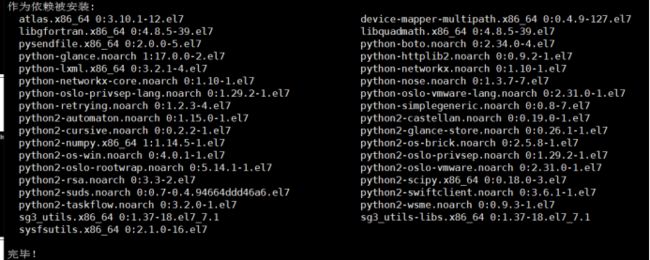
# yum install openstack-glance
4、编辑配置文件
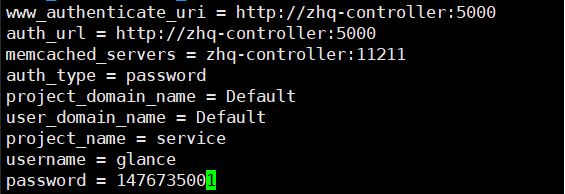
#vi /etc/glance/glance-api.conf 配置
[database]
[keystone_authtoken]
[paste_deploy]
[glance_store]
#vi /etc/glance/glance-registry.conf
[database]
[keystone_authtoken]
[paste_deploy]
5、同步数据库,并启动服务,参考命令
同步数据库:
#su -s /bin/sh -c "glance-manage db_sync" glance
启动glance:
#systemctl enable openstack-glance-api.service openstack-glance-registry.service
# systemctl start openstack-glance-api.service openstack-glance-registry.service
6、从网络中下载一个较小的镜像,并上传到服务器上
从网上下载一个镜像到本地
上传一个qcow2格式的镜像:
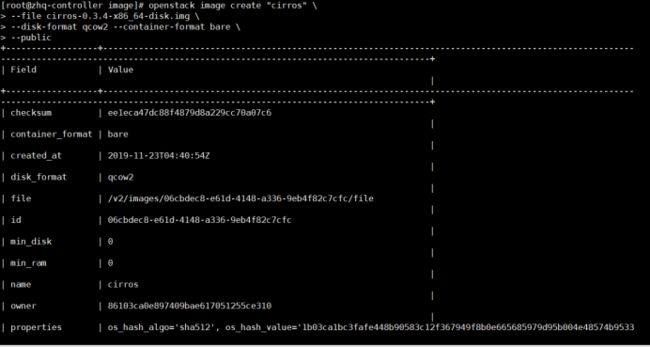
openstack image create "cirros" \        #创建的镜像名称
--file cirros-0.3.4-x86_64---disk-format qcow2 --container-format bare \
--public
检查上传结果:


