android developers系列二(动画)
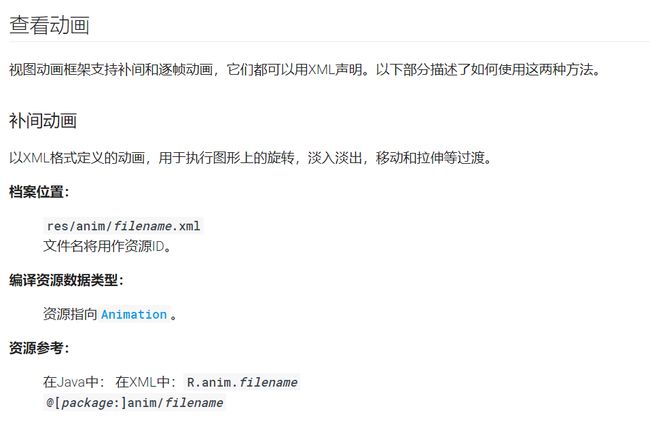
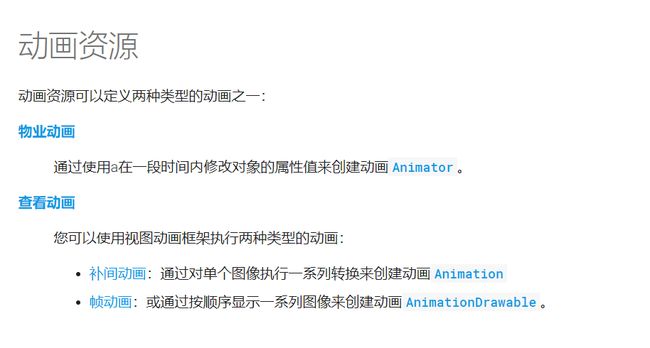
这里先讲一下动画的类型 帧动画 属性动画 补间动画
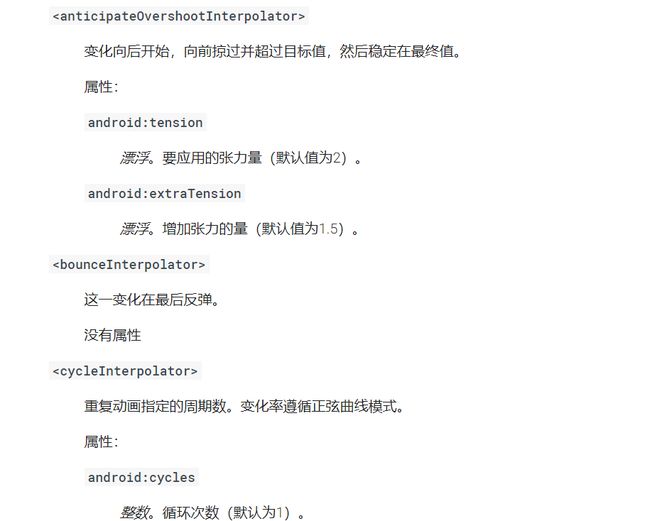
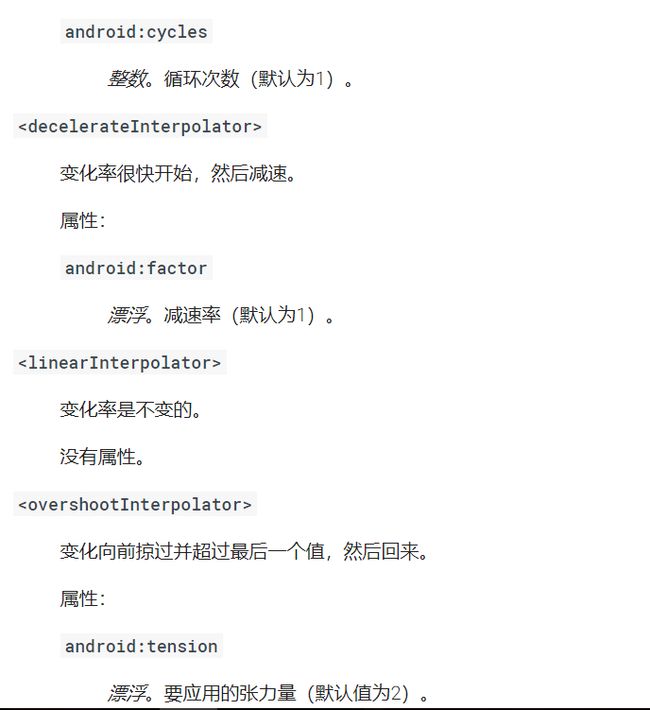
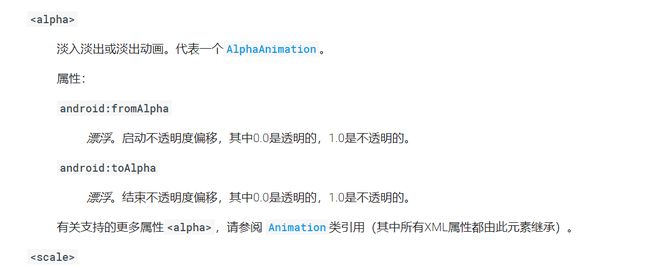
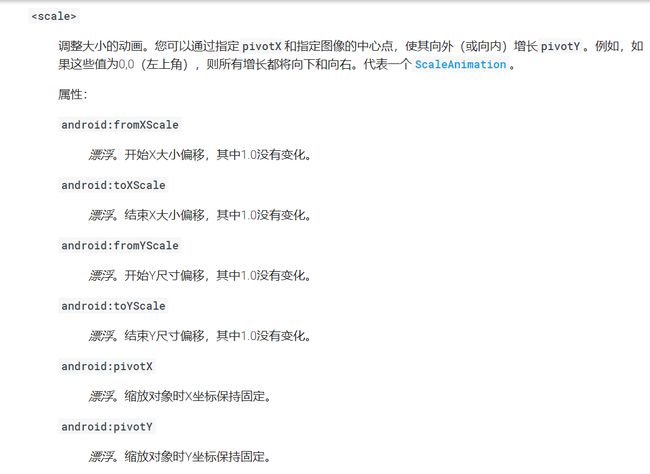
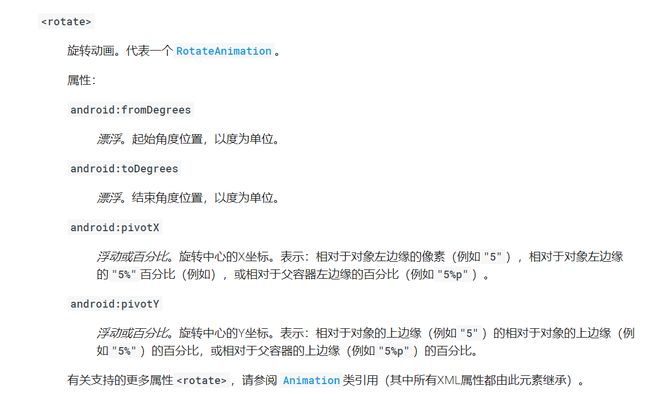
下面有详细的介绍 这里需要感谢谷歌翻译 相信大家觉得谷歌的讲解比我的好 我就不多讲了
在接下来会讲解小编做的实际应用 既然了解了基础 就要实际应用
同样的补间动画也有三种
渐变动画 平移动画和旋转动画
第一个讲述渐变动画
这里是java文件示例
import android.animation.AnimatorInflater;
import android.animation.AnimatorSet;
import android.annotation.SuppressLint;
import android.app.Activity;
import android.content.Intent;
import android.os.Bundle;
import android.os.PersistableBundle;
import android.view.View;
import android.view.animation.AlphaAnimation;
import android.view.animation.Animation;
import android.widget.Button;
import android.widget.ImageView;
import android.widget.RelativeLayout;
import android.widget.TextView;
public class Main3 extends Activity {
private ImageView imageView3;
private RelativeLayout layout;
private Button button6;
private TextView textView;
@Override
protected void onCreate(Bundle savedInstanceState) {
super.onCreate( savedInstanceState );
setContentView( R.layout.main3 );
imageView3=findViewById( R.id.imageView3 );
layout=findViewById( R.id.some );
button6=findViewById( R.id.button6 );
textView=findViewById( R.id.textView );
button6.setOnClickListener( new View.OnClickListener() {
@Override
public void onClick(View view) {
//设置渐变动画的透明度 0纯透明1不透明
final AlphaAnimation alphaAnimation=new AlphaAnimation( 0,1 );
//设置持续时间
alphaAnimation.setDuration( 10000 );
//设置为真的时候考虑before 之前
alphaAnimation.setFillEnabled( true );
//设置之前保持图片样式
alphaAnimation.setFillBefore( true );
//设置完成动画保持图片样式
alphaAnimation.setFillAfter( true );
//重复次数 0就是一次
alphaAnimation.setRepeatCount( 1 );
//动画前启动的延迟时间
alphaAnimation.setStartOffset( 1000 );
//更改z轴方向顺序 基本上用不到
alphaAnimation.setZAdjustment( 1 );
//反转播放的透明度转变 就是从不透明变成透明
// 如果要实现透明变不透明再变透明就要设置mode和count
//count也要实现重复播放一次
alphaAnimation.setRepeatMode( 2 );
//分离壁纸 例如动画放到手机桌面 隔离壁纸
alphaAnimation.setDetachWallpaper( true );
//设置平滑动画移动的的插补器
//alphaAnimation.setInterpolator( context,int );
//设置动画监听 实现animation属性动画生命周期做的工作
alphaAnimation.setAnimationListener( new Animation.AnimationListener() {
//动画开始的时候做的工作
@Override
public void onAnimationStart(Animation animation) {
textView.setText( "开始动画" );
}
//动画结束的时候做的工作
@Override
public void onAnimationEnd(Animation animation) {
//jumpNextPage();
textView.setText( "动画结束" );
//alphaAnimation.reset();
//changeSet();
}
//启动第二个渐变动画
private void changeSet() {
AlphaAnimation alphaAnimation2=new AlphaAnimation( 1,0 );
//设置持续时间
alphaAnimation2.setDuration( 10000 );
//设置之前保持图片样式
alphaAnimation2.setFillBefore( true );
//设置完成动画保持图片样式
alphaAnimation2.setFillAfter( true );
//重复次数 0就是一次
alphaAnimation2.setRepeatCount( 0 );
//动画前启动的延迟时间
alphaAnimation2.setStartOffset( 10000 );
//更改z轴方向顺序 基本上用不到
alphaAnimation2.setZAdjustment( 1 );
alphaAnimation2.setAnimationListener( new Animation.AnimationListener() {
@Override
public void onAnimationStart(Animation animation) {
textView.setText( "重置渐变动画" );
}
@Override
public void onAnimationEnd(Animation animation) {
textView.setText( "重置渐变动画结束" );
}
@Override
public void onAnimationRepeat(Animation animation) {
}
} );
imageView3.startAnimation( alphaAnimation2 );
}
private void jumpNextPage() {
// Intent intent=new Intent( Main3.this,Main2.class );
//startActivity( intent );
// finish();
}
@Override
public void onAnimationRepeat(Animation animation) {
}
} );
imageView3.startAnimation( alphaAnimation );
}
});
/**AnimatorSet set= (AnimatorSet) AnimatorInflater.loadAnimator( Main3.this,R.animator.animator_move );
set.setTarget(imageView3);
set.start();*/
}
}
//imageView3.startAnimation( alphaAnimation2 );
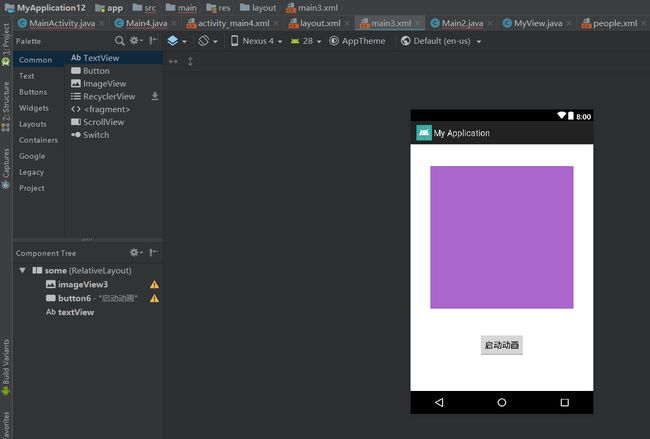
这里是我的布局文件 相信简单的布局大家都能写出来吧
国际惯例要示范效果图
可是我没有好的录屏软件 就讲一下效果
由不透明逐渐转换到纯透明 然后逐渐转换到不透明 这里用了紫色 方便大家来观察效果
第二个讲述平移动画
这里是java文件示例
import android.graphics.Color;
import android.os.Bundle;
import android.app.Activity;
import android.view.Menu;
import android.view.View;
import android.view.animation.Animation;
import android.view.animation.TranslateAnimation;
import android.widget.Button;
import android.widget.ImageView;
import android.widget.TextView;
public class Main4 extends Activity {
private MyView myView;
private ImageView imageView;
private Button button8,button9;
private TextView textView;
private TranslateAnimation translateAnimation;
@Override
protected void onCreate(Bundle savedInstanceState) {
super.onCreate( savedInstanceState );
setContentView( R.layout.activity_main4 );
button8=findViewById( R.id.button8 );
imageView=findViewById( R.id.imageView4);
textView=findViewById( R.id.textView2 );
button9=findViewById( R.id.button9 );
button8.setOnClickListener( new View.OnClickListener() {
@Override
public void onClick(View view) {
//如果只是平移x轴(左右) 只要改x
//如果只是平移y轴(上下) 只要改y
//如果想对角平移(x,y) x y都要设置
//起始点from 终点to xy坐标
//默认为匀速
final TranslateAnimation translateAnimation=new TranslateAnimation(0,1000,0,0);
//设置持续时间
// 会根据平移的路程自适应速度
translateAnimation.setDuration( 1000 );
//设置保持最终状态
// 布尔值类型
translateAnimation.setFillAfter( true );
//设置保持初始状态
//初始状态不可以与最终状态一起用 否则保持最终状态
translateAnimation.setFillBefore( true );
//设置背景颜色
translateAnimation.setBackgroundColor( Color.red( 1 ));
//设置重复次数
//int类型
translateAnimation.setRepeatCount( 3 );
//设置动画反着运行
//translateAnimation.setRepeatMode( 2 );
//设置开始延续时间
//int类型
translateAnimation.setStartOffset( 1000 );
//重置动画 平移动画为补间动画
//translateAnimation.reset();
//开始动画 可以设置继续暂停
//translateAnimation.start();
//translateAnimation.setInterpolator( Main4.this,1 );
//设置监听
translateAnimation.setAnimationListener( new Animation.AnimationListener() {
//动画开始
@Override
public void onAnimationStart(Animation animation) {
textView.setText( "平移动画开始" );
}
//动画结束
@Override
public void onAnimationEnd(Animation animation) {
textView.setText( "平移动画结束" );
}
//动画重复播放做的工作
@Override
public void onAnimationRepeat(Animation animation) {
textView.setText( "数据获取出错 正在尝试修复" );
}
} );
//开始动画
//别忘了这步
imageView.startAnimation( translateAnimation );
button9.setOnClickListener( new View.OnClickListener() {
@Override
public void onClick(View view) {
//取消动画
//cancel取消
translateAnimation.cancel();
}
} );
}
} );
}
}
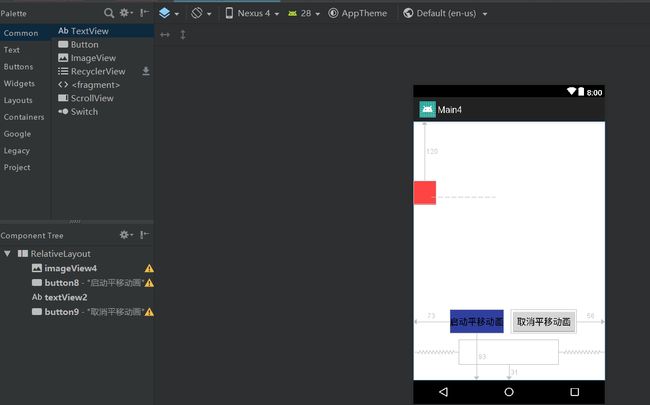
下面来看布局文件
效果看java文件的详细介绍 每行代码都写了注释
第三个讲解旋转动画
我写了一个简单的旋转和一个复杂的旋转
第一个讲简单旋转
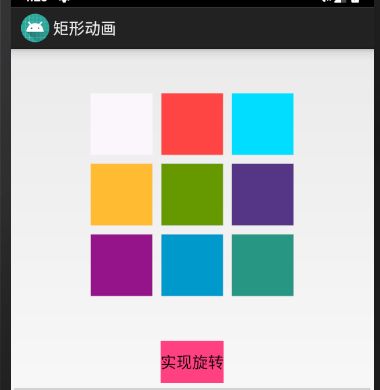
这个是围绕每张图片中心点旋转
这个是java代码
import android.animation.Animator;
import android.app.Activity;
import android.opengl.Matrix;
import android.os.Bundle;
import android.view.View;
import android.view.animation.Animation;
import android.view.animation.RotateAnimation;
import android.widget.Button;
import android.widget.ImageView;
public class MainActivity extends Activity {
private Button button;
private ImageView imageView1,imageView2,imageView3,imageView4,imageView5,imageView6,imageView7,imageView8,imageView9;
@Override
protected void onCreate(Bundle savedInstanceState) {
super.onCreate( savedInstanceState );
setContentView( R.layout.activity_main );
button=findViewById( R.id.start_button );
imageView1=findViewById( R.id.moveImage_1 );
imageView2=findViewById( R.id.moveImage_2 );
imageView3=findViewById( R.id.moveImage_3 );
imageView4=findViewById( R.id.moveImage_4 );
imageView5=findViewById( R.id.moveImage_5 );
imageView6=findViewById( R.id.moveImage_6 );
imageView7=findViewById( R.id.moveImage_7 );
imageView8=findViewById( R.id.moveImage_8 );
imageView9=findViewById( R.id.moveImage_9 );
init();
button.setOnClickListener( new View.OnClickListener() {
@Override
public void onClick(View view) {
final RotateAnimation rotateAnimation = new RotateAnimation(0,360f,Animation.RELATIVE_TO_SELF,0.5f,Animation.RELATIVE_TO_SELF,0.5f);
//rotateAnimation.setFillAfter( true );
rotateAnimation.setDuration(1000 );
rotateAnimation.setRepeatCount( 10 );
rotateAnimation.setAnimationListener( new Animation.AnimationListener() {
@Override
public void onAnimationStart(Animation animation) {
}
@Override
public void onAnimationEnd(Animation animation) {
}
@Override
public void onAnimationRepeat(Animation animation) {
}
} );
imageView1.startAnimation( rotateAnimation );
imageView2.startAnimation( rotateAnimation );
imageView3.startAnimation( rotateAnimation );
imageView4.startAnimation( rotateAnimation );
imageView5.startAnimation( rotateAnimation );
imageView6.startAnimation( rotateAnimation );
imageView7.startAnimation( rotateAnimation );
imageView8.startAnimation( rotateAnimation );
imageView9.startAnimation( rotateAnimation );
}
} );
}
}
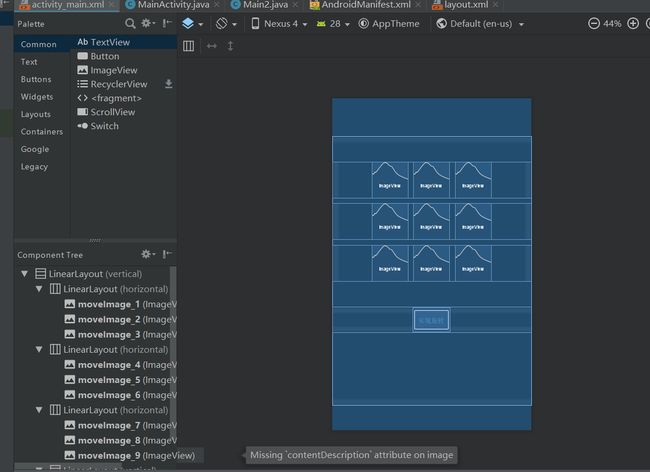
下面来示例布局文件
效果图是围绕每张图片个中心点旋转
下面来讲复杂旋转
import android.annotation.SuppressLint;
import android.app.Activity;
import android.os.Bundle;
import android.view.View;
import android.view.animation.Animation;
import android.view.animation.RotateAnimation;
import android.widget.Button;
import android.widget.ImageView;
import android.widget.TextView;
public class MainActivity extends Activity {
private Button button;
private TextView textView;
private ImageView imageView,imageView2,imageView3,imageView4,imageView5,imageView6,imageView7,imageView8;
@Override
protected void onCreate(Bundle savedInstanceState) {
super.onCreate( savedInstanceState );
setContentView( R.layout.activity_main );
imageView=findViewById( R.id.imageView );
imageView2=findViewById( R.id.imageView2 );
imageView3=findViewById( R.id.imageView3 );
imageView4=findViewById( R.id.imageView4 );
imageView5=findViewById( R.id.imageView5 );
imageView6=findViewById( R.id.imageView6 );
imageView7=findViewById( R.id.imageView7 );
imageView8=findViewById( R.id.imageView8 );
textView=findViewById( R.id.textView );
button=findViewById( R.id.button );
button.setOnClickListener( new View.OnClickListener() {
@Override
public void onClick(View view) {
//中心旋转
//RotateAnimation animation = new RotateAnimation(0,360f,Animation.RELATIVE_TO_SELF,0.5f,Animation.RELATIVE_TO_SELF,0.5f);
final RotateAnimation rotateAnimation=new RotateAnimation(
0,-270f,Animation.RELATIVE_TO_SELF,0,Animation.RELATIVE_TO_SELF, 0);
rotateAnimation.setFillAfter( true );
//rotateAnimation.setFillBefore( true );
rotateAnimation.setDuration( 3000 );
rotateAnimation.setAnimationListener( new Animation.AnimationListener() {
@Override
public void onAnimationStart(Animation animation) {
textView.setText( "正在恢复数据 请宝宝等待人家" );
}
@Override
public void onAnimationEnd(Animation animation) {
}
@Override
public void onAnimationRepeat(Animation animation) {
}
} );
imageView.startAnimation( rotateAnimation );
RotateAnimation rotateAnimation2=new RotateAnimation(
0,-270f,Animation.RELATIVE_TO_SELF,0,Animation.RELATIVE_TO_SELF, 0 );
rotateAnimation2.setFillAfter( true );
//rotateAnimation.setFillBefore( true );
rotateAnimation2.setDuration( 3000 );
rotateAnimation2.setStartOffset( 3000 );
imageView2.startAnimation( rotateAnimation2 );
RotateAnimation rotateAnimation3=new RotateAnimation(
0,-90f,Animation.RELATIVE_TO_SELF,0,Animation.RELATIVE_TO_SELF, 0 );
rotateAnimation3.setFillAfter( true );
//rotateAnimation.setFillBefore( true );
rotateAnimation3.setDuration( 1000 );
rotateAnimation3.setStartOffset( 6000 );
imageView4.startAnimation( rotateAnimation3 );
RotateAnimation rotateAnimation4=new RotateAnimation(
0,-90f,Animation.RELATIVE_TO_SELF,0,Animation.RELATIVE_TO_SELF, 0 );
rotateAnimation4.setFillAfter( true );
//rotateAnimation.setFillBefore( true );
rotateAnimation4.setDuration( 1000 );
rotateAnimation4.setStartOffset( 8000 );
imageView6.startAnimation( rotateAnimation4 );
RotateAnimation rotateAnimation5=new RotateAnimation(
0,-270f,Animation.RELATIVE_TO_SELF,1,Animation.RELATIVE_TO_SELF, 1 );
rotateAnimation5.setFillAfter( true );
//rotateAnimation.setFillBefore( true );
rotateAnimation5.setDuration( 3000 );
rotateAnimation5.setStartOffset( 9000 );
imageView7.startAnimation( rotateAnimation5 );
RotateAnimation rotateAnimation6=new RotateAnimation(
0,-270f,Animation.RELATIVE_TO_SELF,1,Animation.RELATIVE_TO_SELF, 1 );
rotateAnimation6.setFillAfter( true );
//rotateAnimation.setFillBefore( true );
rotateAnimation6.setDuration( 3000 );
rotateAnimation6.setStartOffset( 12000 );
imageView8.startAnimation( rotateAnimation6 );
RotateAnimation rotateAnimation7=new RotateAnimation(
0,-90f,Animation.RELATIVE_TO_SELF,1,Animation.RELATIVE_TO_SELF, 1 );
rotateAnimation7.setFillAfter( true );
//rotateAnimation.setFillBefore( true );
rotateAnimation7.setDuration( 1000 );
rotateAnimation7.setStartOffset( 15000 );
rotateAnimation7.setAnimationListener( new Animation.AnimationListener() {
@Override
public void onAnimationStart(Animation animation) {
}
@Override
public void onAnimationEnd(Animation animation) {
textView.setText( "宝宝争取这么久为你恢复了数据 是不是要奖励人家" );
}
@Override
public void onAnimationRepeat(Animation animation) {
}
} );
imageView5.startAnimation( rotateAnimation7 );
}
} );
}
}
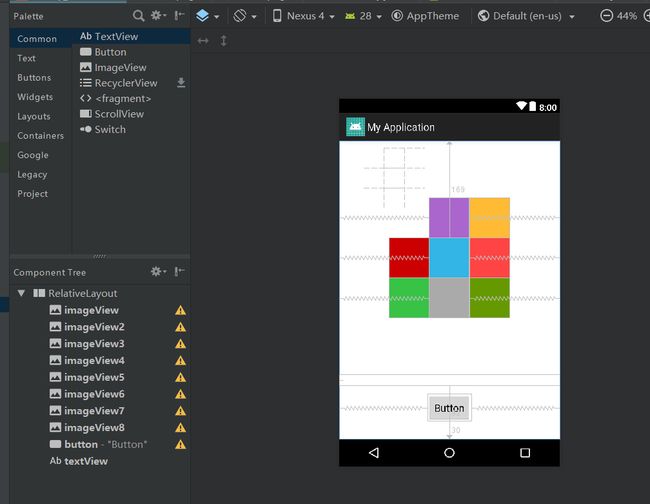
这是布局文件
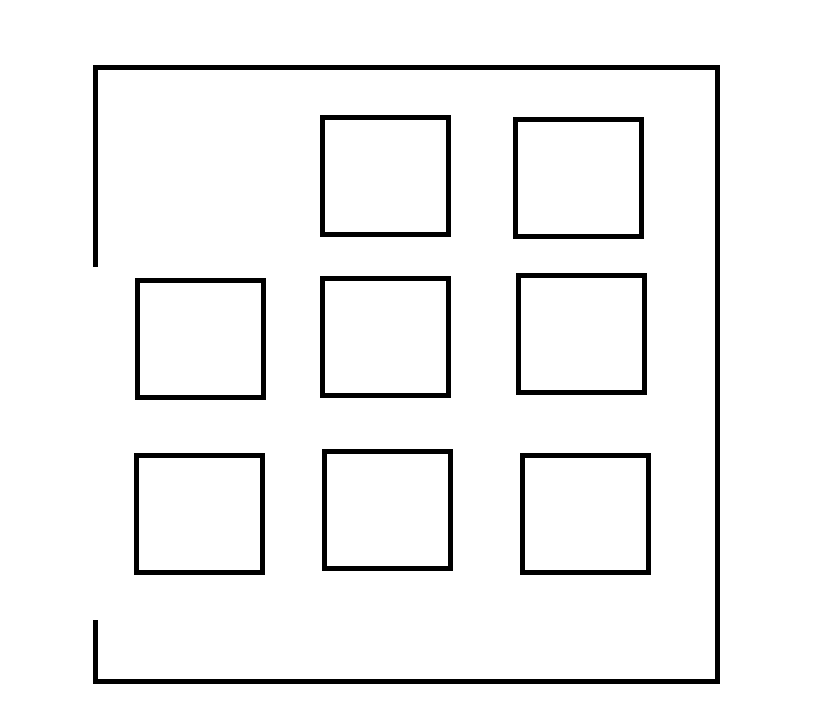
效果图是模仿下面的一张图片
我这里使用的动画 当然也可以使用矩阵 我不会用 这主要是用来做游戏的 我们只需要了解几个常见的即可
每个图片顺时针旋转 由于不能控制速度 我选择了设置控制时间和旋转角度的关系来实现相同的速度
注意每个图片的角度把握好 可以利用数学图形化实现
最后讲帧动画 其实就是电影 几个图片连续播放让你觉得他在动 也可以说是gif
献上java代码
import android.animation.Animator;
import android.animation.AnimatorInflater;
import android.animation.AnimatorSet;
import android.content.Intent;
import android.graphics.drawable.AnimationDrawable;
import android.os.Bundle;
import android.app.Activity;
import android.view.View;
import android.view.animation.AlphaAnimation;
import android.view.animation.Animation;
import android.widget.Button;
import android.widget.ImageView;
import android.widget.TextView;
public class Main2 extends Activity {
private ImageView imageView,imageView3;
private Button button,button5;
private AnimationDrawable rocketAnimation;
@Override
protected void onCreate(Bundle savedInstanceState) {
super.onCreate( savedInstanceState );
setContentView( R.layout.activity_main2 );
imageView=findViewById( R.id.imageView2 );
button=findViewById( R.id.button3 );
imageView.setImageResource( R.drawable.people );
button5=findViewById( R.id.button5 );
imageView3=findViewById( R.id.imageView3 );
button5.setOnClickListener( new View.OnClickListener() {
@Override
public void onClick(View view) {
/**AnimatorSet set= (AnimatorSet) AnimatorInflater.loadAnimator( Main2.this,R.animator.animator_move );
set.setTarget(imageView3);
set.start();*/
Intent intent=new Intent( Main2.this,Main3.class );
startActivity( intent );
}
} );
rocketAnimation= (AnimationDrawable) imageView.getDrawable();
button.setOnClickListener( new View.OnClickListener() {
@Override
public void onClick(View view) {
rocketAnimation.start();
}
} );
}
}
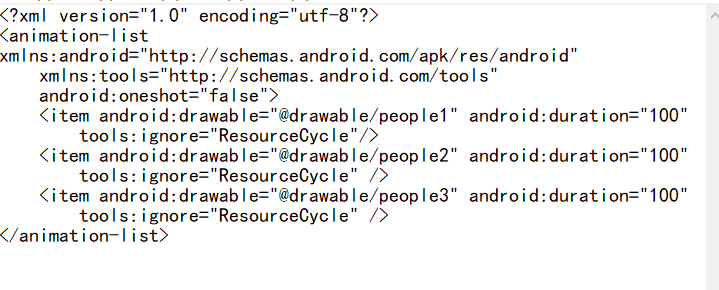
在drawable中实现一个动画会很简单
这里是一个xml文件
布局文件
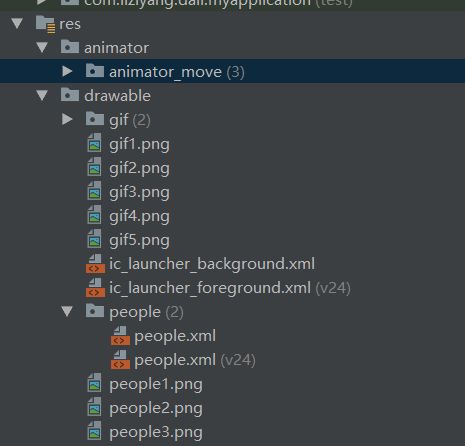
文件包图片 这里用了几张京东刷新时快递员跑动的图片 你可以根据需要来设置自己的帧动画
布局正常 不用设置图片 正常随便设置图片 然后再代码中实现图片
最后讲解一个基础知识
res/anim渐变动画 animator属性动画 raw不经过处理的原始文件 例如音频和视频等
如json可以放在assects中
到这里就讲完了 希望大家给予一个小心心或关注小编
后续继续给大家分享干货
王幼虎
