在前面的文章中介绍了如何绘制形状,并了解通过投影变换和相机视图变换来调整绘制对象的展示比例。这些是基本的 OpenGL 绘制图像流程,如果你对这些概念还有些不熟悉,可以回头再看一下前面的文章。文章中所有的代码示例都已放在 Github 上,可以去项目 OpenGL-ES-Learning 中查看 。
除了绘制图形这样的基本特性之外,OpenGL ES 还提供了其它的一些功能,比如在三维空间中对绘制图形进行移动旋转和变换操作等基本动作。
旋转一个图形
使用 OpenGL ES 2.0 旋转一个绘制图形是比较简单的。在渲染器中创建另一个变换矩阵(一个旋转矩阵),并且将它和我们的之前的投影变换矩阵以及相机视角变换矩阵结合在一起:
private float[] mRotationMatrix = new float[16];
public void onDrawFrame(GL10 gl) {
    float[] scratch = new float[16];

    ...

    // Create a rotation transformation for the triangle
    long time = SystemClock.uptimeMillis() % 4000L;
    float angle = 0.090f * ((int) time);
    Matrix.setRotateM(mRotationMatrix, 0, angle, 0, 0, -1.0f);

    // Combine the rotation matrix with the projection and camera view
    // Note that the mMVPMatrix factor *must be first* in order
    // for the matrix multiplication product to be correct.
    Matrix.multiplyMM(scratch, 0, mMVPMatrix, 0, mRotationMatrix, 0);

    // Draw triangle
    mTriangle.draw(scratch);
}
如果你运行上面代码时,发现三角形还是没有旋转,记得要先启用连续渲染,也就是要把
setRenderMode(GLSurfaceView.RENDERMODE_WHEN_DIRTY);这一代码注释掉。目前是需要实现自动旋转的场景,不能配置 GLSurfaceView.RENDERMODE_WHEN_DIRTY 这种渲染模式。
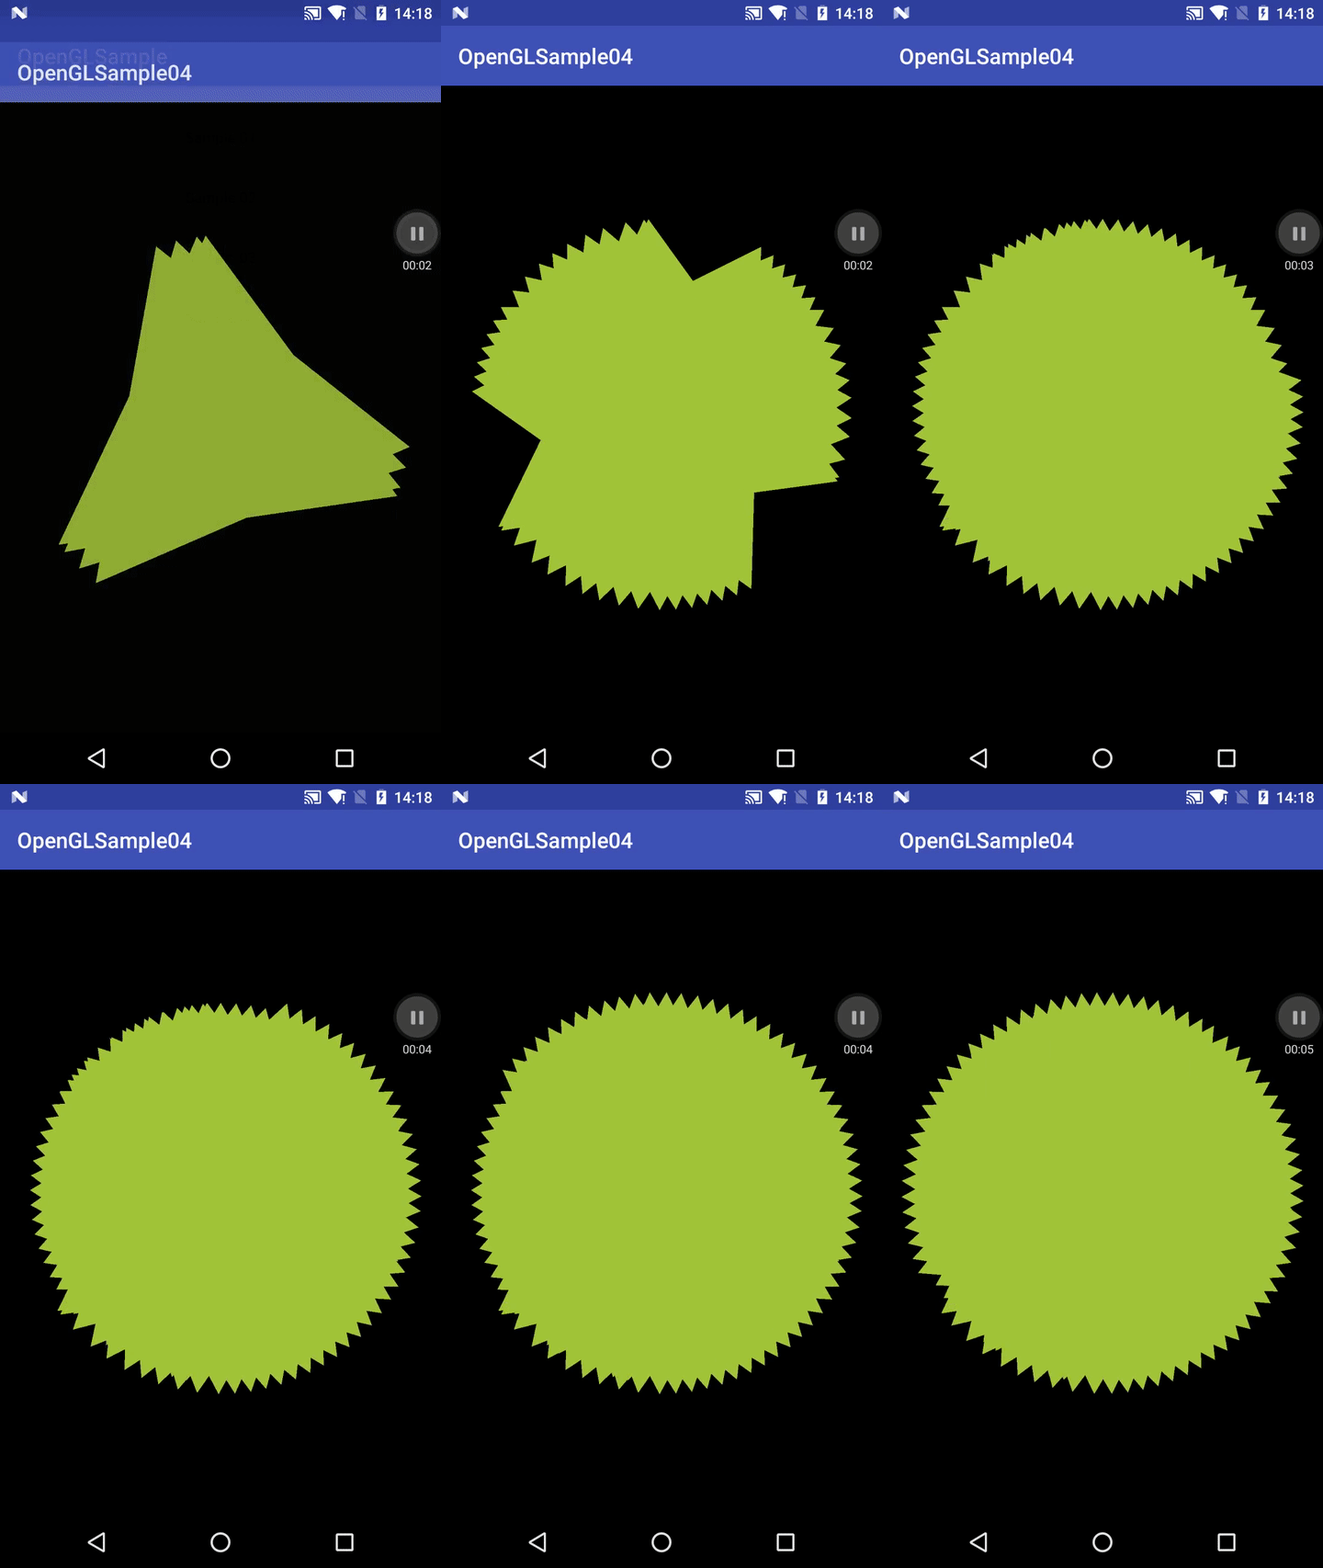
还有一点需要注意的是:在 onDrawFrame(GL10 gl) 方法中,记得先清除上次一的绘制内容,不然会有叠加效果(如果你是想动态演示通过三角形画圆的抗锯齿过程就另说了~),如下图所示:
下面贴上渲染器类的全部代码供参考:
public class MyGLRenderer4 implements GLSurfaceView.Renderer {

    private Triangle mTriangle;

    // mMVPMatrix is an abbreviation for "Model View Projection Matrix"
    private final float[] mMVPMatrix = new float[16];
    private final float[] mProjectionMatrix = new float[16];
    private final float[] mViewMatrix = new float[16];
    private float[] mRotationMatrix = new float[16];

    @Override
    public void onSurfaceCreated(GL10 gl, EGLConfig config) {
        // initialize a triangle
        mTriangle = new Triangle();
    }

    @Override
    public void onSurfaceChanged(GL10 gl, int width, int height) {
        GLES20.glViewport(0, 0, width, height);

        float ratio = (float) width / height;

        // this projection matrix is applied to object coordinates
        // in the onDrawFrame() method
        Matrix.frustumM(mProjectionMatrix, 0, -ratio, ratio, -1, 1, 3, 7);
    }

    @Override
    public void onDrawFrame(GL10 gl) {
        // 每次先清除已有绘制内容,避免旋转时绘制内容叠加
       // GLES20.glClear(GLES20.GL_COLOR_BUFFER_BIT);

        float[] scratch = new float[16];

        // Set the camera position (View matrix)
        Matrix.setLookAtM(mViewMatrix, 0, 0, 0, -3, 0f, 0f, 0f, 0f, 1.0f, 0.0f);

        // Calculate the projection and view transformation
        Matrix.multiplyMM(mMVPMatrix, 0, mProjectionMatrix, 0, mViewMatrix, 0);


        // Create a rotation transformation for the triangle
        long time = SystemClock.uptimeMillis() % 4000L;
        float angle = 0.090f * ((int) time);
        Matrix.setRotateM(mRotationMatrix, 0, angle, 0, 0, -1.0f);

        // Combine the rotation matrix with the projection and camera view
        // Note that the mMVPMatrix factor *must be first* in order
        // for the matrix multiplication product to be correct.
        Matrix.multiplyMM(scratch, 0, mMVPMatrix, 0, mRotationMatrix, 0);

        // Draw shape
        mTriangle.draw(scratch);
    }
}
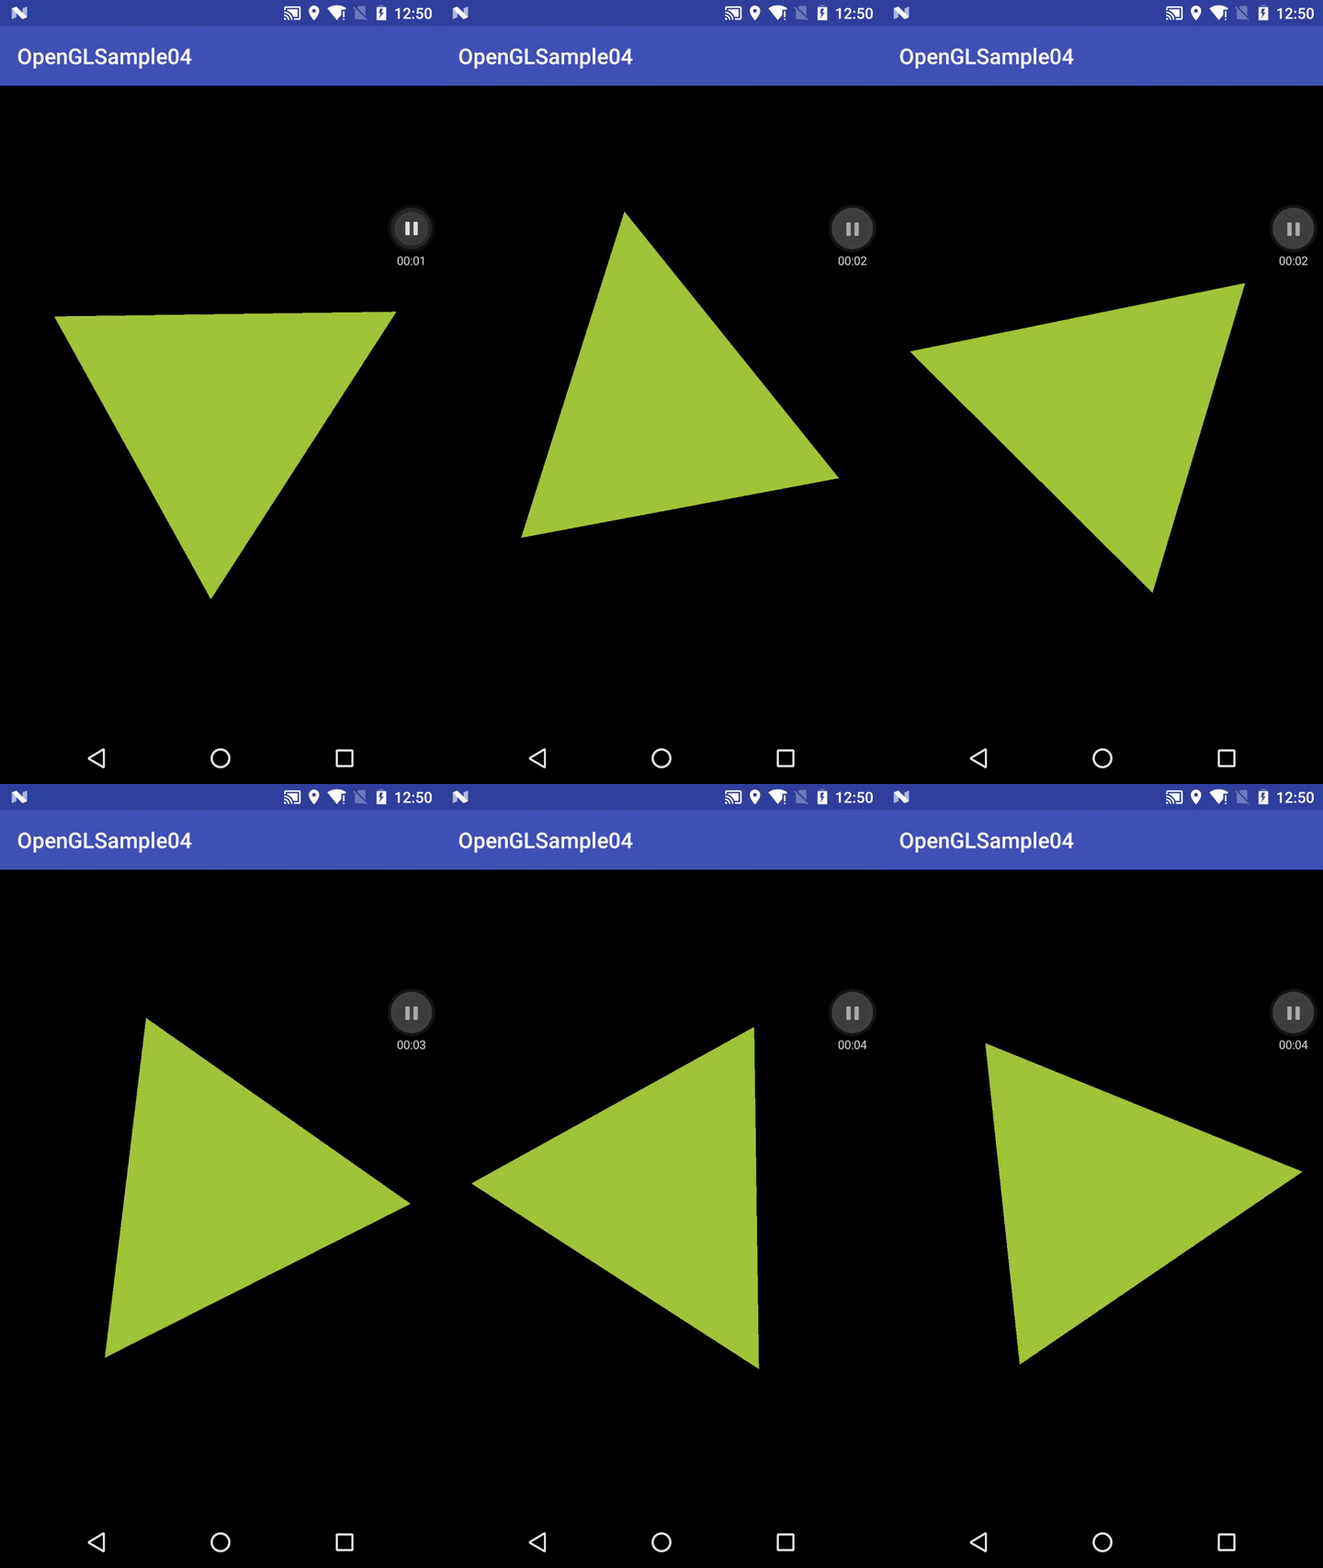
下面是实际运行时的效果图:
启用连续渲染
前面有提到关于设置 GLSurfaceView.Renderer 的渲染模式为 RENDERMODE_WHEN_DIRTY 时跟默认效果的差异性。在上面示例中的实际表现就是:渲染模式会影响三角形是否会自动旋转。若要运行绘制对象持续渲染,需下将渲染模式设置为 RENDERMODE_CONTINUOUSLY (本身也是默认的渲染模式)。
public MyGLSurfaceView04(Context context) {
    ...
     // 可选选项,是将渲染模式设置为仅在你的绘制数据发生变化时才在视图中进行绘制操作
    // 如果选用这一配置选项,那么除非调用了requestRender(),否则GLSurfaceView不会被重新绘制,这样做可以让应用的性能及效率得到提高。
    //setRenderMode(GLSurfaceView.RENDERMODE_WHEN_DIRTY);
}
这里再简单归纳一下,如果将设置渲染模式为 RENDERMODE_WHEN_DIRTY
后,则相当于取消了连续渲染机制,此时 OpenGL 只会对这个图形执行一次绘制,然后就得等待 GLSurfaceView 容器的 requestRender() 方法被调用后才会继续执行渲染操作。
而如果把 setRenderMode(GLSurfaceView.RENDERMODE_WHEN_DIRTY); 代码注释掉,就会恢复启用连续渲染模式。
在实际使用中,除非某个绘制对象它的变化和用户的交互无关,不然的话一般还是建议将 setRenderMode(GLSurfaceView.RENDERMODE_WHEN_DIRTY); 配置打开。
文章中所有的代码示例都已放在 Github 上,可以去项目 OpenGL-ES-Learning 中查看 。
既然说到了绘制对象与用户的交互,下面就来说说 OpenGL ES 如何响应用户的操作。

