2012年10月开始学习 iOS 时还没有 Auto Layout, 此技术从 iOS 6 正式支持。在 iPhone 6 发布前,根据泄露的诸多消息,未来的 iPhone 的尺寸会往大屏发展,我后知后觉,静下心,写一篇关于她的文章。
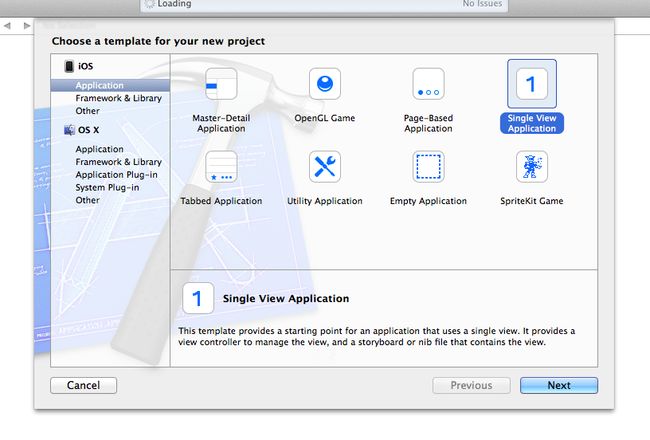
创建项目,快捷键:shift + cmd + n
打开 Main.storyboard,选中默认 View Controller,操作以下:
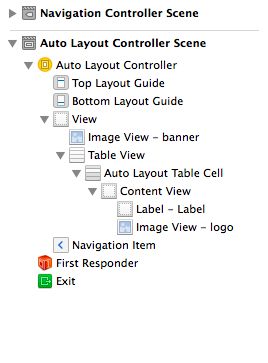
添加两个视图:UIImageView 和 UITableView,当然 UITableViewCell 也要添加到 UITableView,另外我还加了 UILabel 和 UIImageView 在 UITableViewCell 中,如图:
接下来是填充 UITableView,首先给 Controller 加上代理和数据源:
然后添加两个 Outlets,否则数据无法加载,如图:
完成后,初始化数据源。一切就绪后,别着急,我考虑加个 Feature,显得高大上,比如:SWTableViewCell ,如图:
分分钟的事儿,搞定:
正常界面应该是这样:
ok,接下来就是本篇的重点了,介绍前先看下横屏效果:
接下来回到 Main.storyboard,选中 ImageView 和 TableView,操作如下:
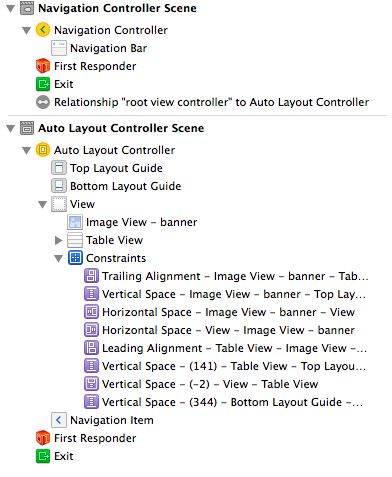
操作完后,会发现如下图:
我们再看下横屏效果图
但是,如果你仔细的话,会发现 console 出现了异常:
2014-06-07 16:58:28.844 AutoLayoutDemo[616:60b] Unable to simultaneously satisfy constraints.
Probably at least one of the constraints in the following list is one you don't want. Try this: (1) look at each constraint and try to figure out which you don't expect; (2) find the code that added the unwanted constraint or constraints and fix it. (Note: If you're seeing NSAutoresizingMaskLayoutConstraints that you don't understand, refer to the documentation for the UIView property translatesAutoresizingMaskIntoConstraints)
Will attempt to recover by breaking constraint
Break on objc_exception_throw to catch this in the debugger.
The methods in the UIConstraintBasedLayoutDebugging category on UIView listed in may also be helpful.
我们需要微调视图的坐标,把 ImageView 加高,然后更新约束:
再次运行,一切正常。最终效果:
完成这个 Demo 后,我认为 Auto Layout 为多屏幕尺寸的应用开发带来的福音,主要针对竖屏,横屏是其次,考虑到横屏的应用游戏居多,而应用是不多的。
如需参考,请见:AutoLayoutDemo


