SCNGeometry
学习目标
1.了解SceneKit 游戏框架中系统包含的几何对象.
2.学习如何将几何形状物体绑定的节点上,显示到视图中.
系统提供的几何形状讲解
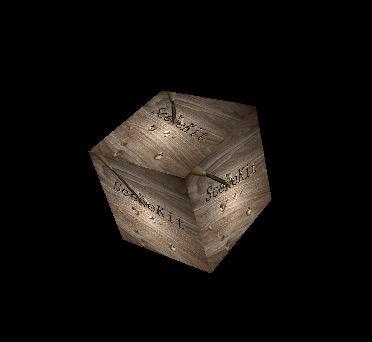
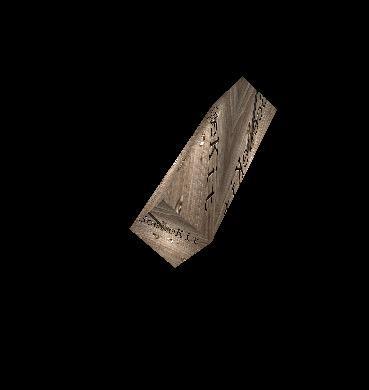
正方体
代码如下:
SCNBox *box = [SCNBox boxWithWidth:1 height:1 length:1 chamferRadius:0];
box.firstMaterial.diffuse.contents = [UIImage imageNamed:@"1.PNG"];
SCNNode *boxNode = [SCNNode node];
boxNode.position = SCNVector3Make(0, 0, 0);
boxNode.geometry = box;
[scnView.scene.rootNode addChildNode:boxNode];
创建平面
代码如下:
SCNPlane *plane =[SCNPlane planeWithWidth:2 height:2];
plane.firstMaterial.diffuse.contents = [UIImage imageNamed:@"2.PNG"];
SCNNode *planeNode = [SCNNode nodeWithGeometry:plane];
planeNode.position = SCNVector3Make(0, 0, 0);
[scnView.scene.rootNode addChildNode:planeNode];
金子塔
代码如下:
SCNPyramid *pyramid = [SCNPyramid pyramidWithWidth:1 height:1 length:1];
pyramid.firstMaterial.diffuse.contents = [UIImage imageNamed:@"1.PNG"];
SCNNode *pyramidNode = [SCNNode nodeWithGeometry:pyramid];
pyramidNode.position = SCNVector3Make(0, 0, 0);
[scnView.scene.rootNode addChildNode:pyramidNode];
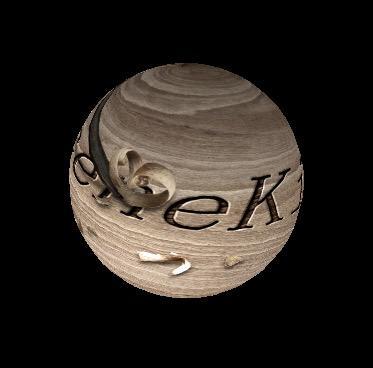
球体
代码如下:
SCNSphere *sphere = [SCNSphere sphereWithRadius:1];
sphere.firstMaterial.diffuse.contents = [UIImage imageNamed:@"1.PNG"];
SCNNode *sphereNode =[SCNNode nodeWithGeometry:sphere];
sphereNode.position = SCNVector3Make(0, 0, 0);
[scnView.scene.rootNode addChildNode:sphereNode];
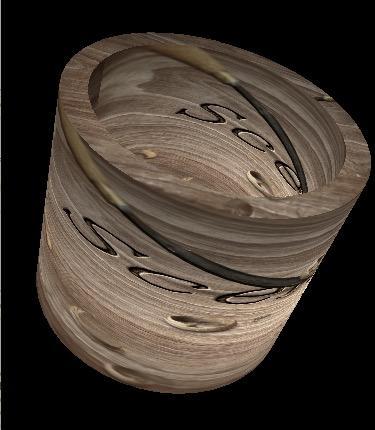
圆柱体
代码如下:
    SCNCylinder *cylinder = [SCNCylinder cylinderWithRadius:1 height:2];
    cylinder.firstMaterial.diffuse.contents = [UIImage imageNamed:@"1.PNG"];
    SCNNode *cylinderNode =[SCNNode nodeWithGeometry:cylinder];
    cylinderNode.position = SCNVector3Make(0, 0, 0);
    [scnView.scene.rootNode addChildNode:cylinderNode];
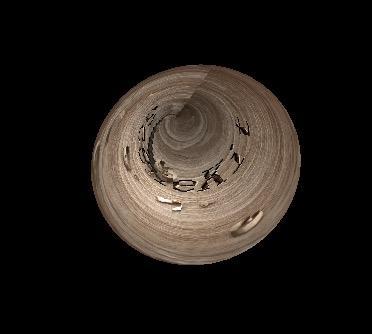
圆锥体
代码如下:
SCNCone *cone = [SCNCone coneWithTopRadius:0 bottomRadius:1 height:1];
cone.firstMaterial.diffuse.contents = [UIImage imageNamed:@"1.PNG"];
SCNNode *coneNode = [SCNNode nodeWithGeometry:cone];
coneNode.position = SCNVector3Make(0,0, 0);
[scnView.scene.rootNode addChildNode:coneNode];
管道
代码如下:
SCNTube *tube = [SCNTube tubeWithInnerRadius:1 outerRadius:1.2 height:2];
tube.firstMaterial.diffuse.contents = [UIImage imageNamed:@"1.PNG"];
SCNNode *tubeNode =[SCNNode nodeWithGeometry:tube];
tubeNode.position = SCNVector3Make(0, 0, 0);
[scnView.scene.rootNode addChildNode:tubeNode];
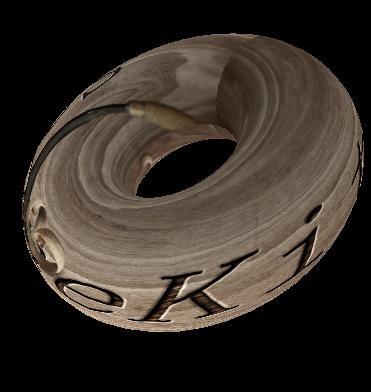
环面
代码如下:
SCNTorus *torus = [SCNTorus torusWithRingRadius:1 pipeRadius:0.5];
torus.firstMaterial.diffuse.contents = [UIImage imageNamed:@"1.PNG"];
SCNNode *torusNode = [SCNNode nodeWithGeometry:torus];
torusNode.position = SCNVector3Make(0, 0, 0);
[scnView.scene.rootNode addChildNode:torusNode];
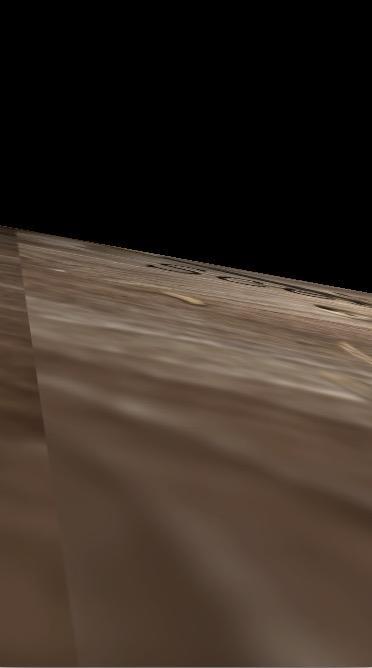
地板
代码如下:
SCNFloor *floor = [SCNFloor floor];
floor.firstMaterial.diffuse.contents = [UIImage imageNamed:@"1.PNG"];
SCNNode *floorNode = [SCNNode nodeWithGeometry:floor];
floorNode.position = SCNVector3Make(0, -5, 0);
[scnView.scene.rootNode addChildNode:floorNode];
立体文字
代码如下:
 SCNText *text = [SCNText textWithString:@"好好学习" extrusionDepth:0.5];
text.firstMaterial.diffuse.contents = [UIImage imageNamed:@"1.PNG"];
text.font = [UIFont systemFontOfSize:1];
SCNNode *textNode  =[SCNNode nodeWithGeometry:text];
textNode.position = SCNVector3Make(-2, 0, 0);
[scnView.scene.rootNode addChildNode:textNode];
自定义形状
代码如下:
// 定义贝塞尔曲线
SCNShape *shape = [SCNShape shapeWithPath:[UIBezierPath bezierPathWithRoundedRect:CGRectMake(0, 0, 1, 1) cornerRadius:0.5] extrusionDepth:3];
shape.firstMaterial.diffuse.contents = [UIImage imageNamed:@"1.PNG"];
SCNNode *shapdeNode =[SCNNode nodeWithGeometry:shape];
[scnView.scene.rootNode addChildNode:shapdeNode];
手把手教你写代码
第一步.创建工程
第二步.添加游戏框架
第三步.添加游戏专用视图SCNView
SCNView *scnView = [[SCNView alloc]initWithFrame:self.view.bounds];
scnView.backgroundColor = [UIColor blackColor];
[self.view addSubview:scnView];
scnView.allowsCameraControl = TRUE;
第四步.创建游戏场景
scnView.scene = [SCNScene scene];
第五步.添加照相机
  SCNNode *cameraNode =[SCNNode node];
  cameraNode.camera = [SCNCamera camera];
  cameraNode.position = SCNVector3Make(0, 0, 5);
  [scnView.scene.rootNode addChildNode:cameraNode];
第六步.添加节点并且绑定几何形状物体
 // 创建几何对象
 SCNTorus *torus = [SCNTorus torusWithRingRadius:1 pipeRadius:0.5];
  torus.firstMaterial.diffuse.contents = [UIImage imageNamed:@"1.PNG"];
// 绑定到节点上
SCNNode *torusNode = [SCNNode nodeWithGeometry:torus];
 // 设置节点的位置
torusNode.position = SCNVector3Make(0, 0, 0);
  // 添加到场景中去
[scnView.scene.rootNode addChildNode:torusNode];
运行结果:
让学习成为一种习惯
问题:有人问我SegmentCount属性到底干了什么事情?
下面举个例子演示
创建一个有切面的正方体
let box = SCNBox(width: 1, height: 1, length: 1, chamferRadius: 0.5)
设置一下下面属性
box.chamferSegmentCount = 20
上面的现象就是答案,不需要我解释了吧!
本节内容比较重要,请大家务必掌握,后面需要内容都建立在今天的内容之上!
