一、Deploy OVF Of vRealize Operations Manager
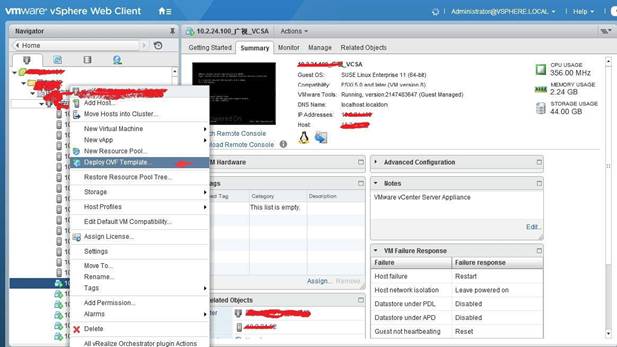
1.1 Login to vCenter, with vSphere Web Client or vSphere Client, Deploy the Operation Manager vAPP OVF. See Figure 1. Deploy OVF Template
1.2 Browse the OVF Template file, click the “next”. See Figure 2
1.3 Check the OVF Template the Details information, click the “Next”, See Figure 3.
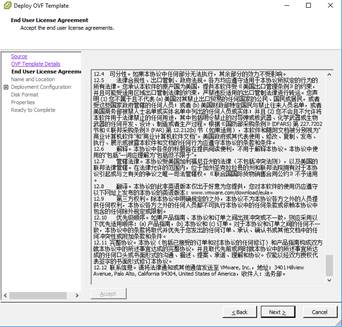
1.4 Accept the End user License Agreement, click the “Next”, See Figure 4.
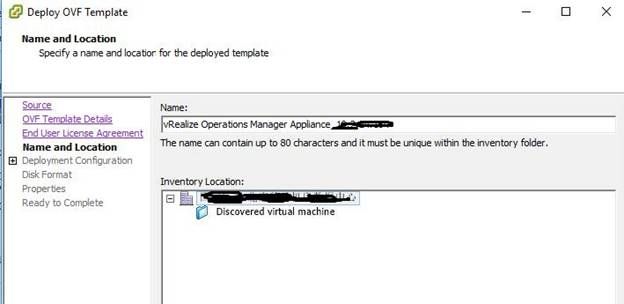
1.5 Insert the vAPP Name and Inventory Location, See Figure 5.
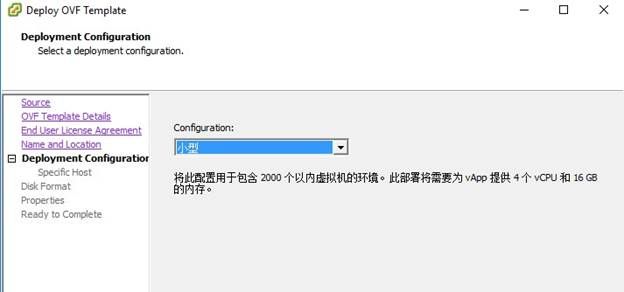
1.6 Select the Configuration: Small, See Figure 6.
1.7 Specific the Host, See Figure 7
1.8 Select the destination storage for the Vapp, See Figure 8.
1.9 Select the vmdk format, there is Thin Provision, See Figure 9.
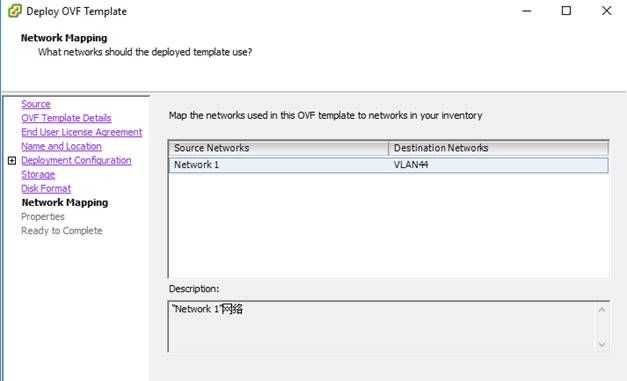
1.10 Select the VM networking, See Figure 10.
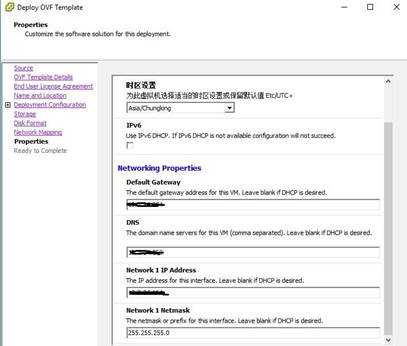
1.11 Configure the Networking Properties, See Figure 11.
1.12 Click the “Finish”, to start deployment the Vapp, See Figure 12.
1.13 Waiting for several minutes, OVF deployment is done, See Figure 13.
二、vRealize Operations Manager Initial Setup
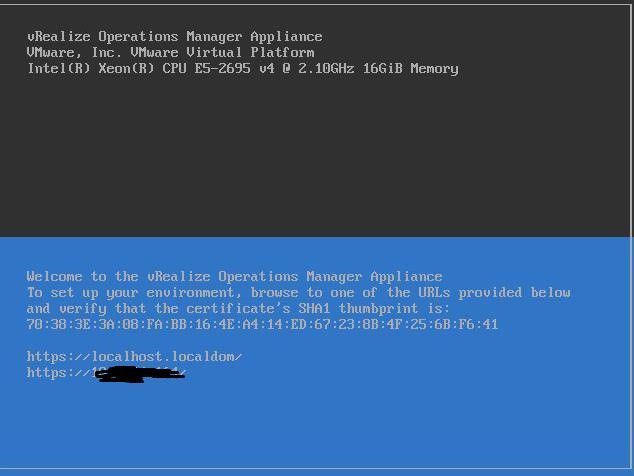
2.1 When vRealiZE Operations Manager vAPP deployment is done, the VM will Power On, See Figure 14.
2.1 Login to vRealize Operations Manager UI: https://ipaddress , Click the “New install”See Figure 15.
2.2 Getting Started Initial Setup, Click the “Next”. See Figure 16.
2.3 Set the Admin account password, click the “Next”, See Figure 17.
2.4 Choose the Certificate, There is Default .If customer`s environment has Certificate server, you can used, click the “Next”. See Figure 18.
2.5 Enter the Cluster Name and Add the NTP Server, click the “Next”. See Figure 19.
2.6 Ready to Complete, click “Finish”. See Figure 20.
2.7 Startup Cluster, May be waiting several minutes, until Cluster Node online. See Figure 21.
2.8 When the Cluster Status is online, Login to vRealize Operations Manager UI, See Figure 22.
2.9 Click the “Next”, Configuration on setting up vRelize Operations Manager, See Figure 23.
2.10 Accept the EULA, click the “Next”. See Figure 24.
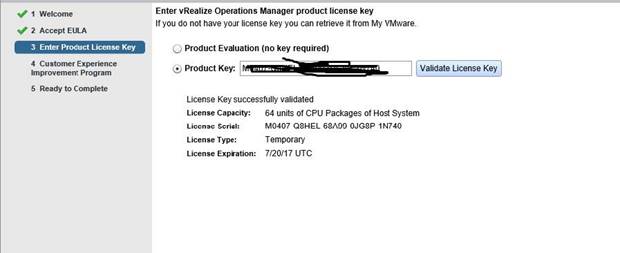
2.11 Insert Product Key, click the “Next”. See Figure 25.
2.12 Select join the CEIP, click the “Next”. See Figure 26.
2.13 Ready to Complete, See Figure 27.
三、Configure a vSphere Solution
3.1 Click the Solution icon, and click plus, See Figure 29.
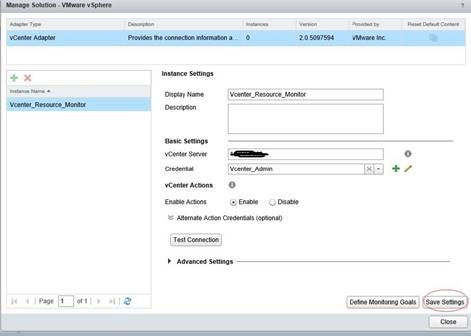
3.2 Enter the Display Name, Add the vCenter Credential. See Figure 30.
3.3 Insert User Name and Password, click “ok”. See Figure 31.
3.4 Click the “OK”, to accept the certificate. See Figure 32.
3.5 Click the “Test Connection”, the result is OK, See Figrue 33.
3.6 click the “Save Settings”, See Figure 34.
3.7 The Adapater instance successfully saved, See Figure34.
3.8 check the vSphere Solution Details, now it`s collecting data,from vCenter. See Figure 35
四、Install the Dell Storage Management Pack with vRealize Operations Manager
4.1 First, you need Download this PAK file and save it to a location such as your computer desktop.“DellStorageAdapter-01.01.00005_signed.pak”. See Figure 36.
4.2 Add User Name: vropadmin, Privilege: Administrator. See Figure 37.
4.3 add solution, upload the pack file, See Figure 38.
4.4 Verification the Pack file. See Figure 39.
4.5 Service Pack is installed. See Figure 40.
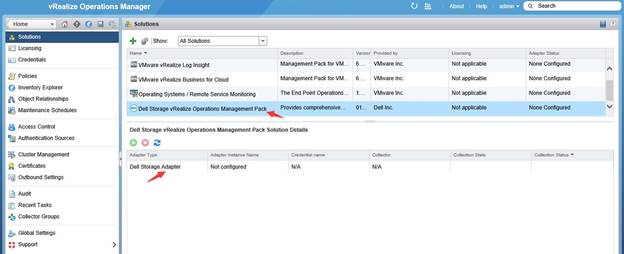
4.6 Select the DSM Pack, and configuration Solution, See Figure 41.
4.7 Configure the Dell Storage Adapter Credential, and Test Connection. See Figure 42.
4.8 When configuration is done, Dell Storage Adapter is working and collecting data. See Figure 43.
The Dell Storage Management Pack provides the following dashboards:
Dell Storage & VMware Relationship
Dell Storage Metrics
Dell Storage Volume Top‐N Reports
Dell Storage at A Glance
Dell Storage Port Top‐N Reports
Management Pack download link: ftp://customer:[email protected]/SOFTWARE/vROPS/01.01.00.005/DellStoragevReali zeOperationsManagementPack_0101_00005.zip
