一. UIViewContentMode
    lazy var image : UIImageView = {

        let view = UIImageView.init(image: #imageLiteral(resourceName: "image.jpg"))
        view.translatesAutoresizingMaskIntoConstraints = false;
        view.backgroundColor = UIColor.gray
        return view

    }()

image.widthAnchor.constraint(equalToConstant: 300).isActive = true
image.heightAnchor.constraint(equalToConstant: 275).isActive = true
-
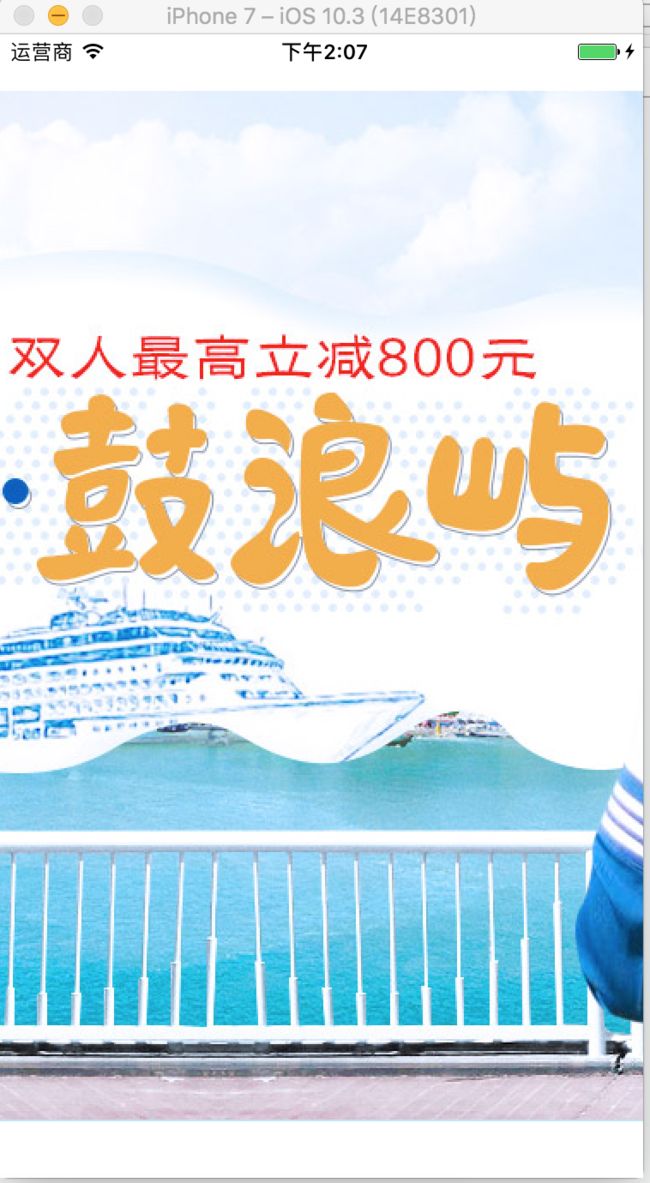
image.contentMode = .scaleToFill
缩放图片以充满整个容器
-
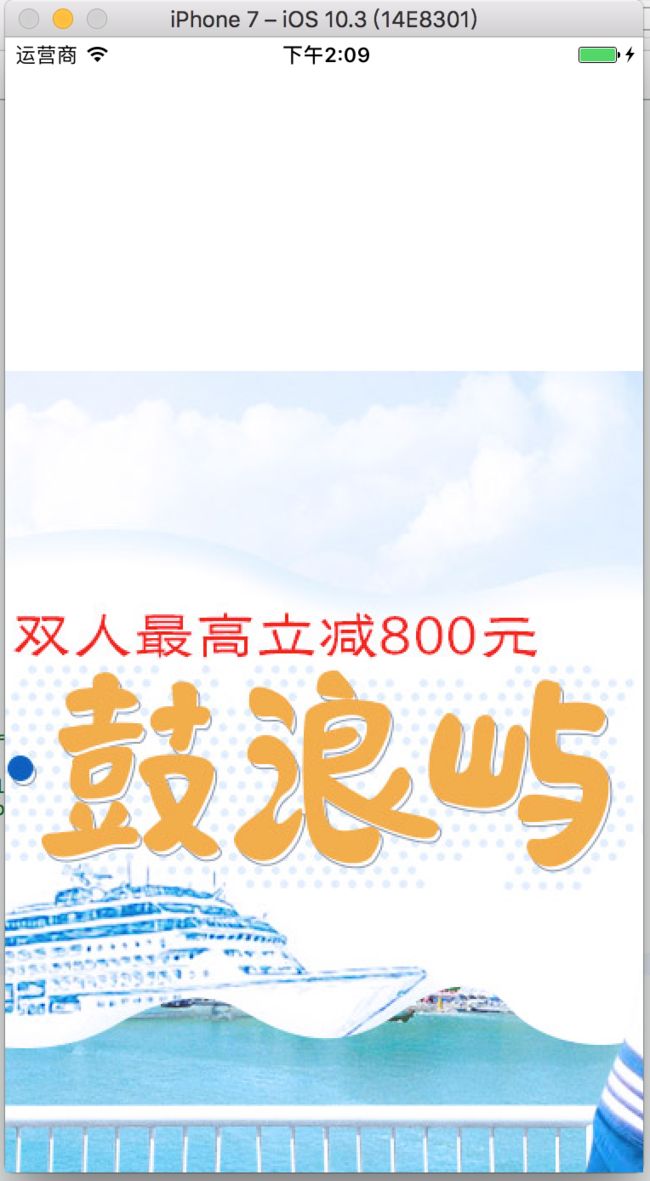
image.contentMode = .scaleAspectFit
使宽或者高与容器一至,并保证图片在容器内完全显示
-
image.contentMode = .scaleAspectFill
使宽或者高与容器一至,超出部分被裁剪
image.contentMode = .redraw
这个选项是当视图的尺寸位置发生变化的时候通过调用setNeedsDisplay方法来重新显示。image.contentMode = .center
保持图片原比例在视图中间显示图片内容如果视图大小小于图片的尺寸,则图片会超出视图边界
image.contentMode = .top
以下都不会对图片进行放缩。而是按基准对齐。图片超出容器的部分不会被截断
    case center

    case top

    case bottom

    case left

    case right

    case topLeft

    case topRight

    case bottomLeft

    case bottomRight
二. 缩放,截取,压缩
extension UIImage
{
    /// 截取部分图像
    func getSubImage(rect : CGRect) -> UIImage {
        guard self.cgImage != nil else {
            return self
        }
        let croppedCGImage = self.cgImage!.cropping(to: rect)
        guard croppedCGImage != nil else {
            return self
        }
        let drawBounds = CGRect(x: 0, y: 0, width: rect.width, height: rect.height)
        UIGraphicsBeginImageContext(drawBounds.size)
        let currentContext = UIGraphicsGetCurrentContext()
        currentContext?.draw(croppedCGImage!, in: drawBounds)
        let croppedImage = UIImage(cgImage: croppedCGImage!)
        UIGraphicsEndImageContext()
        return croppedImage
    }

    /// 放缩图片到指定尺寸
    ///
    /// - Parameter size: 目标尺寸
    /// - Returns: 目标UIImage
    func scaleTo(size: CGSize) -> UIImage {
        guard size.width >= 0 , size.height >= 0 else {
            return self
        }
        let destinationBounds = CGRect(x: 0, y: 0, width: size.width, height: size.height)

        UIGraphicsBeginImageContextWithOptions(destinationBounds.size, false, 0.0);
        self.draw(in: destinationBounds)
        let destinationImage = UIGraphicsGetImageFromCurrentImageContext();
        UIGraphicsEndImageContext()

        guard destinationImage != nil else {
            return self
        }
        return destinationImage!
    }


    /// 按比例缩放图片
    ///
    /// - Parameter radio: 缩放比例
    /// - Returns: 缩放后的UIImage
    func scaleRadio(radio:CGFloat) -> UIImage {
        guard radio > 0 else {
            return self
        }
        guard self.cgImage != nil else {
            return self
        }
        let resultImage = UIImage.init(cgImage: self.cgImage!, scale: radio, orientation: self.imageOrientation)
        return resultImage
    }

   /**
     听说某司用的就是这一压缩算法
     图片压缩的逻辑:
     一:图片尺寸压缩 主要分为以下几种情况 一般参照像素为targetPx
     a.图片宽高均≤targetPx时,图片尺寸保持不变;
     b.宽或高均>targetPx时 ——图片宽高比≤2,则将图片宽或者高取大的等比压缩至targetPx; ——但是图片宽高比>2时,则宽或者高取小的等比压缩至targetPx;
     c.宽高一个>targetPx,另一个<targetPx,--图片宽高比>2时,则宽高尺寸不变;--但是图片宽高比≤2时,则将图片宽或者高取大的等比压缩至targetPx.

     二:图片质量压缩: 对于超过大小阈值的图片进行质量压缩,但不保证压缩后的大小
     一般图片质量都压缩在90%就可以了
     */
    func conpressImageView(targetPx:CGFloat, thresholdSize_KB:Int = 200)->Data?
    {
        var newImage:UIImage!  // 尺寸压缩后的新图片
        let imageSize:CGSize = self.size // 源图片的size
        let width:CGFloat = imageSize.width // 源图片的宽
        let height:CGFloat = imageSize.height // 原图片的高
        var drawImge:Bool = false    // 是否需要重绘图片 默认是NO
        var scaleFactor:CGFloat = 0.0   // 压缩比例
        var scaledWidth:CGFloat = targetPx   // 压缩时的宽度 默认是参照像素
        var scaledHeight:CGFloat = targetPx  // 压缩是的高度 默认是参照像素

        if width <= targetPx,height <= targetPx {
            newImage = self
        }
        else if width >= targetPx , height >= targetPx {
            drawImge = true
            let factor:CGFloat = width / height
            if factor <= 2 {
                // b.1图片宽高比≤2,则将图片宽或者高取大的等比压缩至targetPx
                scaleFactor = width > height ? targetPx/width : targetPx/height
            } else {
                // b.2图片宽高比>2时,则宽或者高取小的等比压缩至targetPx
                scaleFactor = width > height ? targetPx/height : targetPx/width
            }

        }
            // c.宽高一个>targetPx,另一个<targetPx 宽大于targetPx
        else if width >= targetPx , height <= targetPx {
            if width / height > 2 {
                newImage = self;
            } else {
                drawImge = true;
                scaleFactor = targetPx / width;
            }
        }
            // c.宽高一个>targetPx,另一个<targetPx 高大于targetPx
        else if width <= targetPx , height >= targetPx {
            if height / width > 2 {
                newImage = self;
            } else {
                drawImge = true;
                scaleFactor = targetPx / height;
            }
        }

        // 如果图片需要重绘 就按照新的宽高压缩重绘图片
        if drawImge {
            scaledWidth = width * scaleFactor;
            scaledHeight = height * scaleFactor;
            UIGraphicsBeginImageContext(CGSize(width:scaledWidth,height:scaledHeight));
            // 绘制改变大小的图片
            self.draw(in: CGRect.init(x: 0, y: 0, width: scaledWidth, height: scaledHeight))
            // 从当前context中创建一个改变大小后的图片
            newImage = UIGraphicsGetImageFromCurrentImageContext();
            // 使当前的context出堆栈
            UIGraphicsEndImageContext();
        }
        // 如果图片大小大于200kb 在进行质量上压缩
        var scaledImageData:Data? = nil;
        guard newImage != nil else {
            return nil;
        }

        if (UIImageJPEGRepresentation(newImage!, 1) == nil) {
            scaledImageData = UIImagePNGRepresentation(newImage);
        }else{
            scaledImageData = UIImageJPEGRepresentation(newImage, 1);
            guard scaledImageData != nil else {
                return nil
            }
            if scaledImageData!.count >= 1024 * thresholdSize_KB {
                //压缩大小,但并不一定能一次到位,有需有可以for循环压缩
                //scaledImageData > 1024 * thresholdSize_KB
                scaledImageData = UIImageJPEGRepresentation(newImage, 0.9);
            }
        }

        return scaledImageData
    }
}
三. text、view、color To Image
    /// 创建纯色图片
    ///
    /// - Parameters:
    ///   - color: 图片颜色
    ///   - size: 图片的大小
    /// - Returns: 纯色图片UIImage
    static func colorImage(color : UIColor, size : CGSize ) -> UIImage? {

        let bounds = CGRect(x: 0, y: 0, width: size.width, height: size.height)
        UIGraphicsBeginImageContext(size)
        let currentContext = UIGraphicsGetCurrentContext()
        currentContext?.setFillColor(color.cgColor)
        currentContext?.fill(bounds)
        let resultImage = UIGraphicsGetImageFromCurrentImageContext()
        return resultImage!
    }


    /// 文本转图片
    ///
    /// - Parameters:
    ///   - text: 文本
    ///   - attribute: 文本富文本属性
    ///   - size: 图片大小
    /// - Returns: UIImage
    static func textImage(text:NSString, attribute:Dictionary?, size:CGSize) -> UIImage?
    {
        let bounds = CGRect(x: 0, y: 0, width: size.width, height: size.height)
        UIGraphicsBeginImageContextWithOptions(size, false, 0)
        text.draw(in: bounds, withAttributes: attribute)
        let resultImage = UIGraphicsGetImageFromCurrentImageContext()
        UIGraphicsEndImageContext()
        return resultImage
    }


    /// 将View转换成图片
    ///
    /// - Parameter view: 需要转换的View
    /// - Returns: UIImage
    static func viewImage(view : UIView) -> UIImage?
    {
        view.layer.masksToBounds = true
        UIGraphicsBeginImageContextWithOptions(view.bounds.size, true, 0)
        if view.responds(to: #selector(UIView.drawHierarchy(in:afterScreenUpdates:))) {
            view.drawHierarchy(in: view.bounds, afterScreenUpdates: true)
        }
        else{
            let currentContext = UIGraphicsGetCurrentContext()
            guard currentContext != nil else {
                return nil
            }
            view.layer.render(in: currentContext!)
        }
        let resultImage = UIGraphicsGetImageFromCurrentImageContext()
        UIGraphicsEndImageContext()
        return resultImage
    }


