上一篇介绍了ugui/NGUI/以及普通3D模型的UI设计。这一讲主要介绍怎么样利用这些UI做交互。
大家在VR游戏看到的UI以及UI交互,主要有哪几种?
1、头控悬停(视选)
2、蓝牙手柄
3、利用AR技术
1、触摸控制
在UGUI中,按钮的的事件容易处理,直接这里设置对应的方法。

那么有时候有的同学需要使用Image怎么办?这里就以Image的选择为例。
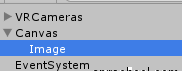
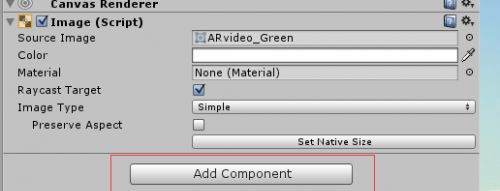
首先创建Canvas和Image,并选择一个Sprite。
然后给Image添加脚本Event Trigger.
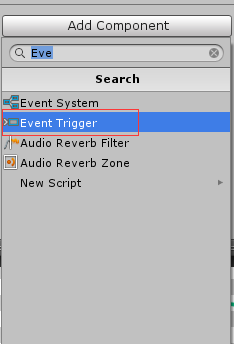
再添加新的Event Type。这里我选择使用鼠标的Pointer Click.

最后新建一个脚本,Control.cs,如下:
using UnityEngine;
using System.Collections;
public class Control : MonoBehaviour
// Use this for initialization
void Start ()
{
}
// Update is called once per frame
void Update ()
{
}
public void PointClicked()
{
Debug.Log( "---> PointClicked");
}
复制代码
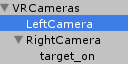
将脚本绑在VRCameras下,再设置Image的Event Type.

测试结果:
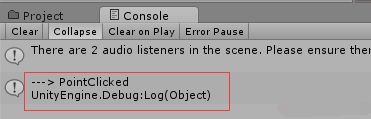
完成。
2、视选控制
3D模型,主要就是射线+碰撞。主要代码如下,将该代码绑定到VRCameras下:
using UnityEngine;
using System.Collections;
public class UIControl3D : MonoBehaviour
{
public Camera myCamera;
private float time = 0;
public MeshRenderer target_on;
public MeshRenderer target_off;
public ParticleSystem myExplosion;
// Use this for initialization
void Start ()
{
}
// Update is called once per frame
void Update ()
{
CheckTargeted();
}
void CheckTargeted()
{
// 分屏,宽度在1/2屏幕居中
Ray ray = myCamera.ScreenPointToRay( new Vector3( Screen.width / 4, Screen.height / 2));
RaycastHit hits;
// 发出射线
if ( Physics.Raycast(ray, out hits, 5000))
{
Debug.Log(hits.collider.name);
if (hits.collider.name == "Cube")
{
time += 1 * Time.deltaTime;
target_on.enabled = true;
target_off.enabled = false;
if (time >= 1.5f)
{
this.myExplosion.Play();
time += Time.deltaTime;
}
if (time >= 2)
{
time = 0;
this.myExplosion.Stop();
}
}
}
else
{
// 重置场景
time = 0;
target_on.enabled = false;
target_off.enabled = true;
}
}
}
复制代码
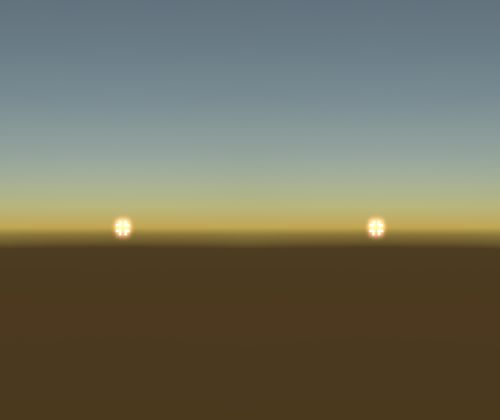
最后效果如下:
联系方式:0755-81699111
课程网址: http://www.vrkuo.com/course/vr.html