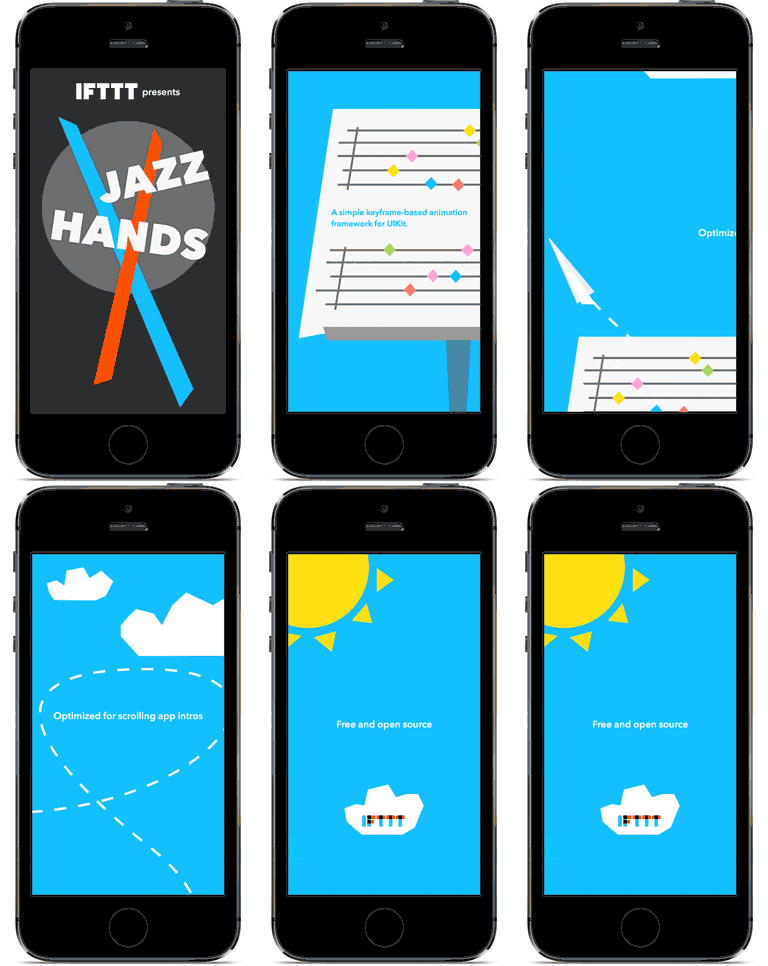
这个是 JazzHands 官方的 demo
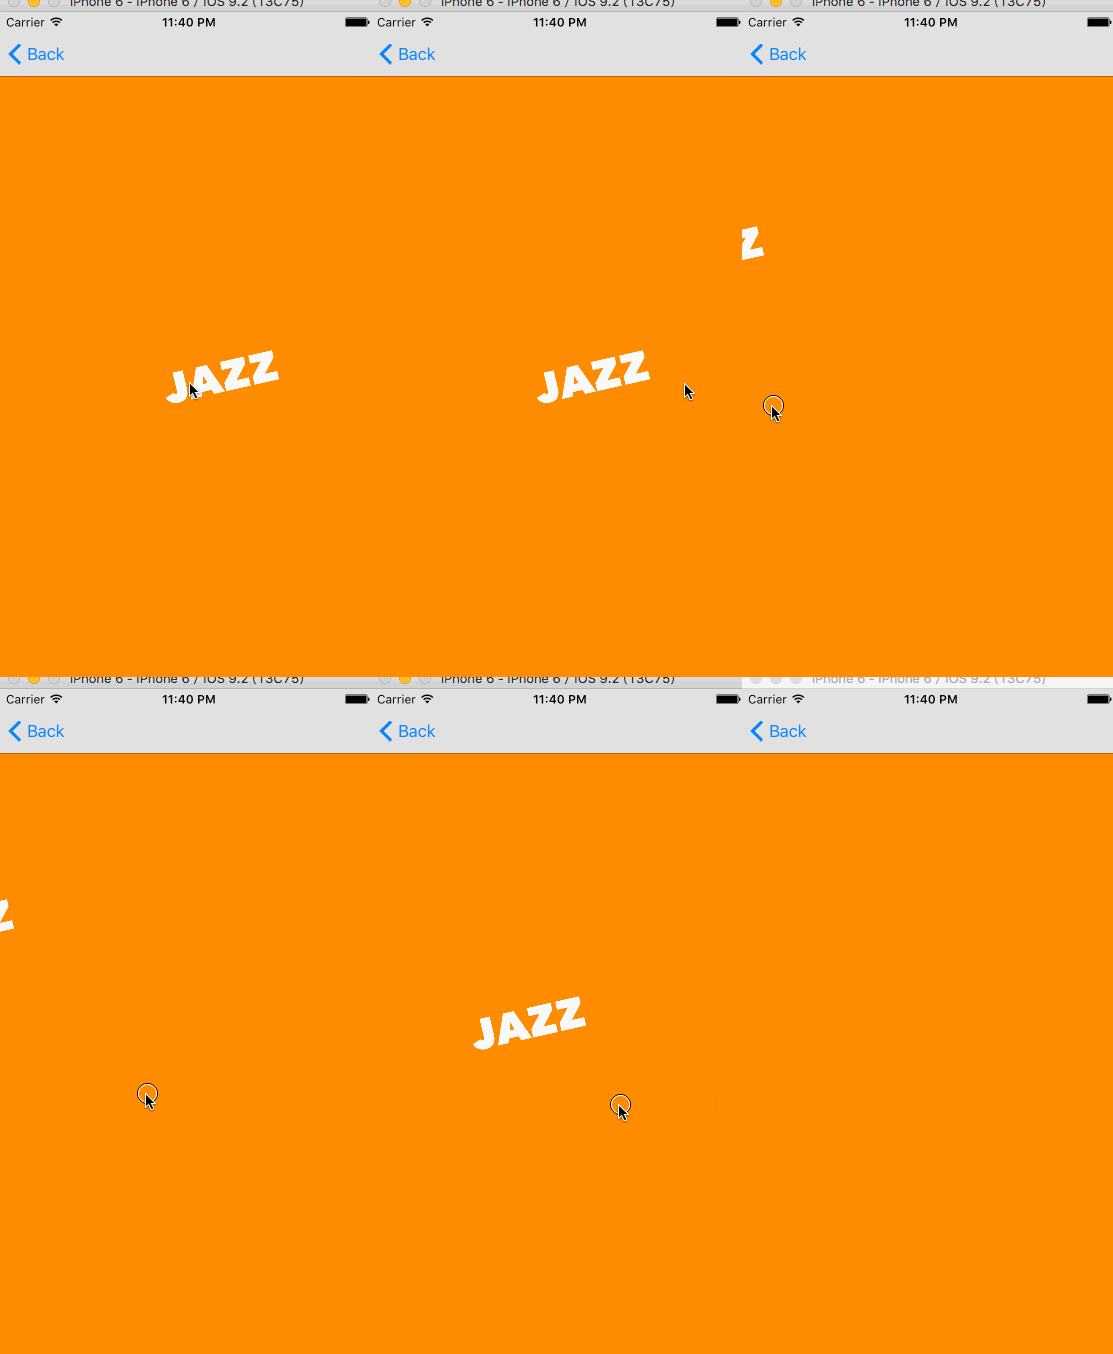
我们先来实现第一页 Jazz 文字偏移的效果
我们要实现的效果是,
- 首先我们先用 AutoLayout 约束 Jazz 的位置
- 再添加动画,
添加约束
新建一个 Viewcontroller,
在 类扩展中
@interface JazzHandsTextMoveViewController ()
@property (strong,nonatomic) UIImageView *jazz;
@end
ViewDidLoad 中
- (void)viewDidLoad {
    [super viewDidLoad];

    self.edgesForExtendedLayout = UIRectEdgeNone;
    self.scrollView.backgroundColor=[UIColor orangeColor];
    self.scrollView.showsHorizontalScrollIndicator=YES;

    self.jazz=[[UIImageView alloc]initWithImage:[UIImage imageNamed:@"Jazz"]];
    [self.contentView addSubview: self.jazz]; //注意添加 view 到 contentView 上

    [self.jazz mas_makeConstraints:^(MASConstraintMaker *make) {
        make.width.equalTo(self.scrollView).multipliedBy(0.5); //宽度约束 想好和 scrollView 还是 contentView 相等
        make.height.equalTo(self.jazz.mas_width).multipliedBy(0.3);
    }];

    NSLayoutConstraint *jazzYConstraint=[NSLayoutConstraint constraintWithItem:self.jazz attribute:NSLayoutAttributeCenterY relatedBy:NSLayoutRelationEqual toItem:self.contentView attribute:NSLayoutAttributeCenterY multiplier:1.0f constant:0];
    //约束 jazz Y 方向位置
    jazzYConstraint.active=YES;

    [self keepView:self.jazz onPage:0];
}
- 上面我们在约束 Jazz 文字时,用 Mansory 只约束了宽高,y 方向用 NSLayoutConstraint 来约束, X 方向用
[self keepView:self.jazz onPage:0];来约束, - 因为我们使用AutoLayout, 所以我们不能用
IFTTTFrameAnimation来做动画 - 使用
IFTTTConstraintMultiplierAnimation,或者IFTTTConstraintConstantAnimation来使 Jazz 文字产生 Y 方向偏移,那么 我们必须创建 Y 方向的NSLayoutConstraint,以便添加动画
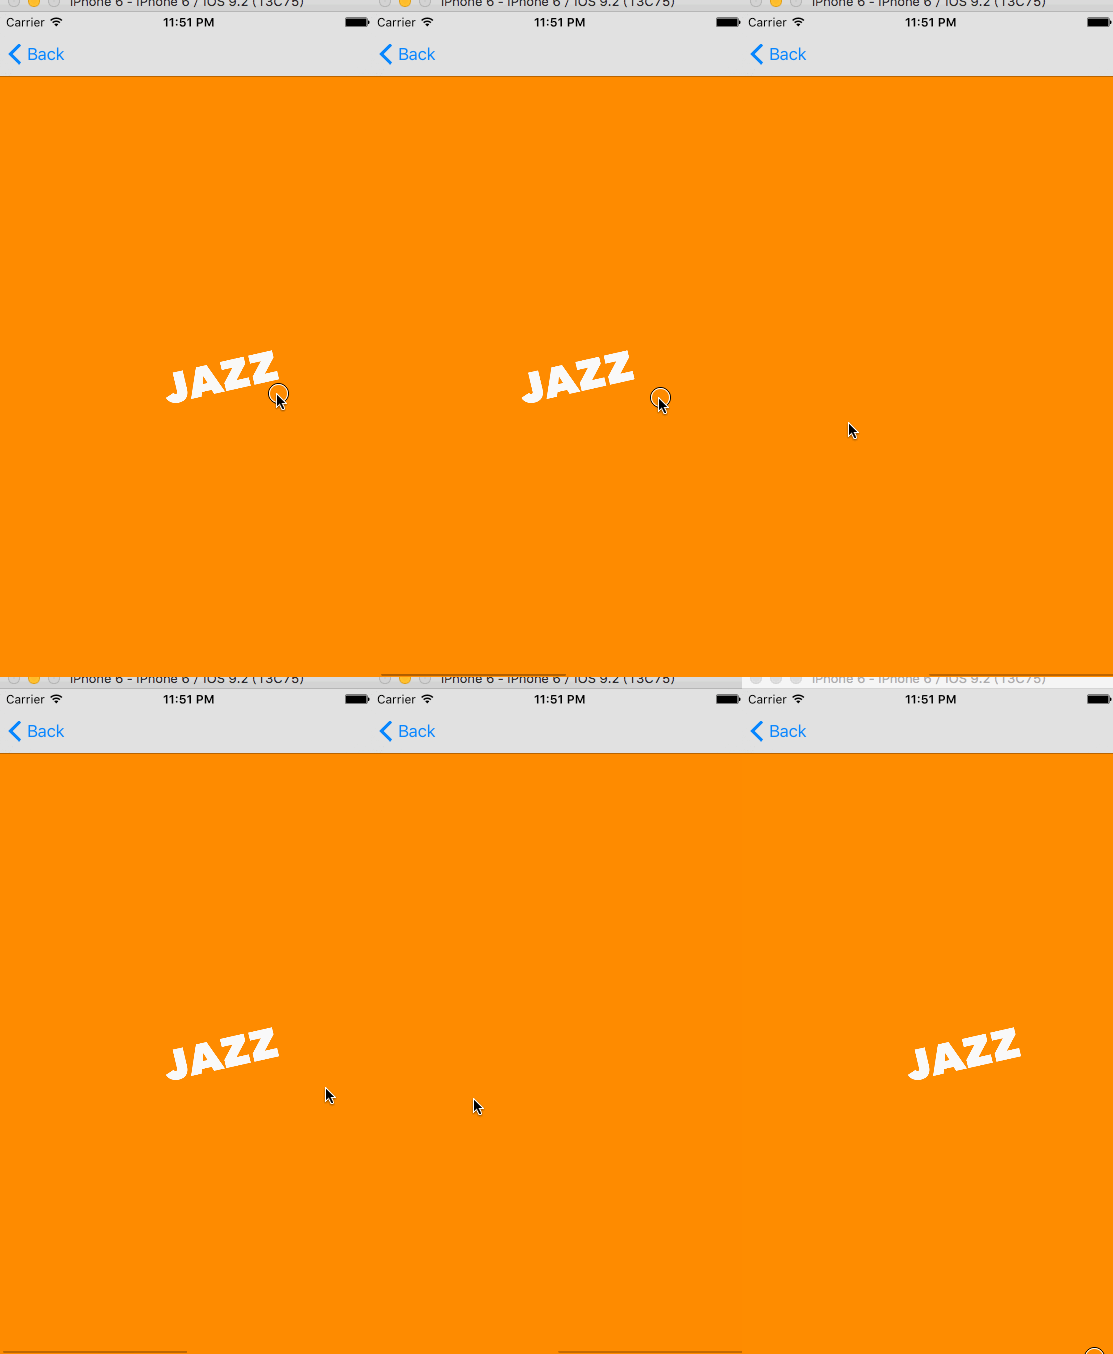
先运行一下看看效果,
添加动画
现在 Jazz已经被约束好了,继续添加下面的动画方法,
-(void)setupConstraintAnim:(NSLayoutConstraint*)jazzYConstraint{
    IFTTTConstraintMultiplierAnimation *jazzYAnim=[IFTTTConstraintMultiplierAnimation animationWithSuperview:self.jazz.superview constraint:jazzYConstraint attribute:IFTTTLayoutAttributeHeight referenceView:self.scrollView]; //注意 Attribute 和 referenceView 的选择, referenceView 也可以选择页面中的任意 View
    //构建 Jazz Y 方向动画

    [jazzYAnim addKeyframeForTime:0 multiplier:0];
    [jazzYAnim addKeyframeForTime:1 multiplier:-0.3];
    [self.animator addAnimation:jazzYAnim];
}
在 ViewDidLoad 后面调用这个方法
[self setupConstraintAnim:jazzYConstraint];
这样就得到了我们想要的效果,在 scrollView 滚动的过程中向上偏移
我们来解释一下这段代码
AutoLayout 的计算公式view1.attribute1 = multiplier × view2.attribute2 + constant
那么IFTTTConstraintMultiplierAnimation顾名思义看起来是对 mutiplier 的帧动画,但并不是这样
我们添加的 IFTTTConstraintMultiplierAnimation
IFTTTConstraintMultiplierAnimation *jazzYAnim=[IFTTTConstraintMultiplierAnimation animationWithSuperview:self.jazz.superview constraint:jazzYConstraint attribute:IFTTTLayoutAttributeHeight referenceView:self.scrollView];
它的 referenceView 和 attribute 代表帧动画针对于 scrollView 的高度属性,
我们添加的2个帧
    [jazzYAnim addKeyframeForTime:0 multiplier:0];
    [jazzYAnim addKeyframeForTime:1 multiplier:-0.3];
代表 scrollView 从第一页滚动到第二页时,代表 Jazz 文字的 Y 轴约束, constant 从
0 + self.scrollView.height 变化到
0 + (-0.3)*self.scrollView.height
之前我们约束Jazz 的 Y 轴方向
NSLayoutConstraint *jazzYConstraint = [NSLayoutConstraint constraintWithItem:self.jazz attribute:NSLayoutAttributeCenterY relatedBy:NSLayoutRelationEqual toItem:self.contentView attribute:NSLayoutAttributeCenterY multiplier:1.0f constant:0];
初始我们约束 Jazz 文字在 contentViewY 方向居中,在 scrollView 滑动的过程中, jazzYConstraint 的 constant不断减少..所以产生向上偏移的效果,
第二种添加偏移动画的方法
通过IFTTTConstraintMultiplierAnimation来做动画是有一些麻烦,我们可以使用IFTTTTranslationAnimation来完成同样的效果,
注释上面缩添加的动画,并继续加入如下方法,在 ViewDidLoad 中调用
-(void)setupTransformAnim{
    IFTTTTranslationAnimation *jazzTran=[IFTTTTranslationAnimation animationWithView:self.jazz];
    [jazzTran addKeyframeForTime:0 translation:CGPointMake(0, 0)];
    [jazzTran addKeyframeForTime:1 translation:CGPointMake(0, -self.scrollView.height*0.3)];

    [self.animator addAnimation:jazzTran];
}
它会完成和constraintAnimation 一样的效果,而且使用起来更方便,直观.
如果你想亲自看看IFTTTConstraintMultiplierAnimation实现源码,在其.m 文件中第60行起
实现圆变大,背景灰变蓝的动画
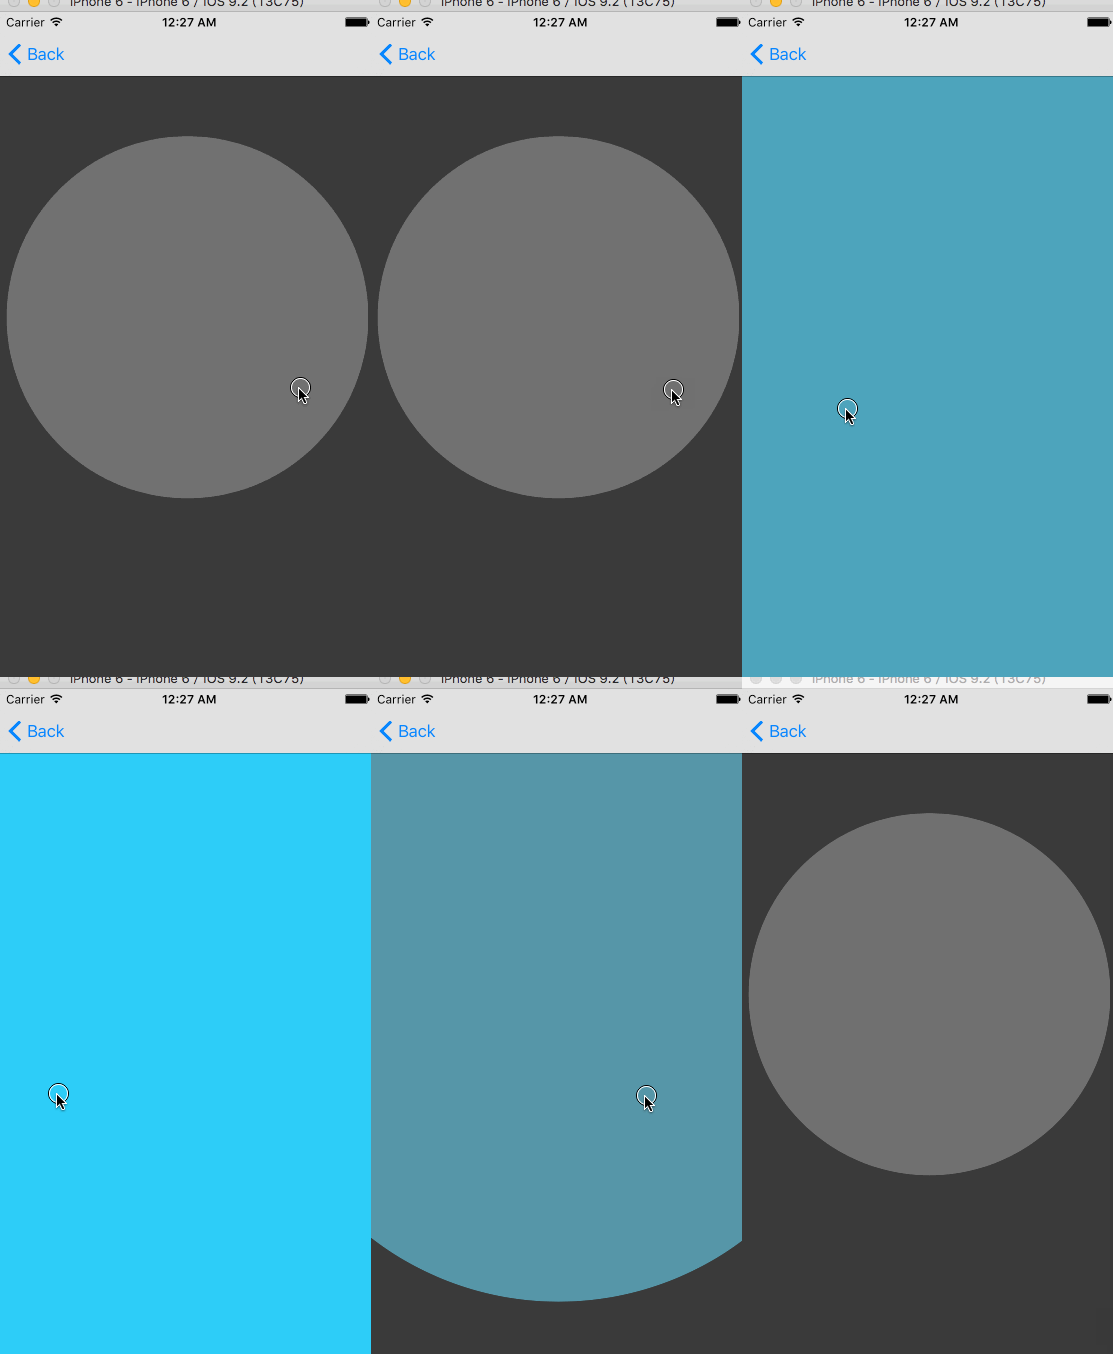
先来看看我们要实现的效果
先来说说思路
- 我们先设置好灰色圆的位置
- 然后在 scrollView 滚动的同时,放大圆,改变他的颜色为蓝色,
- 在滚动到第二页时,让 scrollView 的变为同样的蓝色
- 然后隐藏或移除蓝色的圆,因为它和scrollView颜色相同,所以移除后不会有变化
开始
创建一个空的 Viewcontroller
类扩展中
@interface BackgroundColorDemo ()
@property (strong,nonatomic) IFTTTCircleView *circle;
@end
这个就是用 ShapeLayer 做出的圆形 View
ViewDidLoad 中
- (void)viewDidLoad {
    [super viewDidLoad];

    self.edgesForExtendedLayout = UIRectEdgeNone;
    self.circle=[[IFTTTCircleView alloc]init];
    [self.contentView addSubview:self.circle];
    self.scrollView.showsHorizontalScrollIndicator=YES;

    [self setupScrollViewAnimation];
    [self setupCircleAnimation];
}
接下来实现动画和约束
-(void)setupScrollViewAnimation{
    //让 scrollView 的背景色从第二页到第二页过一点点时变成蓝色
    IFTTTBackgroundColorAnimation *scrollBG=[IFTTTBackgroundColorAnimation animationWithView:self.scrollView];
    [scrollBG addKeyframeForTime:1 color:[UIColor colorWithRed:0.2f green:0.2f blue:0.2f alpha:1.f]];
    [scrollBG addKeyframeForTime:1.1 color:[UIColor colorWithRed:0.14f green:0.8f blue:1.f alpha:1.f]];
    [self.animator addAnimation:scrollBG];
}
圆的动画
-(void)setupCircleAnimation{
    //约束 circle
    [self.circle mas_makeConstraints:^(MASConstraintMaker *make) {
        make.top.equalTo(self.contentView).offset(60);
        make.width.equalTo(self.scrollView).multipliedBy(0.8).priorityHigh();
        make.height.equalTo(self.circle.mas_width);
        make.centerY.equalTo(self.contentView).multipliedBy(0.8);
    }];
    [self keepView:self.circle onPages:@[@(0),@(1),@(2)]];

    //circle 的背景色从灰变蓝
    IFTTTBackgroundColorAnimation *circleColor=[IFTTTBackgroundColorAnimation animationWithView:self.circle];
    [circleColor addKeyframeForTime:0 color:[UIColor colorWithRed:0.4f green:0.4f blue:0.4f alpha:1.f]];
    [circleColor addKeyframeForTime:1 color:[UIColor colorWithRed:0.14f green:0.8f blue:1.f alpha:1.f]];
    [self.animator addAnimation:circleColor];

    //circle 放大
    IFTTTScaleAnimation *circleScaleAnimation = [IFTTTScaleAnimation animationWithView:self.circle];
    [circleScaleAnimation addKeyframeForTime:0 scale:1 withEasingFunction:IFTTTEasingFunctionEaseInQuad];
    [circleScaleAnimation addKeyframeForTime:1 scale:6];
    [self.animator addAnimation:circleScaleAnimation];

    //circle 在第二页过一点点时隐藏
    IFTTTHideAnimation *circleHideAnimation=[IFTTTHideAnimation animationWithView:self.circle hideAt:1.1];
    [self.animator addAnimation:circleHideAnimation];
}
通过这几篇博文,你已经对 JazzHands 有足够的了解,赶快和你的设计师小伙伴套路用 JazzHands 更新你的 Guide 界面吧.
关于飞机动画
其实用CABasicAnimation 即可完成,我会写一篇 关于路径动画的博文 单独说明并附带实例...


