使用的镜像文件版本是 CentOS-6.5-i386-minimal.iso ,接下来是具体的安装步骤。
创建虚拟机
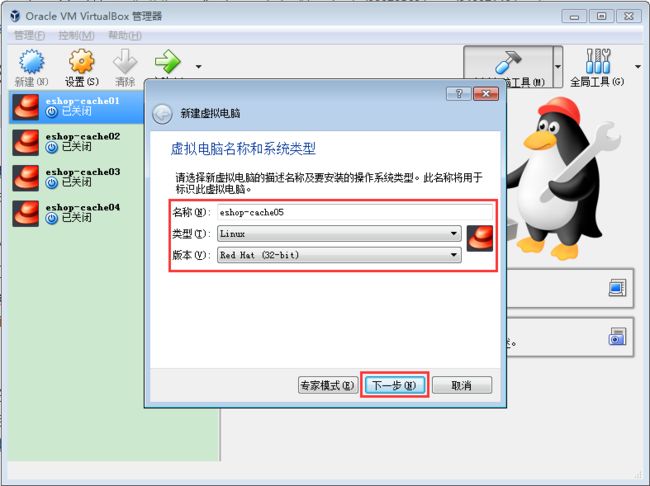
打开 VirtualBox,点击【新建】按钮,输入虚拟机名称为【eshop-cache01】,操作系统选择【Linux】,选择版本为 【Red Hat(32-bit)】,点击【下一步】。
分配 1024MB 内存,后面的选项全部用默认。
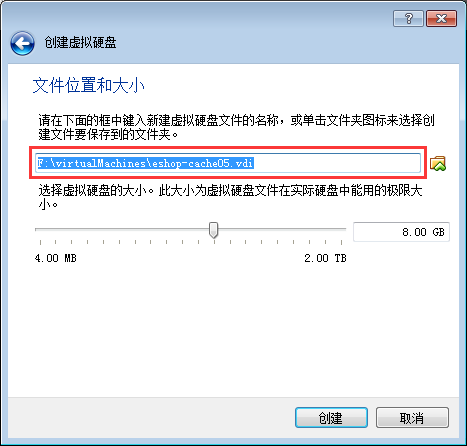
在【文件位置和大小】中,一定要选择一个其他目录来存放虚拟机文件,最后点击【创建】按钮,开始创建虚拟机。
设置虚拟机网卡
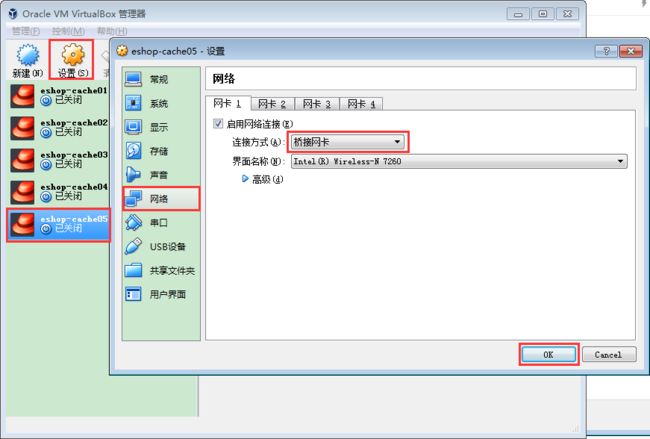
选择创建好的虚拟机,点击【设置】按钮,在【网络】一栏中,连接方式中,选择【桥接网卡】。
安装虚拟机中的 CentOS 6.5 操作系统
选择创建好的虚拟机,点击【启动】按钮,选择启动盘(即本地的CentOS 6.5镜像文件),点击【启动】按钮。
选择【Install or upgrade an existing system】开始安装。
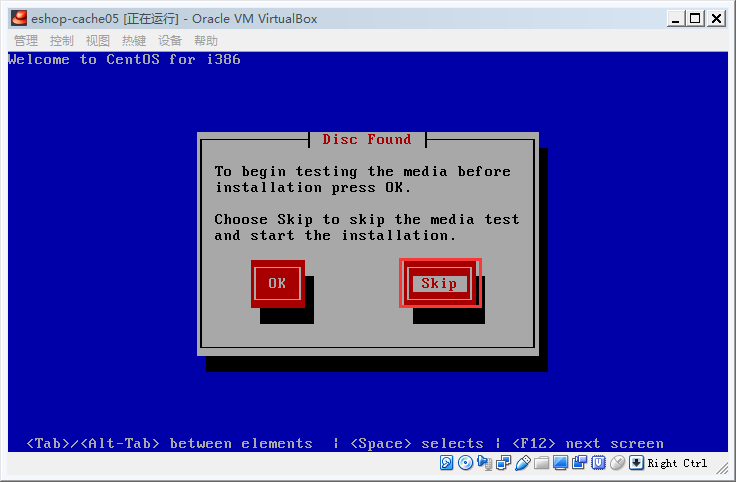
Disc Found 选择【Skip】,点击 Enter 键。
欢迎界面点击【Next】按钮。
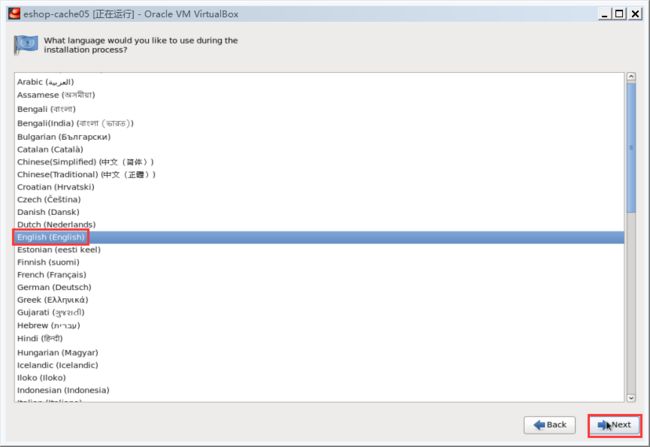
选择默认语言(English),点击【Next】按钮。
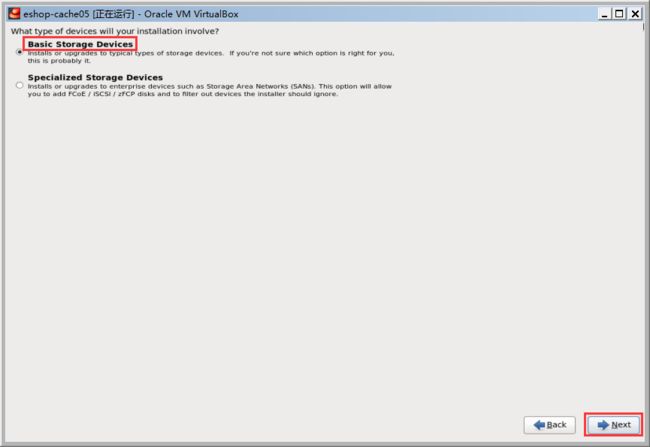
选择【Baisc Storage Devices】,点击【Next】按钮。
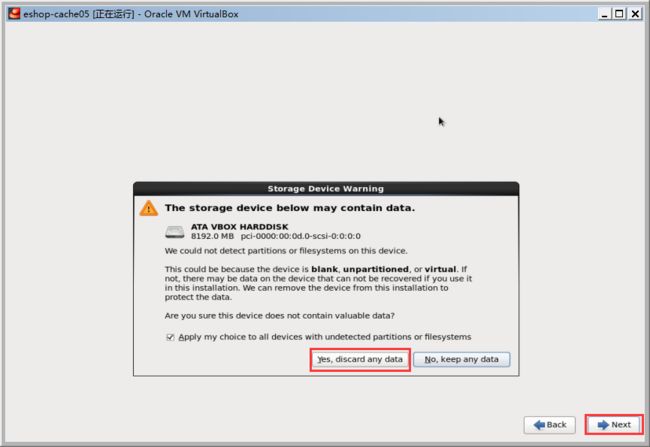
Storage Device Warning,选择【Yes, discard any data】
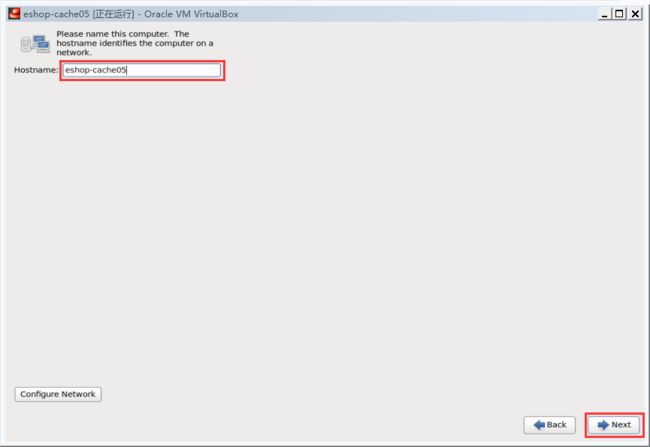
设置主机名 eshop-cache01,点击【Next】按钮。
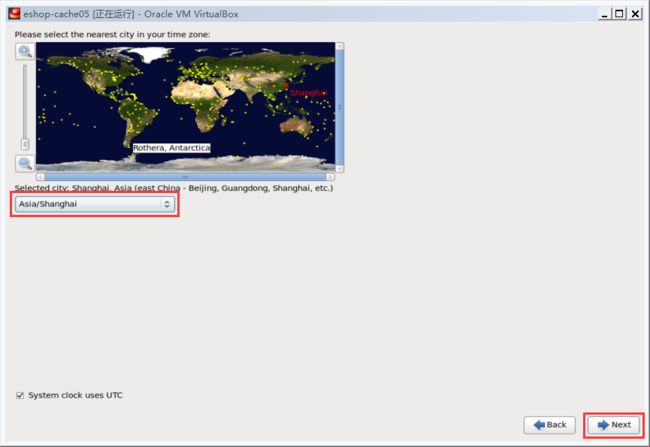
选择时区 Asia/Shanghai,点击【Next】按钮。
设置密码 123456,点击【Next】按钮。
选择 Replace Existing Linux System,点击【Next】按钮。
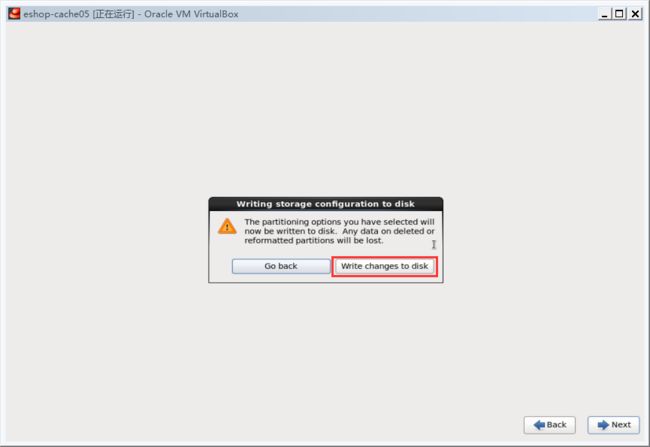
选择 Write changes to disk,CentOS 6.5 就自己开始安装。
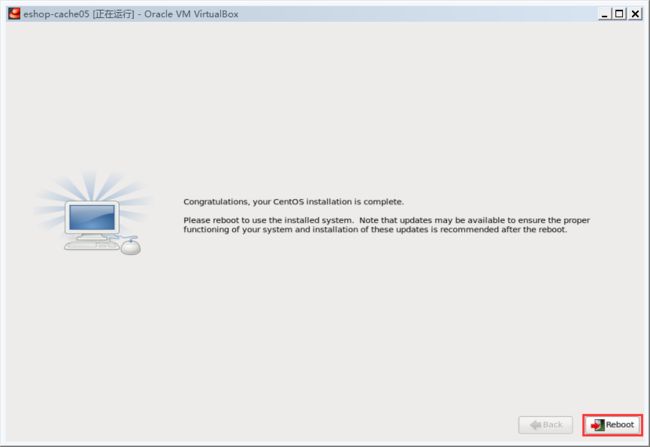
安装完以后,CentOS 会提醒你要重启一下,就是 reboot,你就 reboot 就可以了。
配置网络
1. 自动分配 ip 地址
进入 CentOS 系统,执行命令:
vi /etc/sysconfig/network-scripts/ifcfg-eth0
修改文件内容:
DEVICE=eth0
TYPE=Ethernet
ONBOOT=yes
BOOTPROTO=dhcp
执行命令:
service network restart
2. 固化 ip 地址
根据自动分配的 ip 地址,修改网络配置固化 ip 地址
执行命令,获取系统 ip 地址:
ifconfig
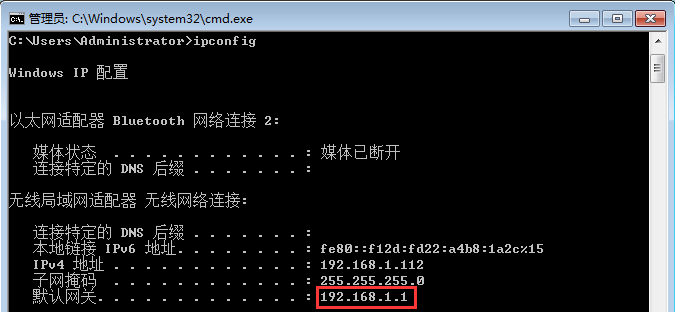
执行命令,从宿主机上获取默认网关:
ipconfig
根据自动获取的 ip 地址和宿主机上获取的默认网关地址,配置网络。
执行命令:
vi /etc/sysconfig/network-scripts/ifcfg-eth0
修改文件内容:
DEVICE=eth0
TYPE=Ethernet
ONBOOT=yes
BOOTPROTO=static
IPADDR=192.168.1.117
NETMASK=255.255.255.0
GATEWAY=192.168.1.1
执行命令:
service network restart
配置 hosts
配置本机的 hostname 到 ip 地址的映射,执行命令:
vi /etc/hosts
修改文件内容:
127.0.0.1   localhost localhost.localdomain localhost4 localhost4.localdomain4
::1         localhost localhost.localdomain localhost6 localhost6.localdomain6
192.168.1.117 eshop-cache05
关闭防火墙
1. 关闭 CentOS 防火墙
执行命令:
service iptables stop
service ip6tables stop
chkconfig iptables off
chkconfig ip6tables off
vi /etc/selinux/config
修改 SELINUX 为 disabled
# This file controls the state of SELinux on the system.
# SELINUX= can take one of these three values:
#     enforcing - SELinux security policy is enforced.
#     permissive - SELinux prints warnings instead of enforcing.
#     disabled - No SELinux policy is loaded.
SELINUX=disabled
# SELINUXTYPE= can take one of these two values:
#     targeted - Targeted processes are protected,
#     mls - Multi Level Security protection.
SELINUXTYPE=targeted
2. 关闭 windows 的防火墙。
后面要搭建集群,有的大数据技术的集群之间,设置了防火墙的话,可能会没有办法互相连接,会导致搭建失败。
配置 yum
yum clean all
yum makecache
yum install -y wget
