上一章讲解了自定义tabBar,本章讲解怎样简单的自定义UINavigationController以及UIScrollView滑动页面的联动。
一、设置导航栏背景颜色
确保当前控制器已拥有导航栏
self.navigationController.navigationBar.barTintColor = JHRGB(76, 201, 245);
二、设置左右item
self.navigationItem.leftBarButtonItem = [[UIBarButtonItem alloc]initWithImage:[UIImage imageNamed:@"global_search"] style:UIBarButtonItemStyleDone target:nil action:nil];

self.navigationItem.rightBarButtonItem = [[UIBarButtonItem alloc]initWithImage:[UIImage imageNamed:@"title_button_more"] style:UIBarButtonItemStyleDone target:nil action:nil];
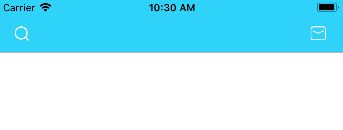
此时效果图
可以看到item的图片被渲染了,可以使用tintColor设置控件颜色
self.navigationController.navigationBar.tintColor = [UIColor whiteColor];
此时效果图
三、创建ScrollView
//这里为了方便我是直接用的storyboard
@property (weak, nonatomic) IBOutlet UIScrollView *contentScrollView;
- 引入子控制器
NSArray * vcName = @[@"JHLeftVC",@"JHMiddleVC",@"JHRightVC"];
for (NSInteger i=0; i- 设置contentScrollView
 //设置scrollView的contentSize
    self.contentScrollView.contentSize = CGSizeMake(SCREEN_WIDTH * self.dataList.count, 0);

    self.contentScrollView.delegate = self;
    self.contentScrollView.pagingEnabled = YES;
    //默认先展示第二个界面
    self.contentScrollView.contentOffset = CGPointMake(SCREEN_WIDTH, 0);

    //进入主控制器时加载页面
    [self scrollViewDidEndScrollingAnimation:self.contentScrollView];
- 设置代理方法
#pragma mark --- UIScrollViewDelegate
//减速结束时调用。加载子控制器view
-(void)scrollViewDidEndDecelerating:(UIScrollView *)scrollView{
    CGFloat width = SCREEN_WIDTH;
    CGFloat height = SCREEN_HEIGHT;
    CGFloat offset = scrollView.contentOffset.x;

    //获取第几个  的索引值
    NSInteger idx = offset / width;

    //根据索引值,返回vc的引用
    UIViewController * vc = self.childViewControllers[idx];

    //判读当前vc是否执行过viewDidLoad
    if ([vc isViewLoaded]) return;

    //设置子控制器view的大小
    vc.view.frame = CGRectMake(offset, 0, width, height);

    //将子控制器view加入到scrollView上
    [scrollView addSubview:vc.view];
}
此时的效果图
四、自定义topView[navigationItem.titleView]
创建topView替换navigationItem.titleView
定义方法
-(instancetype)initWithFrame:(CGRect)frame titleNames:(NSArray *)titles;定义属性
/** topView的按钮 */
@property (nonatomic, strong) NSMutableArray * buttons;
/** topView按钮下的线条 */
@property (nonatomic, strong)UIView *lineView;
- 懒加载buttons
-(NSArray *)buttons{
    if (!_buttons) {
        _buttons = [NSMutableArray array];
    }
    return _buttons;
}
- 实现方法
-(instancetype)initWithFrame:(CGRect)frame titleNames:(NSArray *)titles{
    self = [super initWithFrame:frame];
    if (self) {

        CGFloat btnW = self.frame.size.width/titles.count;
        CGFloat btnH = self.frame.size.height;

for (NSInteger i=0; i- 在之前的VC中导入头文件
[这个类里我使用了YYKit]
#import "JHTopView.h"
- 创建topView属性
@property (nonatomic, strong) JHTopView * topView;

-(JHTopView *)topView{
    if (!_topView) {
        _topView = [[JHTopView alloc]initWithFrame:CGRectMake(0, 0, 200, 50) titleNames:self.dataList];
        };
    }
    return _topView;
}
- 替换navigationItem.titleView
self.navigationItem.titleView = self.topView;
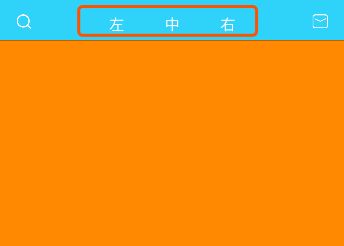
此时效果图
五、设置lineView
if (i == 1) {
                CGFloat h = 2;
                CGFloat y = 40;

                [button.titleLabel sizeToFit];

                self.lineView = [[UIView alloc]init];
                self.lineView.backgroundColor = [UIColor whiteColor];
                self.lineView.height = h;
                self.lineView.width = button.titleLabel.width;
                self.lineView.top = y;
                self.lineView.centerX = button.centerX;
                [self addSubview:self.lineView];
            }
六、lineView与button的联动
- 设置block与滑动方法
typedef void(^TopBlock)(NSInteger tag);


@property ( nonatomic, copy) TopBlock block;

-(void)scrolling:(NSInteger)idx;
- button的事件
//topView的button点击事件
-(void)clickTitle:(UIButton *)button{

    self.lineView.centerX = button.centerX;
}
七、topView与scrollView的联动
- 修改button点击事件
//topView的button点击事件
-(void)clickTitle:(UIButton *)button{

    self.block(button.tag);

    //点击按钮,使ScrollView滑动到相应位置(展示相应的子视图控制器)
    [self scrolling:button.tag];
}

//VC滚动时调用
-(void)scrolling:(NSInteger)idx{

    UIButton * button = self.buttons[idx];

    //点击按钮,使line滑动到相应位置
    [UIView animateWithDuration:0.2 animations:^{
        self.lineView.centerX = button.centerX;
    }];
}
- 修改topView的懒加载
@weakify(self);
        _topView.block = ^(NSInteger tag) {
            @strongify(self);
            CGPoint point = CGPointMake(tag * SCREEN_WIDTH, self.contentScrollView.contentOffset.y);
            [self.contentScrollView setContentOffset:point animated:YES];

        };
- 传递联动索引值给topView
[self.topView scrolling:idx];
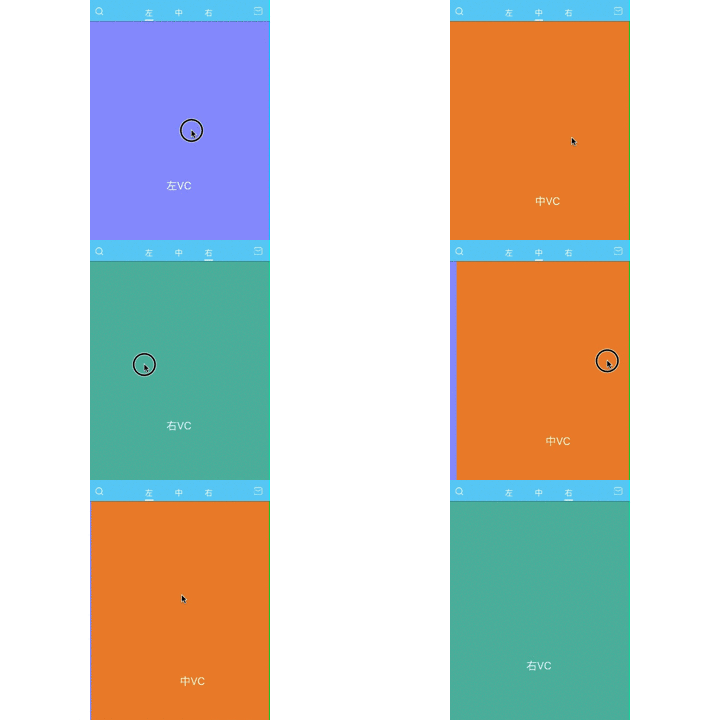
最终效果图
补充
UINavigationController的常用属性及方法---->传送门


