软件环境:
oracle linux 5.8 x86_64系统(以下简称OLE5.8)
oracle 11gr2 11.0.2 for linux 64 软件
oracle linux 5.8的安装光盘
本机IP地址:172.16.0.100
硬件环境:本机的虚拟机系统
2G内存
双核CPU
80G硬盘
1、修改hosts
Vi /etc/hosts
按如下格式添加:
2、修改/etc/sysctl.conf 参数
Vi /etc/sysctl.conf
添加如下内容(这些参数在ole5.8系统里预先都有设置好的,如果预设值比这个大可以无需更改)
fs.suid_dumpable = 1 fs.aio-max-nr = 1048576 fs.file-max = 6815744 kernel.shmall = 2097152 kernel.shmmax = 536870912 kernel.shmmni = 4096 # semaphores: semmsl, semmns, semopm, semmni kernel.sem = 250 32000 100 128 net.ipv4.ip_local_port_range = 9000 65500 net.core.rmem_default=4194304 net.core.rmem_max=4194304 net.core.wmem_default=262144 net.core.wmem_max=1048586 然后执行/sbin/sysctl -p
3、修改"/etc/security/limits.conf"
添加如下内容
oracle soft nproc 2047 oracle hard nproc 16384 oracle soft nofile 4096 oracle hard nofile 65536 oracle soft stack 10240
4、安装所需软件包
# From Oracle Linux 5 DVD cd /media/cdrom/Server rpm -Uvh binutils-2.* rpm -Uvh compat-libstdc++-33* rpm -Uvh compat-libstdc++-33*.i386.rpm rpm -Uvh elfutils-libelf* rpm -Uvh gcc-4.* rpm -Uvh gcc-c++-4.* rpm -Uvh glibc-2.* rpm -Uvh glibc-common-2.* rpm -Uvh glibc-devel-2.* rpm -Uvh glibc-headers-2.* rpm -Uvh ksh* rpm -Uvh libaio-0.* rpm -Uvh libaio-devel-0.* rpm -Uvh libgomp-4.* rpm -Uvh libgcc-4.* rpm -Uvh libstdc++-4.* rpm -Uvh libstdc++-devel-4.* rpm -Uvh make-3.* rpm -Uvh sysstat-7.* rpm -Uvh unixODBC-2.* rpm -Uvh unixODBC-devel-2.* rpm -Uvh numactl-devel-* cd / eject
关于unixODBC的安装,很多人都止步于这里,如果不配置YUM来进行安装的话,uninxODBC的依赖关系会很头疼。
挂载安装光盘,进入到光盘的安装包目录里,查看一下和unixODBC相关的包
[root@oracle Server]# ls unixODBC*
unixODBC-2.2.11-10.el5.i386.rpm
unixODBC-2.2.11-10.el5.x86_64.rpm
unixODBC64-2.2.14-3.el5.x86_64.rpm
unixODBC64-devel-2.2.14-3.el5.i386.rpm
unixODBC64-devel-2.2.14-3.el5.x86_64.rpm
unixODBC64-libs-2.2.14-3.el5.i386.rpm
unixODBC64-libs-2.2.14-3.el5.x86_64.rpm
unixODBC-devel-2.2.11-10.el5.i386.rpm
unixODBC-devel-2.2.11-10.el5.x86_64.rpm
unixODBC-kde-2.2.11-10.el5.i386.rpm
unixODBC-kde-2.2.11-10.el5.x86_64.rpm
unixODBC-libs-2.2.11-10.el5.i386.rpm
unixODBC-libs-2.2.11-10.el5
需要安装以下几个包,即可解决依赖关系,本人一个一个试的
[root@oracle Server]# rpm -Uvh unixODBC-libs-2.2.11-10.el5.x86_64.rpm
warning: unixODBC-libs-2.2.11-10.el5.x86_64.rpm: Header V3 DSA signature: NOKEY, key ID 1e5e0159
error: failed to stat /var/run/vmblock-fuse: Resource temporarily unavailable
Preparing... ########################################### [100%]
1:unixODBC-libs ########################################### [100%]
[root@oracle Server]# rpm -Uvh unixODBC-libs-2.2.11-10.el5.i386.rpm
warning: unixODBC-libs-2.2.11-10.el5.i386.rpm: Header V3 DSA signature: NOKEY, key ID 1e5e0159
error: failed to stat /var/run/vmblock-fuse: Resource temporarily unavailable
Preparing... ########################################### [100%]
1:unixODBC-libs ########################################### [100%]
[root@oracle Server]# rpm -Uvh unixODBC-2.2.11-10.el5.i386.rpm
warning: unixODBC-2.2.11-10.el5.i386.rpm: Header V3 DSA signature: NOKEY, key ID 1e5e0159
error: failed to stat /var/run/vmblock-fuse: Resource temporarily unavailable
Preparing... ########################################### [100%]
1:unixODBC ########################################### [100%]
[root@oracle Server]# rpm -Uvh unixODBC-2.2.11-10.el5.x86_64.rpm
warning: unixODBC-2.2.11-10.el5.x86_64.rpm: Header V3 DSA signature: NOKEY, key ID 1e5e0159
error: failed to stat /var/run/vmblock-fuse: Resource temporarily unavailable
Preparing... ########################################### [100%]
1:unixODBC ########################################### [100%]
[root@oracle Server]# rpm -Uvh unixODBC-devel-2.2.11-10.el5.i386.rpm
warning: unixODBC-devel-2.2.11-10.el5.i386.rpm: Header V3 DSA signature: NOKEY, key ID 1e5e0159
error: failed to stat /var/run/vmblock-fuse: Resource temporarily unavailable
Preparing... ########################################### [100%]
1:unixODBC-devel ########################################### [100%]
[root@oracle Server]# rpm -Uvh unixODBC-devel-2.2.11-10.el5.x86_64.rpm
warning: unixODBC-devel-2.2.11-10.el5.x86_64.rpm: Header V3 DSA signature: NOKEY, key ID 1e5e0159
error: failed to stat /var/run/vmblock-fuse: Resource temporarily unavailable
Preparing... ########################################### [100%]
1:unixODBC-devel ########################################### [100%]
5、创建用户组
groupadd oinstall groupadd dba groupadd oper groupadd asmadmin useradd -g oinstall -G dba,oper,asmadmin oracle passwd oracle
6、关闭SELINUX
编辑"/etc/selinux/config"文件,在文件中添加一下内容
SELINUX=disabled 设置完成后,重启生效
7、创建安装文件夹
mkdir -p /u01/app/oracle/product/11.2.0/db_1
chown -R oracle:oinstall /u01
chmod -R 775 /u01
8、xhost
xhost +
例如:
[root@oracle Server]# xhost 172.16.0.100
172.16.0.100 being added to access control list
9、修改".bash_profile"
使用oracle用户登录
cd ~进入到用户目录下,修改".bash_profile" 添加一下内容,<>号内的内容根据情况填写。如oracle_hostname相对应的是本机名,oracle_sid是你要创建的实例名!
# Oracle Settings
TMP=/tmp; export TMP
TMPDIR=$TMP; export TMPDIR
ORACLE_HOSTNAME=<本机名>; export ORACLE_HOSTNAME
ORACLE_UNQNAME=DB11G; export ORACLE_UNQNAME
ORACLE_BASE=/u01/app/oracle; export ORACLE_BASE
ORACLE_HOME=$ORACLE_BASE/product/11.2.0/db_1; export ORACLE_HOME
ORACLE_SID=DB11G; export ORACLE_SID
PATH=/usr/sbin:$PATH; export PATH
PATH=$ORACLE_HOME/bin:$PATH; export PATH
LD_LIBRARY_PATH=$ORACLE_HOME/lib:/lib:/usr/lib; export LD_LIBRARY_PATH
CLASSPATH=$ORACLE_HOME/jlib:$ORACLE_HOME/rdbms/jlib; export CLASSPATH
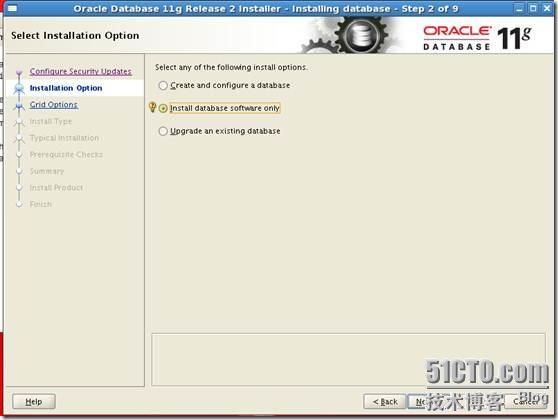
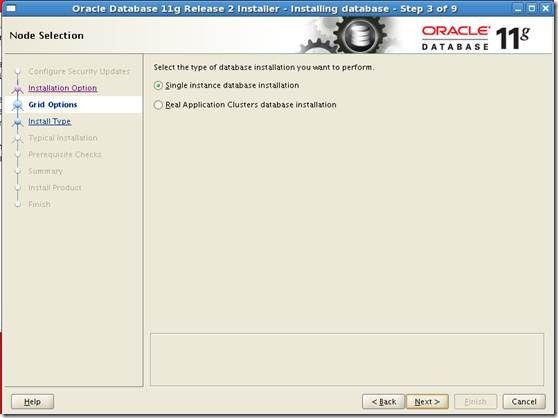
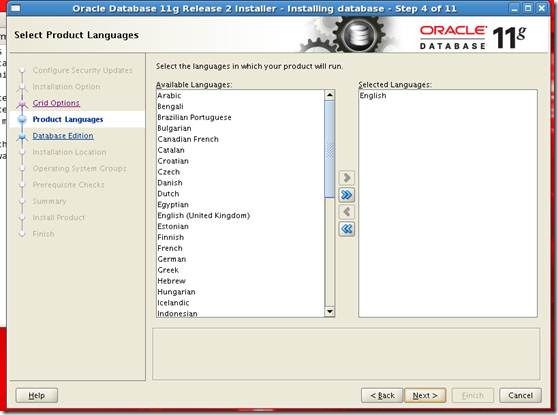
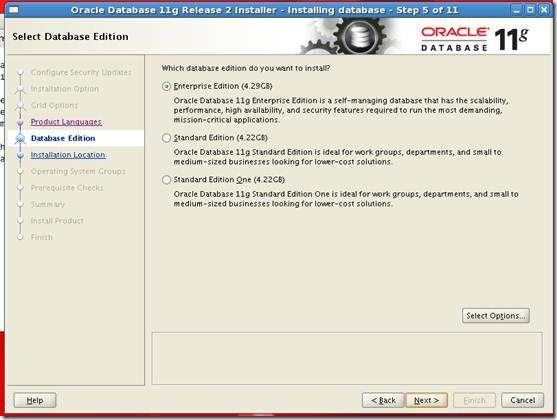
10、开始安装
DISPLAY=
例如:DISPLAY=172.16.0.100:0.0; export DISPLAY
(这里最好先init3 进入到命令界面,使用Oracle用户登录,再切换到startx,否则安装时会报错
Starting Oracle Universal Installer...
Checking Temp space: must be greater than 80 MB. Actual 8031 MB Passed
Checking swap space: must be greater than 150 MB. Actual 2047 MB Passed
Checking monitor: must be configured to display at least 256 colors
>>> Could not execute auto check for display colors using command /usr/X11R6/bin/xdpyinfo. Check if the DISPLAY variable is set. Failed <<<<
Some requirement checks failed. You must fulfill these requirements before
continuing with the installation,at which time they will be rechecked.
Continue? (y/n) [n] y
)
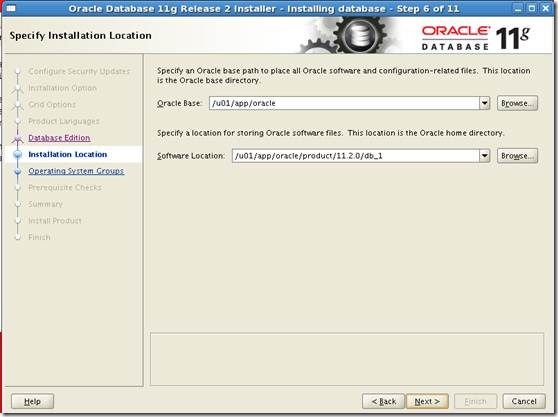
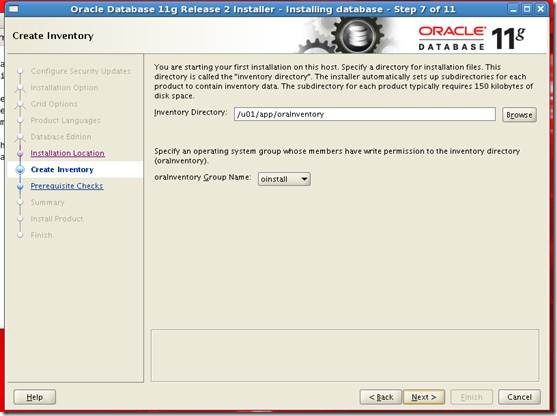
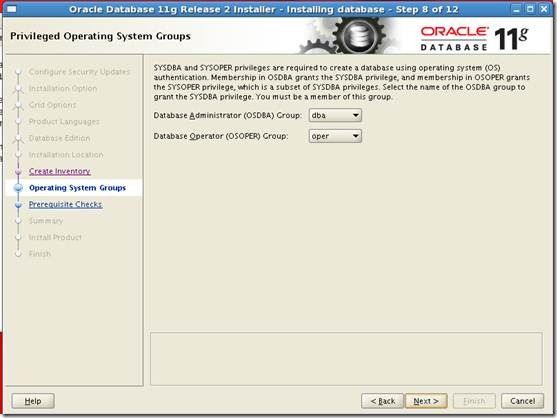
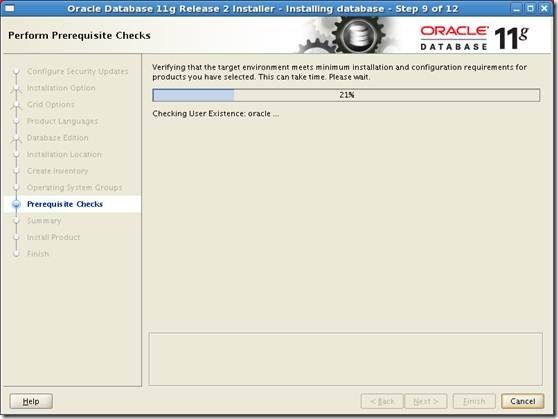
再进入到oracle文件目录里,database里,执行
./runInstaller
进行安装
(只能再oracle用户下安装软件)
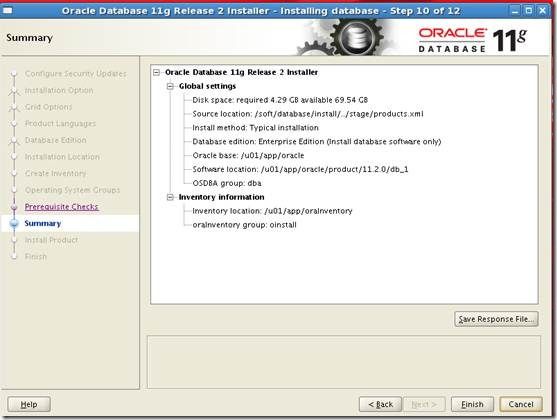
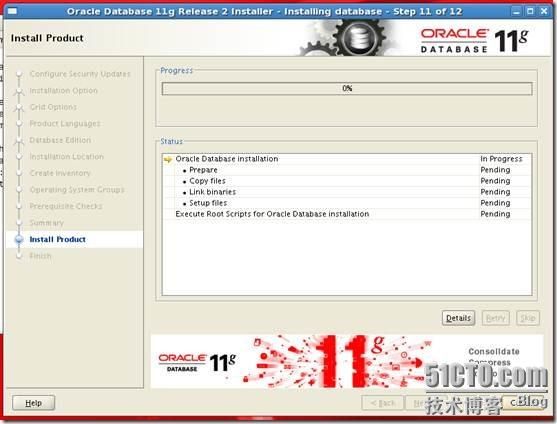
11开始安装
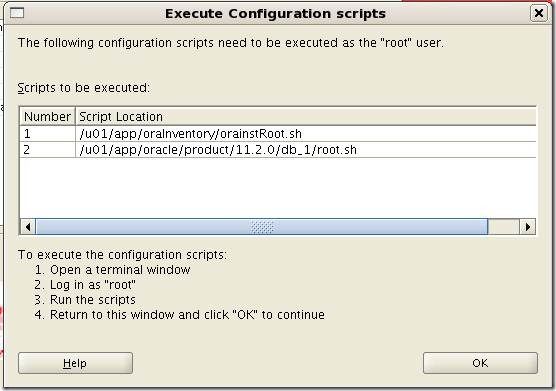
提示执行脚本
[oracle@oracle /]$ su
Password:
[root@oracle /]# cd /u01/app/oraInventory/
[root@oracle oraInventory]# ./orainstRoot.sh
Changing permissions of /u01/app/oraInventory.
Adding read,write permissions for group.
Removing read,write,execute permissions for world.
Changing groupname of /u01/app/oraInventory to oinstall.
The execution of the script is complete.
[root@oracle oraInventory]# cd ..
[root@oracle app]# cd ..
[root@oracle u01]# cd app/oracle/product/11.2.0/db_1/
[root@oracle db_1]# ./root.sh
Running Oracle 11g root.sh script...
The following environment variables are set as:
ORACLE_OWNER= oracle
ORACLE_HOME= /u01/app/oracle/product/11.2.0/db_1
Enter the full pathname of the local bin directory: [/usr/local/bin]:
Copying dbhome to /usr/local/bin ...
Copying oraenv to /usr/local/bin ...
Copying coraenv to /usr/local/bin ...
Creating /etc/oratab file...
Entries will be added to the /etc/oratab file as needed by
Database Configuration Assistant when a database is created
Finished running generic part of root.sh script.
Now product-specific root actions will be performed.
Finished product-specific root actions.
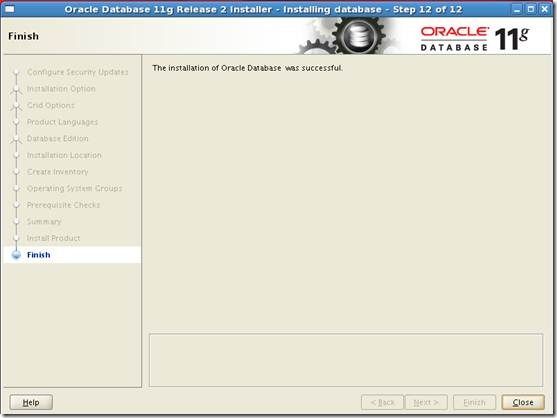
完成数据库的安装,之后可以使用dbca进行数据库实例的创建


