Vue学习笔记(二):购物街开发
Vue.js仿蘑菇街项目开发
该项目基础来源于coderwhy:https://github.com/coderwhy/HYMall
我完成的项目地址:https://github.com/IronManTonyStark/Mall-Vue.js
原项目有些小bug有修复,有些地方有点改动。
总结了下学习的过程,大概如下:
一. 项目配置
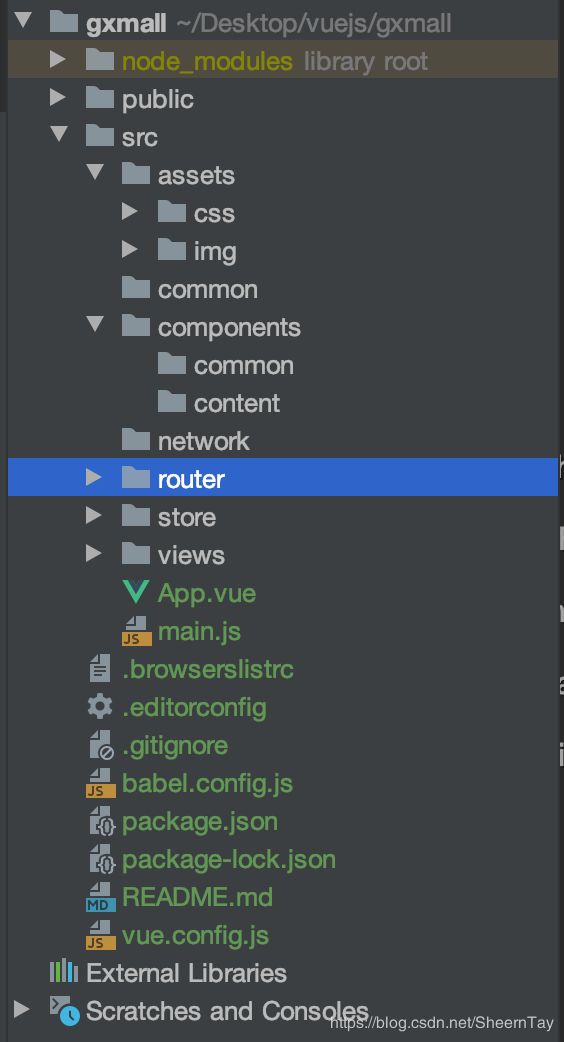
1.1 目录结构
- network->网络请求模块
- components -> common/content
- common
- assets
- router
- store
1.2 css初始化和全局样式
- normalize.css
- base.css
1.3 vue.config.js和.editorconfig
- vue.config.js->为路径配置别名
- .editorconfig->编码格式标准
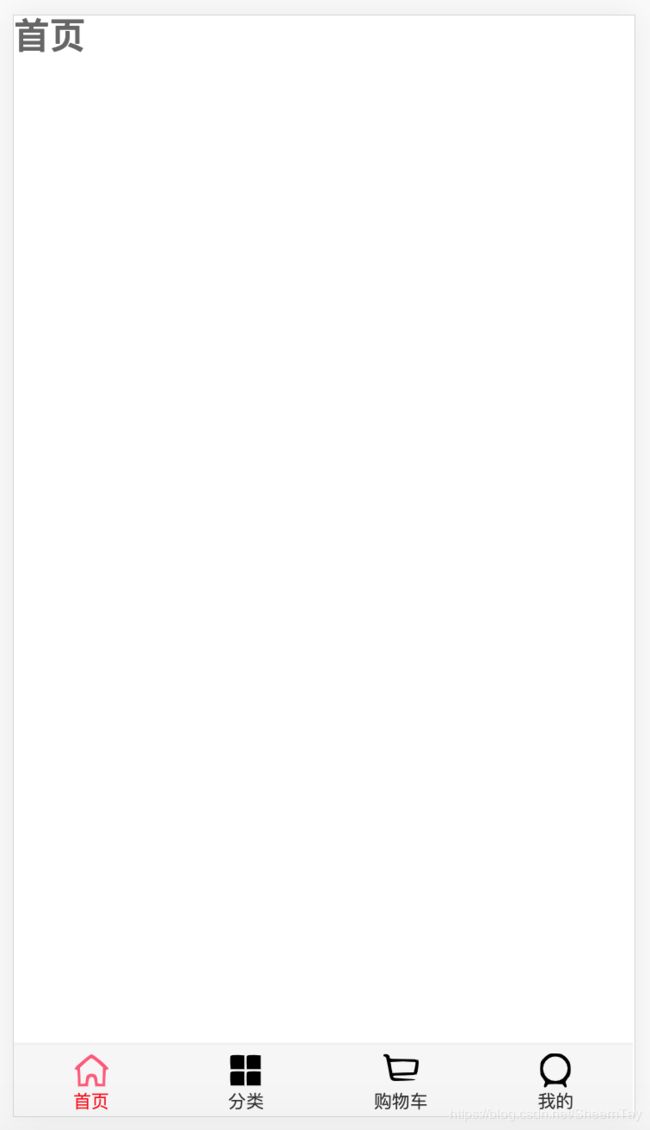
1.4 tabbar封装
-
封装TabBar->TabBar外部的框,中间预留插槽,可插入多个选项钮
-
封装TabBarItem->TabBar内部的图标和内容:包括激活时的图标,未激活时的图标,图标说明
-
路由配置->为Home,Category,Cart,Profile四个组件配置路由
-
响应点击切换设计
-
r o u t e r 和 router和 router和route的区别:router是VueRouter的一个对象,是一个全局的对象,他包含了所有的路由包含了许多关键的对象和属性。route是一个跳转的路由对象,每一个路由都会有一个route对象,是一个局部的对象。
-
this.$route.path.indexOf(this.link) !== -1判断当前所在路由进行图标的切换显示。
-
this.$router.replace(this.link)通过replace方法来改变路由。
-
-
封装完成后,在content中将Tabbar重新封装成为MainTabBar。
1.5 axios的封装
-
导入axios
npm install --save axios vue-axios -
创建axios实例->后续开发某些配置可能和默认实例不一样,创建新的实例,传入属于该实例的配置信息
const instance = originAxios.create({ baseURL: //请求地址, timeout: //时限ms }); -
配置请求和响应拦截
-
请求拦截的作用和使用
-
当发送网络请求时, 在页面中添加一个loading组件, 作为动画。
-
某些请求要求用户必须登录, 判断用户是否有token, 如果没有token跳转到login页面。
-
对请求的参数进行序列化(看服务器是否需要序列化)。
config.data = qs.stringify(config.data) -
使用
instance.interceptors.request.use(config => {
      // console.log('来到了request拦截success中');
      return config
    }, err => {
      // console.log('来到了request拦截failure中');
      return err
    })
-
-
响应拦截的作用和使用
-
响应的成功拦截中,主要是对数据进行过滤。
-
响应的失败拦截中,可以根据status判断报错的错误码,跳转到不同的错误提示页面。
-
使用
instance.interceptors.response.use(response => {
      // console.log('来到了response拦截success中');
      return response.data
    }, err => {
      console.log('来到了response拦截failure中');
      console.log(err);
      if (err && err.response) {
        switch (err.response.status) {
          case 400:
            err.message = '请求错误'
            break
          case 401:
            err.message = '未授权的访问'
            break
        }
      }
      return err
    })
-
-
传入对象进行网络请求
instance(option).then(res => {
      resolve(res)
    }).catch(err => {
      reject(err)
    })
-
二. 首页开发
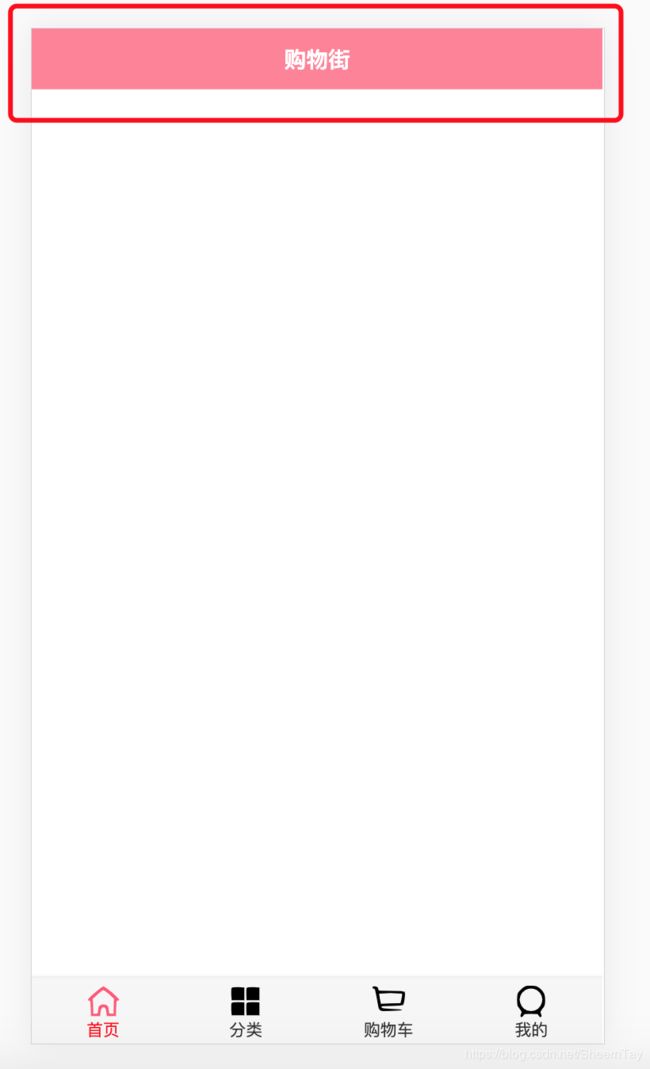
2.1 navbar的封装和使用
2.2 请求首页的数据
-
封装请求首页更多数据network->home.js
-
请求多个数据:将banner数据放在banners变量中,将recommend数据放在recommends变量中
getHomeMultidata().then(res => { this.banners = res.data[BANNER].list this.recommends = res.data[RECOMMEND].list }) -
请求商品数据:根据传入类型(POP、NEW、SELL)请求当前页码(page)对应的数据,传入到goodlist中,之后将page加1
getHomeData(type, this.goodsList[type].page).then(res => {
          const goodsList = res.data.list;
          this.goodsList[type].list.push(...goodsList)
          this.goodsList[type].page += 1
        })
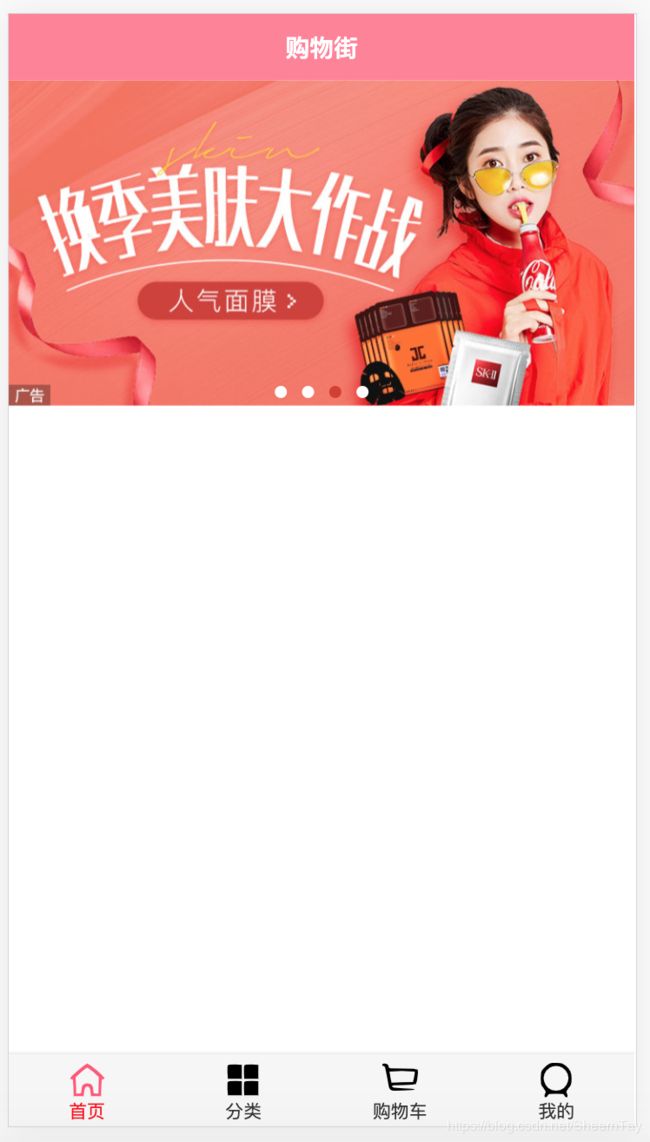
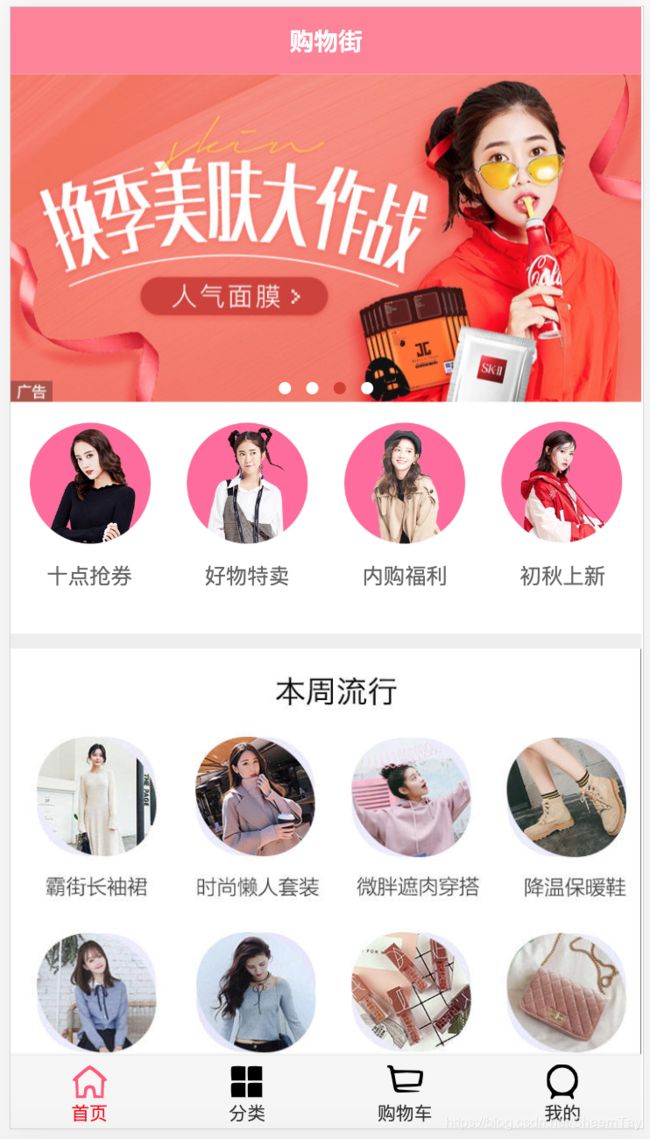
2.3 轮播图swiper的封装和使用
-
封装Swiper和SwiperItem:可自己封装或使用组件库Mint UI
-
封装对于首页的childComps->HomeSwiper
<swiper ref="swiper" v-if="banners.length"> <swiper-item v-for="(item, index) in banners" :key="index"> <a :href="item.link"> <img :src="item.image" alt=""> </a> </swiper-item> </swiper> -
传入banners进行展示
<home-swiper :banners="banners" ref="hSwiper"></home-swiper>
2.4 FeatureView的封装和使用
-
封装childComps->FeatureView
<div class="feature"> <div class="feature-item" v-for="(item, index) in features"> <a :href="item.link"> <img :src="item.image" alt=""> <div>{{item.title}}</div> </a> </div> </div>js -
传入recommends数据,进行展示
<feature-view :features="recommends"></feature-view>
2.5 RecommendView的封装
展示图片即可。
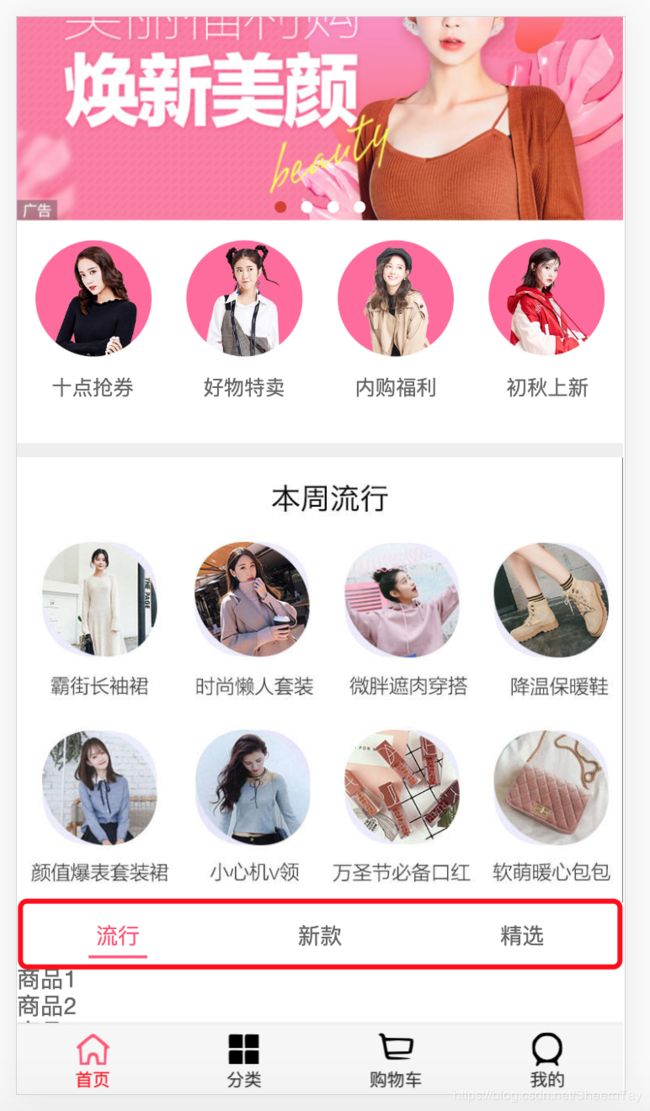
2.6 TabControl的封装和使用
-
封装content->TabControl
<div class="tab-control"> <div class="tab-control-item" :class="{active: currentIndex === index}" @click="itemClick(index)" v-for="(item, index) in titles"> <span>{{item}}</span> </div> </div>itemClick: function (index) { // 1.改变currentIndex this.currentIndex = index; // 2.发出事件 this.$emit('itemClick', index) } -
监听点击
//默认currentType = POP tabClick(index) { switch (index) { case 0: this.currentType = POP break case 1: this.currentType = NEW break case 2: this.currentType = SELL break } } -
使用
 <tab-control @itemClick="tabClick"
                     :titles="['流行', '新款', '精选']"
                     ref="tabControl"></tab-control>
2.7 网格布局GirdView的封装
2.8 GoodList和GoodListItem的封装和使用
-
展示商品列表,封装childComps->GoodsList
<grid-view> <goods-list-item v-for="(item, index) in goodsList" :key="index" :goods="item"></goods-list-item> </grid-view> -
列表中每一个商品,封装childComps->GoodsListItem
-
使用vue图片懒加载v-lazy
npm install vue-lazyload --save-dev-
在main.js中配置
Vue.use(VueLazyload, {
  //预加载的高度比例
  preLoad: 1,
  //加载失败显示图片
  error: require('assets/img/common/error.png')
  //加载中显示图片
  loading: require('assets/img/common/placeholder.png'),
  //尝试次数
  attempt: 1
})
-
-
封装
<div class="goods"> <img v-lazy="getImg" :key="getImg" alt=""> <div class="goods-info"> <p>{{goods.title}}</p> <span class="price">¥{{goods.price}}</span> <span class="collect">{{goods.cfav}}</span> </div> </div> //getImg属性 computed: { getImg() { return this.goods.img || this.goods.image || this.goods.show.img } } -
在Home中使用
<goods-list :goods-list="showGoodsList"/>

//showGoodsList属性
computed: {
  showGoodsList() {
    return this.goodsList[this.currentType].list
  }
},
-
2.9 滚动组件Scroll的封装
-
安装better-scroll
npm install better-scroll --save -
封装一个独立的组件,用于作为滚动组件:Scroll
-
组件内代码的封装:
-
1.创建BetterScroll对象,并且传入DOM和选项(probeType、click、pullUpLoad)
if (!this.$refs.wrapper) return this.scroll = new BScroll(this.$refs.wrapper, { //监听滚动位置 //0,1都是不侦测实时位置 //2:只要在滚动过程中侦测,手指离开后的惯性滚动中不侦测 //3: 只要是滚都,都侦测 probeType: this.probeType, //better-scroll 默认会阻止浏览器的原生 click 事件。当设置为 true,better-scroll 会派发一个 click 事件,我们会给派发的 event 参数加一个私有属性 _constructed,值为 true。 click: true, //这个配置用于做下拉刷新功能,默认为 false。当设置为 true 或者是一个 Object 的时候,可以开启下拉刷新, pullUpLoad: this.pullUpLoad }) -
2.监听scroll事件,该事件会返回一个position
this.scroll.on('scroll', pos => { this.$emit('scroll', pos) }) -
3.监听pullingUp事件,监听到该事件进行上拉加载更多
this.scroll.on('pullingUp', () => { console.log('上拉加载'); this.$emit('pullingUp') }) -
4.封装刷新的方法:this.scroll.refresh()
refresh() { this.scroll && this.scroll.refresh && this.scroll.refresh() }, -
5.封装滚动的方法:this.scroll.scrollTo(x, y, time)
this.scroll && this.scroll.scrollTo && this.scroll.scrollTo(x, y, time) -
6.封装完成刷新的方法:this.scroll.finishedPullUp
this.scroll && this.scroll.finishPullUp && this.scroll.finishPullUp()
-
2.10 上拉加载更多
-
通过Scroll监听上拉加载更多。
//触发时机:在一次上拉加载的动作后,这个时机一般用来去后端请求数据。 @pullingUp="loadMore" -
在Home中加载更多的数据。
loadMore() { this.getHomeProducts(this.currentType) }, -
请求数据完成后,调动finishedPullUp
this.$refs.scroll.finishPullUp()
2.11 返回顶部按钮
-
封装BackTop组件
<div class="back-top" @click="topClick"> <slot></slot> </div> methods: { topClick: function () { this.$emit('backTop'); } } -
定义一个常量,用于决定在什么数值下显示BackTop组件
this.showBackTop = position.y < -BACKTOP_DISTANCE -
监听滚动,决定BackTop的显示和隐藏
v-show="showBackTop" -
监听BackTop的点击,点击时,调用scrollTo返回顶部
backTop() {
  this.$refs.scroll.scrollTo(0, 0, 300)
},
2.12 tabControl的停留
-
重新添加一个tabControl组件(需要设置定位,否则会被盖住)
-
在updated钩子中获取tabControl的offsetTop
updated() { this.$nextTick(() => { this.tabOffsetTop = this.$refs.tabControl.$el.offsetTop }) }, -
判断是否滚动超过了offsetTop来决定是否显示新添加的tabControl
this.isTabFixed = position.y < -this.tabOffsetTop
2.13 关于滚动的问题(事件总线,防抖函数)
- 若使用v-lazy懒加载,目前还没出现这个问题。
-
Better-Scroll在决定有多少区域可以滚动时, 是根据scrollerHeight属性决定
- scrollerHeight属性是根据放Better-Scroll的content中的子组件的高度
- 但是我们的首页中, 刚开始在计算scrollerHeight属性时, 是没有将图片计算在内的
- 所以, 计算出来的告诉是错误的(1300+)
- 后来图片加载进来之后有了新的高度, 但是scrollerHeight属性并没有进行更新
- 所以滚动出现了问题
-
如何解决这个问题了?
- 监听每一张图片是否加载完成, 只要有一张图片加载完成了, 执行一次refresh()
- 如何监听图片加载完成了?
- 原生的js监听图片: img.onload = function() {}
- Vue中监听: @load=‘方法’
- 调用scroll的refresh()
-
监听每一张图片是否加载完成, 只要有一张图片加载完成了, 执行一次refresh()
-
Vue监听图片加载完成:@load=‘方法’
-
调用scroll的refresh()
mounted() {
      // 1.图片加载完成的事件监听
      const refresh = debounce(this.$refs.scroll.refresh, 50)
      this.$bus.$on('itemImageLoad', () => {
        refresh()
      })
    },
-
如何将GoodsListItem.vue中的事件传入到Home.vue中
- 因为涉及到非父子组件的通信, 所以这里我们选择了事件总线
- bus ->总线
- Vue.prototype.$bus = new Vue()
- this.bus.emit(‘事件名称’, 参数)
- this.bus.on(‘事件名称’, 回调函数(参数))
- 因为涉及到非父子组件的通信, 所以这里我们选择了事件总线
-
对于refresh非常频繁的问题, 进行防抖操作
- 防抖debounce/节流throttle
- 防抖函数起作用的过程:
- 如果我们直接执行refresh, 那么refresh函数会被执行30次.
- 可以将refresh函数传入到debounce函数中, 生成一个新的函数.
- 之后在调用非常频繁的时候, 就使用新生成的函数.
- 而新生成的函数, 并不会非常频繁的调用, 如果下一次执行来的非常快, 那么会将上一次取消掉
debounce(func, delay) {
        let timer = null
        return function (...args) {
          if (timer) clearTimeout(timer)
          timer = setTimeout(() => {
            func.apply(this, args)
          }, delay)
        }
      },
2.16 Home离开时记录状态和位置
-
为路由器设施keep-alive属性
-
离开时
- 保存位置信息saveY
- 停止轮播图
deactivated() { this.$refs.hSwiper.stopTimer() this.saveY = this.$refs.scroll.getScrollY() }, -
进入时
- 读取位置信息,最好做一次refresh()
- 开启轮播图
activated() {
      this.$refs.hSwiper.startTimer()
      this.$refs.scroll.scrollTo(0, this.saveY, 0)
      this.$refs.scroll.refresh()
    },
三. 详情页开发
3.1 点击GoodListItem跳转到详情页并且携带iid
-
创建views->detail组件,并配置路由
-
监听GoodListItem点击
 goToDetail () {
        // 1.获取iid
        let iid = this.goods.iid;

        // 2.跳转到详情页面
        this.$router.push({path: '/detail', query: {iid}})
 }
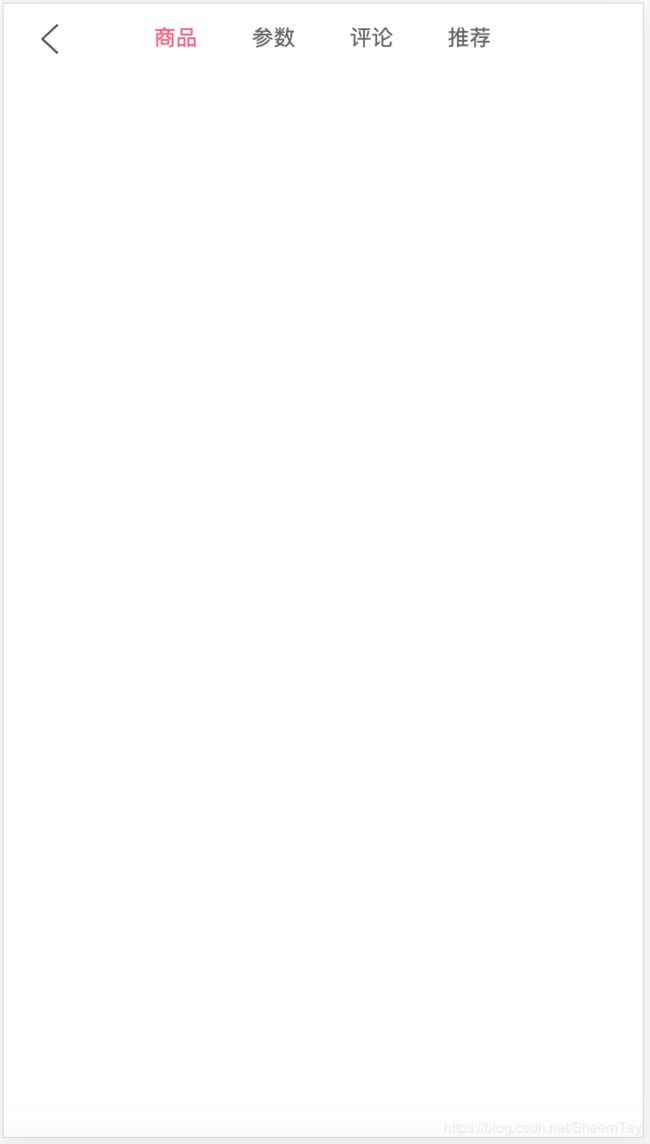
3.2 导航栏的封装
- 在navbar的基础上封装detail->childComps->DetailNavBar
- 插槽左边放返回图标,中部放文字信息
3.3 请求详情页数据(与首页类似)
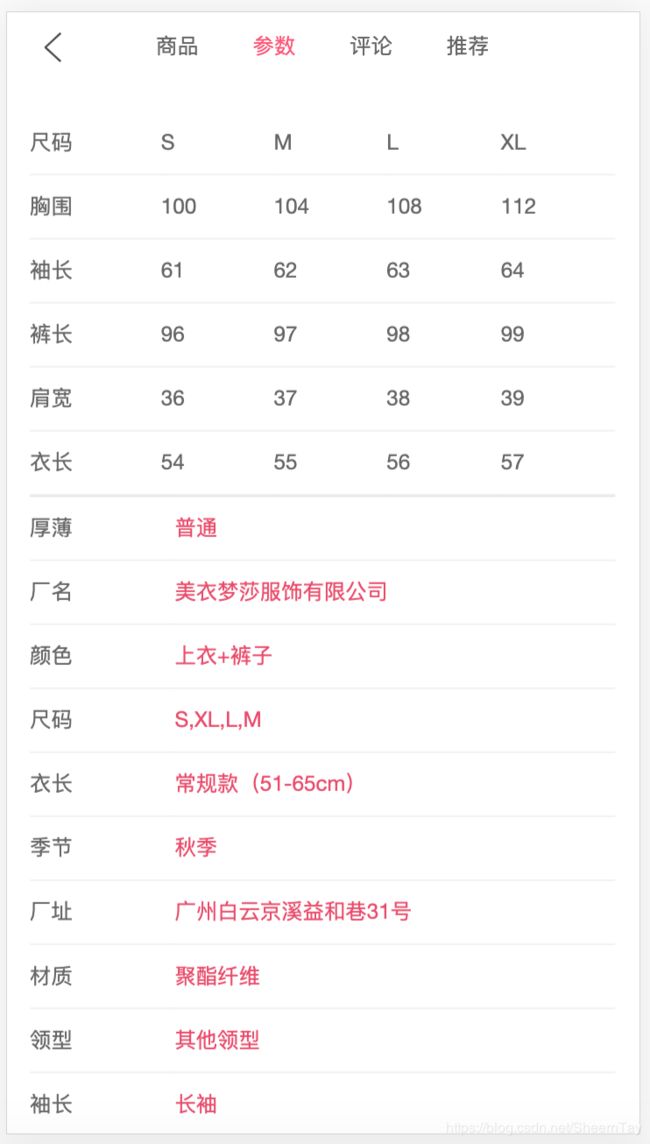
- 封装请求详情页数据network->detail.js
- 将所要展示的信息封装为Goods、GoodsParam、Shop三个类导出
- 在Detail的methods中创建将请求的数据保存的方法,在create( )中进行调用
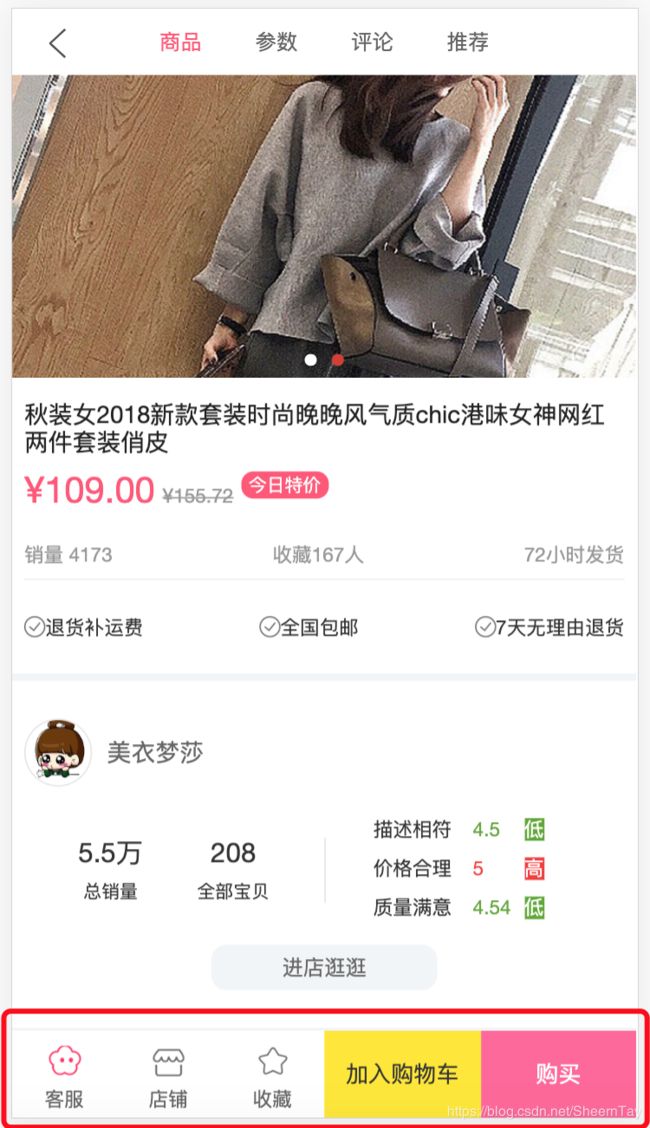
3.4 详情页轮播图展示(与首页类似)
- 在swiper的基础上封装childComps->DetailSwiper
- 传入数据进行展示
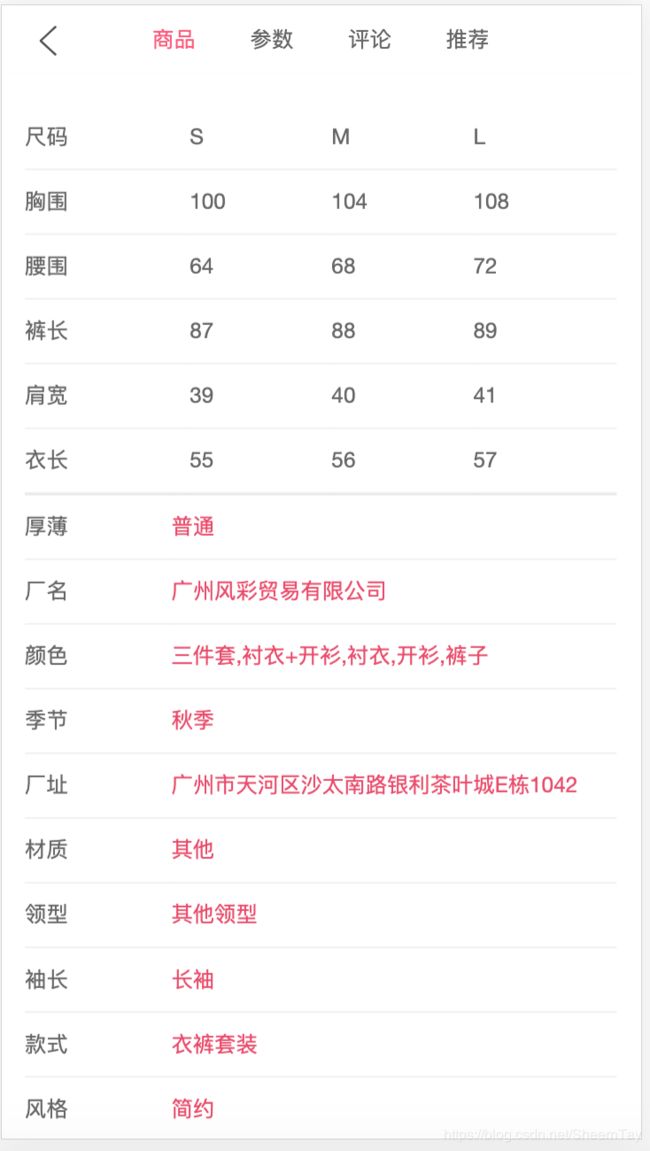
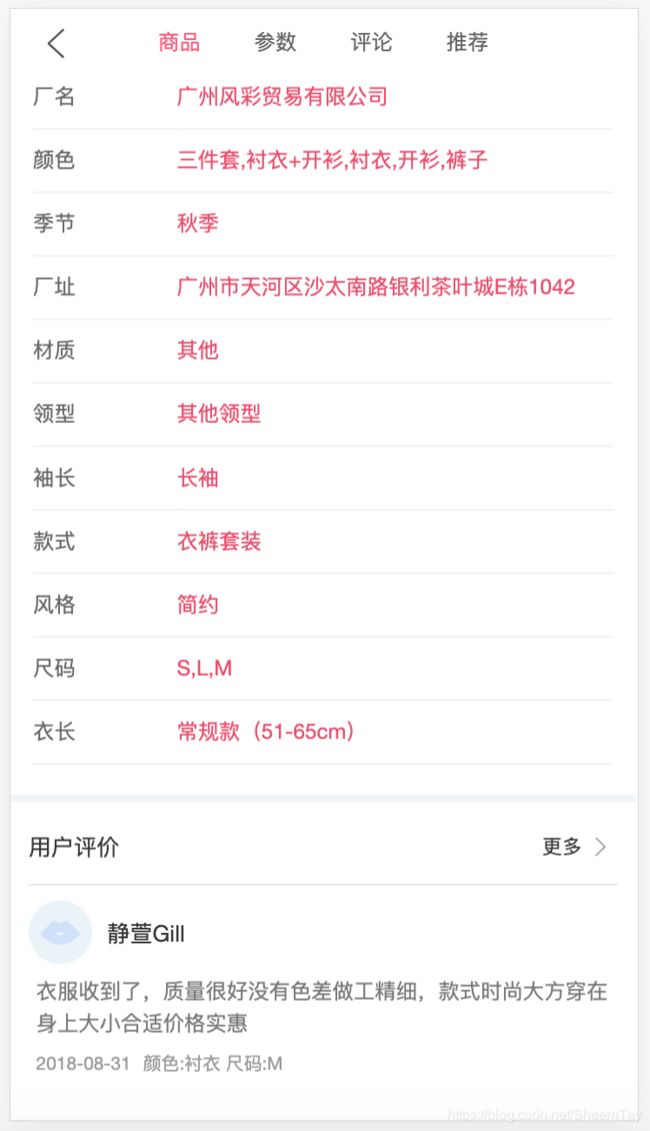
3.5 商品基本信息展示GoodsBaseInfo
3.6 加入滚动效果Scroll
- 将TabBar隐藏
- 注意CSS样式
3.7 展示更多信息(与GoodsBaseInfo类似)
- 热门推荐信息DetailRecommendInfo
3.8 点击标题滚到固定内容
-
DetailNavBar向Detail发送点击事件
itemClick: function (index) { this.$emit('itemClick', index) }, -
创建数组themeTops来获取每个标题的offsetTop
-
获取offsetTop,在updated()中进行调用(小bug:图片加载问题会导致获取错误的位置,有时点击两次才能到正确位置)
_getOffsetTops() { this.themeTops = [] this.themeTops.push(this.$refs.base.$el.offsetTop) this.themeTops.push(this.$refs.param.$el.offsetTop) this.themeTops.push(this.$refs.comment.$el.offsetTop) this.themeTops.push(this.$refs.recommend.$el.offsetTop) }, -
监听点击事件
titleClick(index) {
        //console.log(this.themeTops[index])
        this.$refs.scroll.scrollTo(0, -this.themeTops[index], 100)
      },
3.9 滚动内容显示对应标题
-
监听滚动事件
-
为themeTops最后添加一个很大的值,用于和最后一个主题的top进行比较
this.themeTops.push(Number.MAX_VALUE) -
根据滚动位置来确定currentIndex
_listenScrollTheme(position) {
        let length = this.themeTops.length;
        for (let i = 0; i < length; i++) {
          let iPos = this.themeTops[i];
          if (position >= iPos && position < this.themeTops[i+1]) {
            if (this.currentIndex !== i) {
              this.currentIndex = i;
            }
            break;
          }
        }
      },
-
3.10 底部工具栏DetailBottomBar的封装
- 为工具栏添加图标和内容
- 注意CSS设计
3.11 回到顶部按钮BackTop的混入封装
-
导入content -> BackTop
-
与Home类似进行使用
-
因为在Home和Detail有大量重复的关于BackTop的代码,于是把他们提取出来放到mixin.js中
export const backTopMixin = {
  data() {
    return {
      showBackTop: false
    }
  },
  components: {
    BackTop
  },
  methods: {
    backTop: function () {
      this.$refs.scroll.scrollTo(0, 0, 300);
    }
  }
}
四. 购物车开发
4.1 监听加入购物车点击和获取商品信息
-
在DetailBottomBar中向父组件Detail发出点击事件
addToCart() { this.$emit('addToCart') } -
创建对象,获取加入购物车的商品所需要的信息
const obj = {}
obj.iid = this.iid;
obj.imgURL = this.topImages[0]
obj.title = this.goods.title
obj.desc = this.goods.desc;
obj.newPrice = this.goods.nowPrice;
4.2 将商品添加到store
-
在Store的state属性中创建cartList数组来保存加入购物车的商品
-
在actions中实现addCart方法
-
为什么不在mutations中实现?
mutations唯一的目的就是修改state中的状态,里面的方法完成的事件比较单一一点,该方法有判断条件,放到actions中较好
addCart(context, info) { //console.log(info); // 1.查看是否添加过 let oldInfo = context.state.cartList.find(item => item.iid === info.iid) // 2.+1或者新添加 if (oldInfo) { //oldInfo.count += 1 context.commit('addCounter', oldInfo) } else { info.count = 1 context.commit('addToCart', info) } }-
mutations中的方法
addCounter(state, oldInfo) {
    oldInfo.count ++;
  },
  addToCart(state, info) {
    state.cartList.push(info)
  }
-
-
在Detail中将商品对象添加到Store中
this.$store.dispatch('addCart', obj)
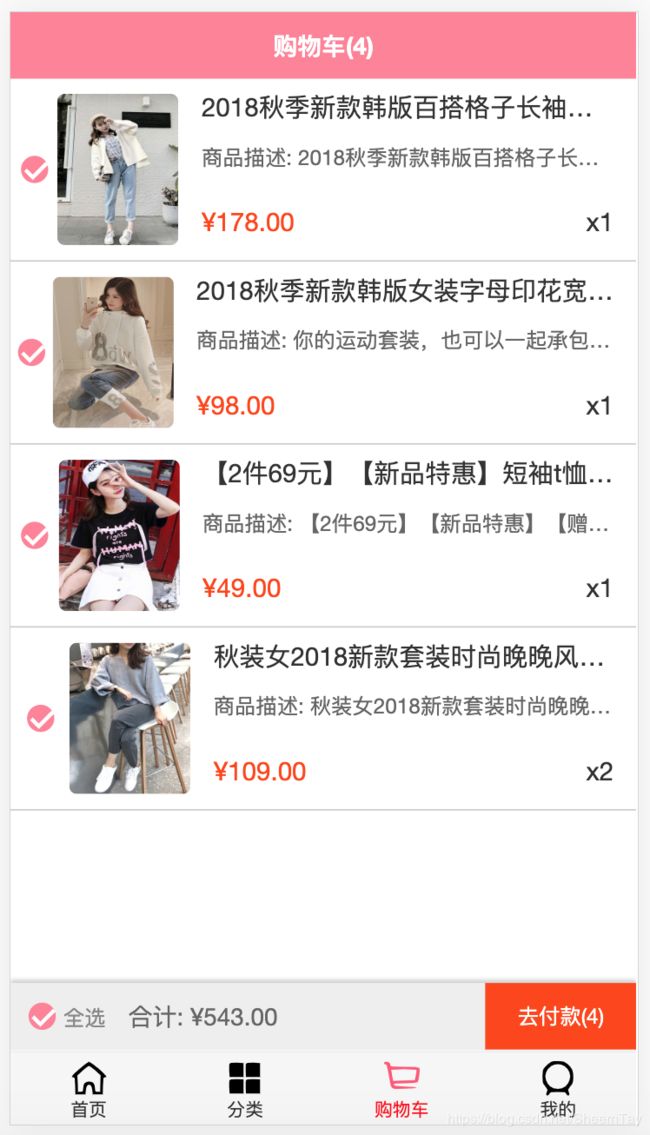
4.3 购物车导航栏实现
-
导入commen->NavBar使用
<nav-bar class="nav-bar"> <div slot="center">购物车({{count}})</div> </nav-bar> -
从getters中获取cartList和cartCount
cartList(state) { return state.cartList }, cartCount(state, getters) { return getters.cartList.length } -
在Cart中使用mapGetters将getters中的方法变为计算属性直接使用
-
导入
import { mapGetters } from 'vuex' -
使用
computed: {
      ...mapGetters({
        count: 'cartCount',
      })
    }
-
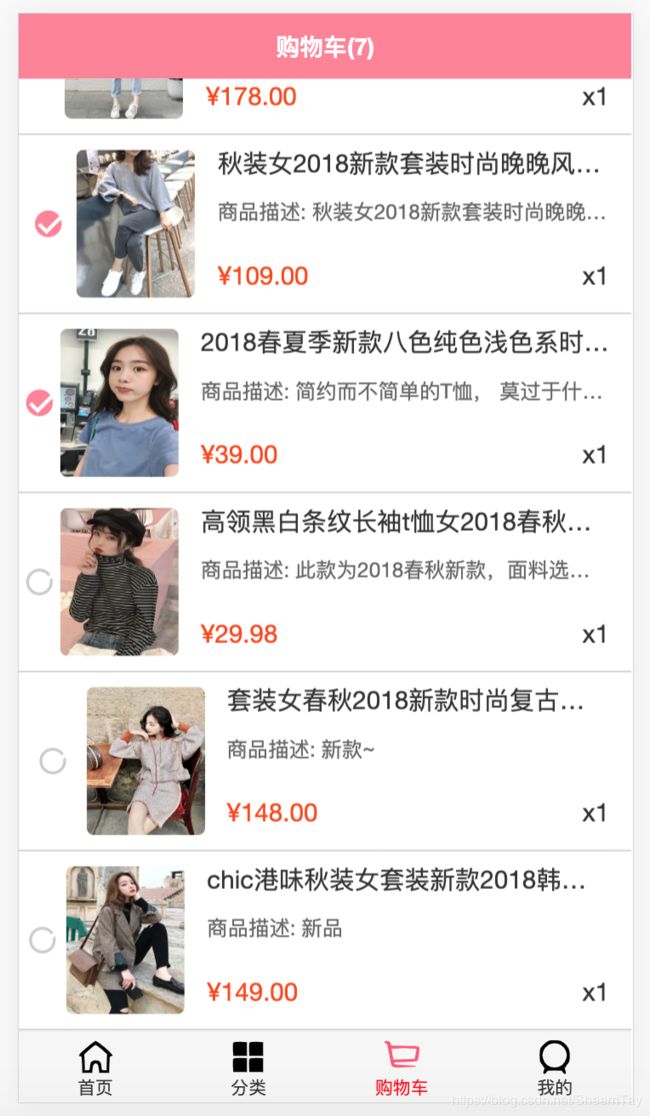
4.4 购物车商品列表展示CartList和CartListItem
-
在CartList中使用mapGetters获取cartList数据
-
封装展示每件商品的组件GoodListItem,将CartList中的数据进行展示
-
封装勾选按钮checkButton,在CartlistItem中使用
-
在actions中为商品添加Checked属性,默认为false(未选中)
info.checked = false -
在CheckButton中接受checked来确定商品是否被选中,用watch来检测变化(也可用计算属性)
props: { value: { type: Boolean, default: true } }, data() { return { checked: this.value } }, watch: { value(newValue) { this.checked = newValue; } } -
发出点击事件
selectItem: function () { this.$emit('checkBtnClick') } -
在CartListItem中使用
<CheckButton @checkBtnClick="checkedChange" :value="itemInfo.checked"/>

checkedChange() {
        this.itemInfo.checked = !this.itemInfo.checked;
}
-
-
添加滚动效果
-
滚动的内容必须用
包裹起来,否则Better-scroll会报错<scroll class="cart-list" ref="scroll"> <div> <cart-list-item v-for="item in list" :key="item.iid" :item-info="item"></cart-list-item> </div> </scroll> -
在activated中添加refersh()函数,解决滚动不了的问题
activated() {
      this.$refs.scroll.refresh()
    }
-
4.5 购物车底部工具栏封装
-
导入CheckButton封装全选按钮
-
监听点击事件
-
计算属性isSelectAll与value绑定判断是否有未选中的按钮
isSelectAll() { return this.$store.getters.cartList.find(item => item.checked === false) === undefined; } -
点击事件
checkBtnClick: function () {
        // 1.判断是否有未选中的按钮
        let isSelectAll = this.$store.getters.cartList.find(item => !item.checked);

        // 2.有未选中的内容, 则全部选中
        if (isSelectAll) {
          this.$store.state.cartList.forEach(item => {
            item.checked = true;
          });
        } else {
          this.$store.state.cartList.forEach(item => {
            item.checked = false;
          });
        }
      }
-
-
计算总价(过滤filter和累积reduce)
totalPrice() { const cartList = this.$store.getters.cartList; return cartList.filter(item => { return item.checked }).reduce((preValue, item) => { return preValue + item.count * item.newPrice }, 0).toFixed(2) }, -
总数
$store.getters.cartCount
-
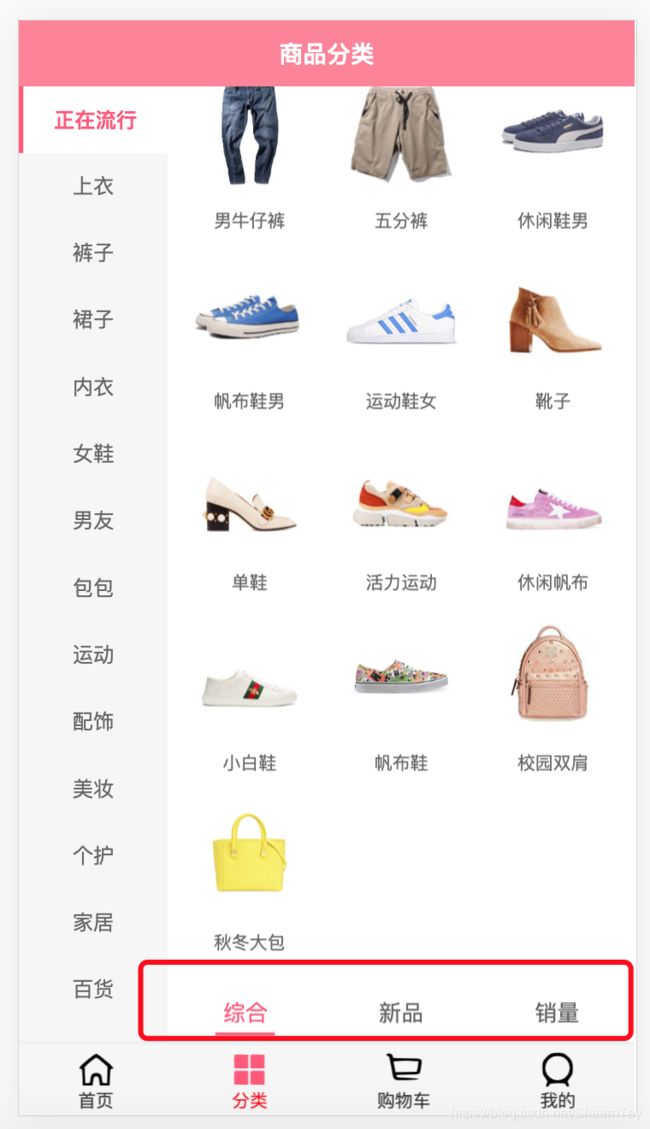
五. 分类页开发
5.1 分类页导航栏使用
- 引入NvaBar组件进行使用(与购物车类似)
5.2 分类页面数据请求
-
封装请求分类页数据network->category.js
-
在Category中保存请求的数据
-
getCategory
_getCategory() { getCategory().then(res => { // 1.获取分类数据 this.categories = res.data.category.list // 2.初始化每个类别的子数据 for (let i = 0; i < this.categories.length; i++) { this.categoryData[i] = { subcategories: {}, categoryDetail: { 'pop': [], 'new': [], 'sell': [] } } } // 3.请求第一个分类的数据 this._getSubcategories(0) }) }, -
getSubcategories
_getSubcategories(index) { this.currentIndex = index; const mailKey = this.categories[index].maitKey; getSubcategory(mailKey).then(res => { this.categoryData[index].subcategories = res.data this.categoryData = {...this.categoryData} this._getCategoryDetail(POP) this._getCategoryDetail(SELL) this._getCategoryDetail(NEW) }) }, -
getCategoryDetail
_getCategoryDetail(type) {
		    // 1.获取请求的miniWallkey
        const miniWallkey = this.categories[this.currentIndex].miniWallkey;
        // 2.发送请求,传入miniWallkey和type
		    getCategoryDetail(miniWallkey, type).then(res => {
		      // 3.将获取的数据保存下来
		      this.categoryData[this.currentIndex].categoryDetail[type] = res
          this.categoryData = {...this.categoryData}
        })
      },
-
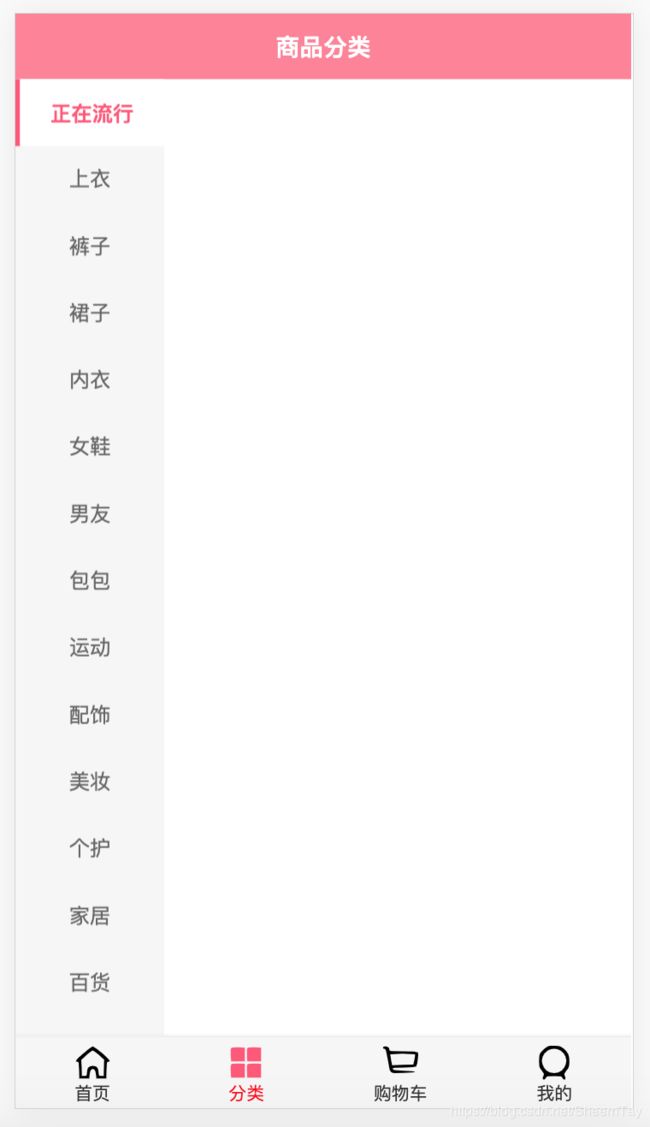
5.3 分类侧边栏TabMenu封装和使用
- 传入分类栏的数据进行展示
- 监听点击事件,根据点击切换效果,并传出点击事件
<div class="menu-list-item"
           :class="{active: index===currentIndex}"
           v-for="(item, index) in categories"
           :key="index"
           @click="itemClick(index)">
        {{item.title}}
      </div>

itemClick(index) {
        this.currentIndex = index
        this.$emit('selectItem', index)
      }
- 为分类侧边栏添加滚动效果
- 在Category中接收到点击事件请求展示响应的数据
selectItem(index) {
        this._getSubcategories(index)
      }
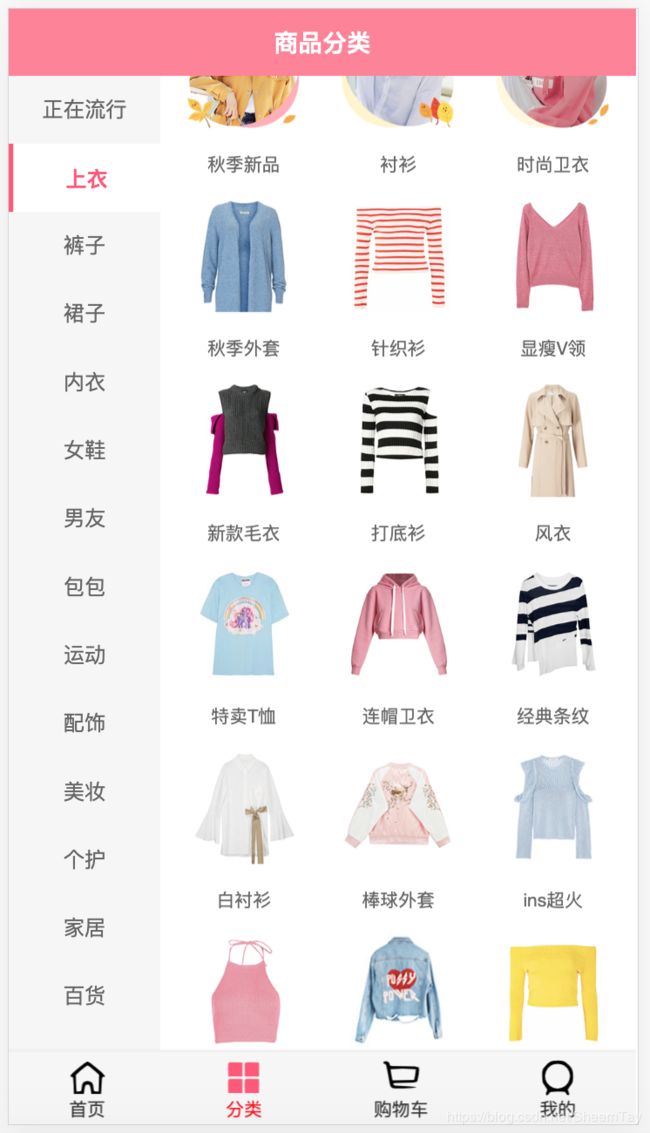
5.4 分类数据展示—TabContentCategory的封装和使用
- 传入数据进行展示
- 网格布局
- 添加滚动效果
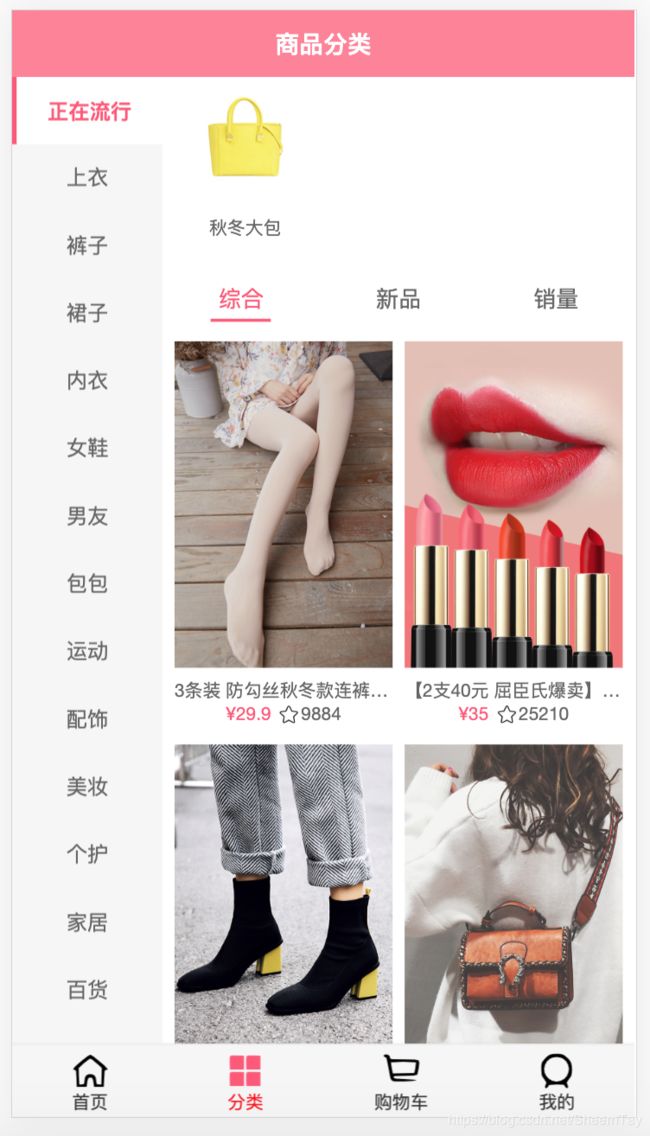
5.5 分类数据展示—TabControl和TabContentDetail的封装和使用
-
将TabControl混合封装到mixin.js后引入
export const tabControlMixin = {
  components: {
    TabControl
  },
  data: function () {
    return {
      currentType: POP
    }
  },
  methods: {
    tabClick(index) {
      switch (index) {
        case 0:
          this.currentType = POP
          break
        case 1:
          this.currentType = NEW
          break
        case 2:
          this.currentType = SELL
          break
      }
      console.log(this.currentType);
    }
  }
}
import {tabControlMixin} from "@/common/mixin"; mixins: [tabControlMixin], -
使用TabControl
<tab-control :titles="['综合', '新品', '销量']"
                       @itemClick="tabClick"/>
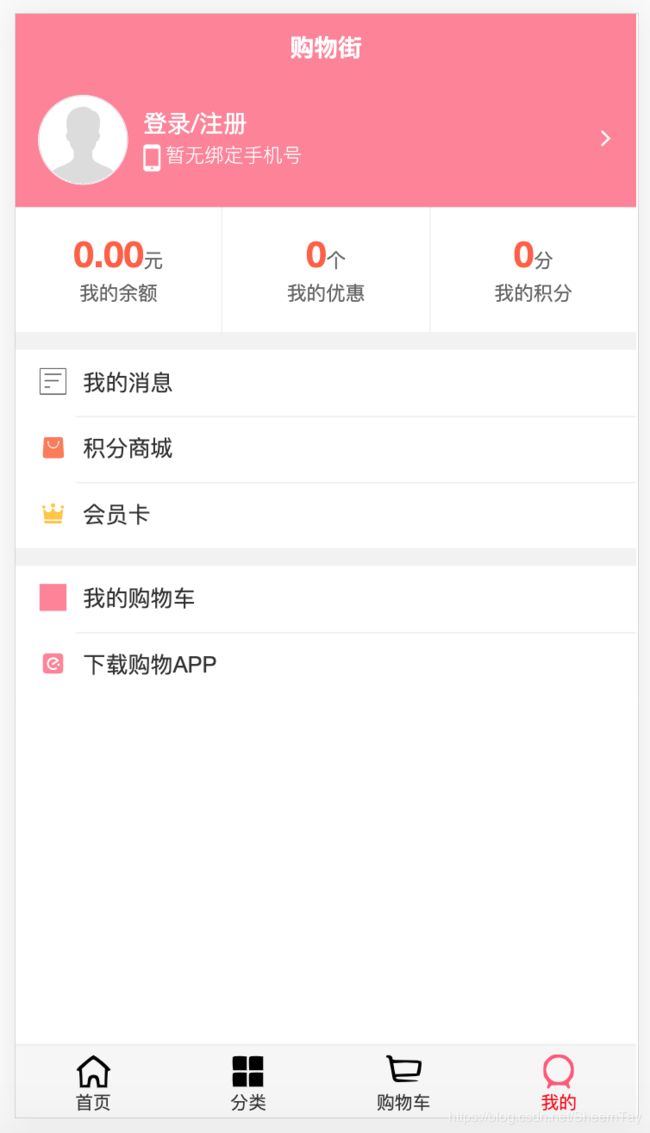
六. 个人页面开发
6.1 个人页导航栏使用
- 引入NavBar(与前面类似)
6.2 用户信息UseInfo封装
-
所用到的图标都封装到content->Icon中
-
在App中注册使用Icom和SvgIcon
-
将用户信息进行排布,预留相应的插槽(如头像,名字,手机号等)
6.3 用户的优惠、余额和积分显示
- 需要传过多的参数,目前还无数据,为封装
- 注意CSS样式
6.4 功能列表ListView的封装和使用
- 根据传入的图标和文字进行功能栏的展示
- 注意CSS样式
- 使用
<list-view :list-data="orderList" class="order-list"></list-view>
<list-view :list-data="serviceList" class="service-list"></list-view>
