一、基本情况
(一)开发工具改版
在我的上篇博客里,工程构建还是Eclipse模式,但是这篇博客写出来时工程已经改为Android Studio模式,主要是Gradle工具的应用,特别是第三方库的引用,不用将库放进libs文件夹下,只需要进行Gradle依赖配置,十分方便。
(二)内置了数据库
加入了选考科目数据库。选考科目只有优秀、良好、及格、不及格的相关评级,不用像必考科目那样通过内插算出分数。首先是通过选考科目界面进入查询、添加、修改、删除相关逻辑层操作,然后是逻辑层转化为对数据层的操作,再次是数据库表的字段的选择以及数据库的创建,最后是数据库在首次安装的覆盖写入。
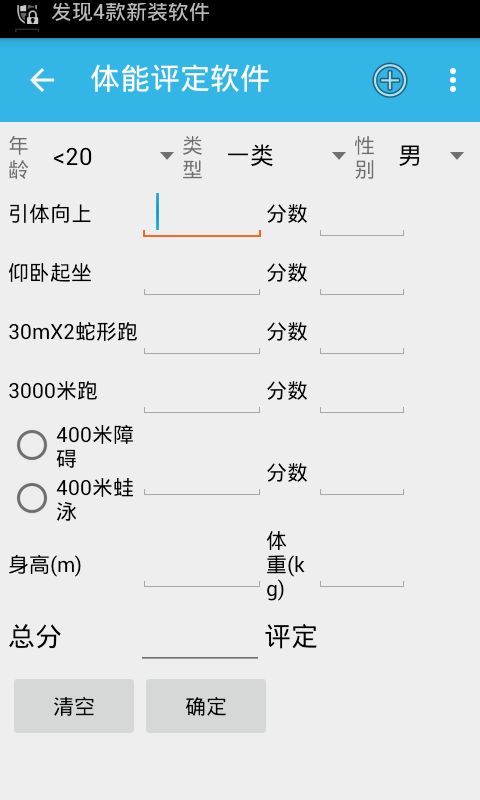
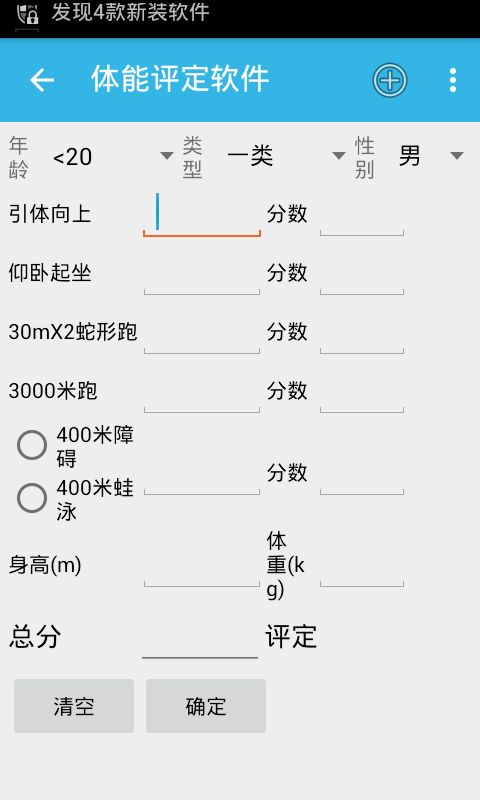
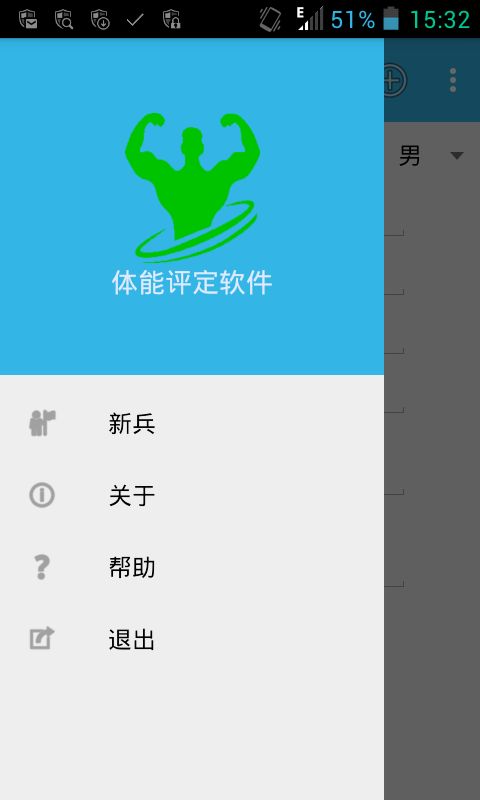
(三)使用Material Design风格界面
二、具体实现
(一)Eclipse模式到Android Studio模式
开发工具没有变,依然是AIDE,只是我把文件结构稍做调整。如图: 是工程根目录,
  是app目录,
  是src目录,也就是我的工程的主要部分。其中java目录装的是各种*.java文件,res装和是layout、menu、string、style等文件。工程根目录里的build.gradle文件以及settings.gradle文件则可以从新创建的gradle工程直接拷贝。 需要着重强调的是app目录里的build.gradle文件的书写:
apply plugin: 'com.android.application'

android {
    compileSdkVersion 22
    buildToolsVersion "22.2.0"

    defaultConfig {
        applicationId "mtn.plaust.pe"
        minSdkVersion 14
        targetSdkVersion 22
        versionCode 5
        versionName "3.0.1"
    }
    buildTypes {
        release {
            minifyEnabled false
            proguardFiles getDefaultProguardFile('proguard-android.txt'), 'proguard-rules.pro'
        }
    }
}

dependencies {
    compile fileTree(dir: 'libs', include: ['*.jar'])
	compile 'com.android.support:support-v4:22.2.0'
	compile 'com.android.support:appcompat-v7:22.2.0'
	compile 'com.android.support:design:22.2.0'
}
主要是dependencies的书写,这里引用了三个库。
(二)数据库实现
1. 数据结构
新建了一个PEStandard类作为数据模型:
public class PEStandard implements Serializable {
	private String name, other;
	private int positive, ageCode, type, male;
	private Double[] standard = new Double[3];
	private final static String[] STANDESC = {"优秀","良好","及格","不及格"};

	public PEStandard(String name, int ageCode, int type, int male, double p1, double p2, double p3, String other) {
		this.name = name; //名称
		this.ageCode = ageCode; //年龄编码
		this.type = type; //类型
		this.male = male; //1代表男性,0代表女性
		standard[0] = p1; //优秀
		standard[1] = p2; //良好
		standard[2] = p3; //及格
		this.other = other; //备注,用于输入的记录
		if (p1 > p2) { //标记正序
			positive = 1;
		} else {
			positive = -1;
		}

	}
...
...
/*给定成绩p,得出评定*/
	public String judge(double p) {
		if (p == 0)
			return "";
		int i;
		for (i = 0; i < 3 && positive * p < positive * standard[i]; i++) {}
		return STANDESC[i];
	}

}
2. 表示层和逻辑层
三个文件:CustomActivity.java、CustomAddActivity.java、CustomEditActivity.java,不需要赘述。
3.数据层
public class PEStandardSqliteHelper extends SQLiteOpenHelper {
	private final static String TBNAME = "t_pestandard"; //固定数据表名称
	private static SQLiteDatabase pesDB = null;
	private PEStandardSqliteHelper(Context context) { //打开数据库pe.db(版本号1)
		super(context,"pe.db",null,1);
		Log.i("数据库操作","打开");
	}

	public static SQLiteDatabase getInstance(Context context) {
		if (pesDB == null || !pesDB.isOpen()) { //懒汉模式
			pesDB = new PEStandardSqliteHelper(context).getReadableDatabase();
		}
		return pesDB;
	}


	@Override
	public void onCreate(SQLiteDatabase db) { //首次使用则自动调用此函数创建数据表
		String sql = "create table " + TBNAME + " (name text not null, ageCode integer not null, type integer not null, male integer not null, st1 real not null, st2 real not null, st3 real not null, other text)";
		db.execSQL(sql);
		Log.i("数据库操作", "创建表");
	}

	public static List query(int ageCode, int type, int male) {
		Log.i("数据库操作", "查询");
		//TODO:数据库查询
		List list = new ArrayList();
		Cursor c = pesDB.rawQuery("select * from " + TBNAME +" where ageCode=? and type=? and male=?" ,new String[] {String.valueOf(ageCode), String.valueOf(type), String.valueOf(male)});
		c.moveToFirst();
		while (!c.isAfterLast()) {
			list.add(new PEStandard(c.getString(0),c.getInt(1),c.getInt(2),c.getInt(3),c.getDouble(4),c.getDouble(5),c.getDouble(6),c.getString(7)));
			c.moveToNext();
		}
		c.close();
		return list;
	}

	public static boolean save(PEStandard p) {
		//TODO:数据库存储
		Log.i("数据库操作","save " + p.getName());
		ContentValues values = new ContentValues();
		values.put("name",p.getName());
		values.put("ageCode",p.getAgeCode());
		values.put("type",p.getType());
		values.put("male",p.getMale());
		values.put("st1",p.getStandard()[0]);
		values.put("st2",p.getStandard()[1]);
		values.put("st3",p.getStandard()[2]);
		values.put("other",p.getOther());
		if (pesDB.insert(TBNAME,null,values) == -1)
			return false;
		return true;
	}

	public static boolean edit(PEStandard p) {
		//TODO:数据库修改
		Log.i("数据库操作","edit " + p.getName());
		ContentValues values = new ContentValues();
		values.put("st1",p.getStandard()[0]); //获取优秀标准
		values.put("st2",p.getStandard()[1]); //获取良好标准
		values.put("st3",p.getStandard()[2]); //获取及格标准
		values.put("other",p.getOther()); //备注
		if (pesDB.update(TBNAME,values,"name=? and ageCode=? and type=? and male=?", new String[]{p.getName(),String.valueOf(p.getAgeCode()),String.valueOf(p.getType()),String.valueOf(p.getMale())}) > 0)
			return true;
		return false;
	}

	public static boolean delete(String name, int ageCode, int type, int male) {
		//TODO:数据库删除
		Log.i("数据库操作","delete " + name);
		if (pesDB.delete(TBNAME,"name=? and ageCode=? and type=? and male=?",new String[]{name,String.valueOf(ageCode),String.valueOf(type),String.valueOf(male)}) > 0)
			return true;
		return false;
	}

	@Override
	protected void finalize() throws Throwable {
		pesDB.close();
		Log.i("数据库操作","关闭");
		super.finalize();
	}
}
4.数据库首次安装覆盖写入
public class DBManager {
	private static final int BUFFER_SIZE = 1024;


	public static void initial(Context context) {
		try {
			BufferedInputStream bufferIn = new BufferedInputStream(context.getResources().openRawResource(R.raw.pe_db)); //从提前放入raw文件夹的pe_db读取数据库
			byte[] temp = new byte[BUFFER_SIZE];
			File file = new File(context.getCacheDir().getParentFile().getAbsolutePath()+"/databases");

			if (!file.exists())
				file.mkdir();
			file = new File(file.getAbsolutePath()+"/pe.db");
			BufferedOutputStream bufferOut = new BufferedOutputStream(new FileOutputStream(file));
			int c = 0;
			while ((c = bufferIn.read(temp)) > 0) {
				bufferOut.write(temp,0,c);
			}
			bufferIn.close();
			bufferOut.close();
			Log.i("数据库操作","初始化");
		} catch (FileNotFoundException ex) {
			Log.e("FileOperation",ex.toString());
		} catch (IOException ex) {
			Log.e("FileOperation",ex.toString());
		}
	}
}
至于如何保证首次安装调用该类,其实跟首次登陆提示帮助一样,要利用SharedPreference类。
(三)采用Material Design Support Library
1、Toolbar之工具条
2、DrawerLayout之侧边栏菜单
...
...
然后是在main.xml里添加相应的事件响应代码。
(四)远程Git仓库同步
1. 在Git OSChina中创建空白git仓库
1. 在本地.git/config进行配置
[core]
	repositoryformatversion = 0
	filemode = false
	logallrefupdates = true
	autocrlf = false
[branch "master"]
	remote = master
	merge = refs/heads/master
[remote "master"]
	url = [email protected]:hele_two/PE
	fetch = refs/heads/master
[remote "origin"]
	url = [email protected]:hele_two/PE
1. pull然后push
END
附:
- 远程仓库


