python使用scrapy框架爬取一周天气预报
这两天找了一本书讲的python实战,有实战项目,看到了scrapy框架部分的天气预报,决定把自己所学分享出来。
废话不多说,下面开始。
参考资料《Python网络爬虫实战 第2版》
资源链接:https://pan.baidu.com/s/1khiN7c87VTiaoybMOd3Bgg
提取码:chjf
建议使用pycharm
官网链接:http://www.jetbrains.com/pycharm/
目录
- scrapy框架的安装
- 项目的创建
- 项目中各个文件介绍
- settings.py
- items.py
- pipelines.py
- 爬虫代码编写
- items.py的编写
- ChengduWeather.py的编写
- pipelines.py的编写
- settings.py的编写
- 运行结果
scrapy框架的安装
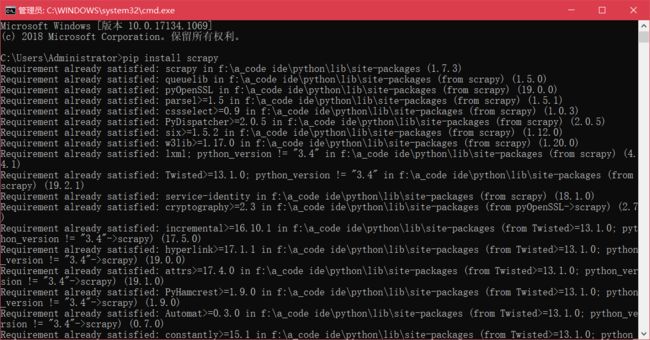
首先是准备工作,我用的Windows系统,所以就只讲Windows系统了,很简单win+R,键入“cmd”打开控制台,安装scrapy,前提是得有python啊,这个肯定都有的吧。cmd里输入下面命令
pip install scrapy
我已经安装过了,没安装的话应该是有好多个进度条的。
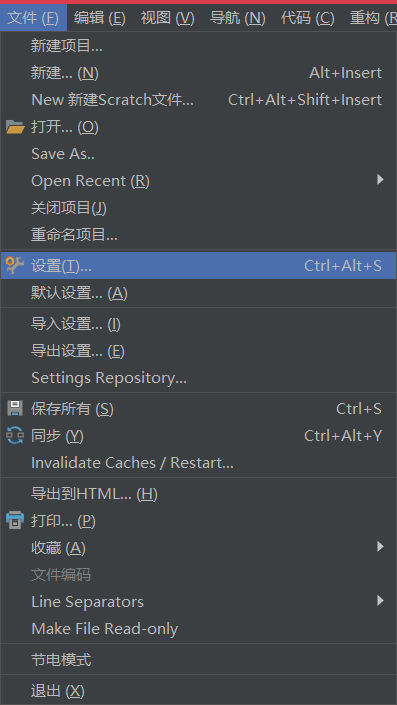
 第二种方法就是使用pycharm安装,操作如下
1.打开“文件(Flie)”中的“设置(Settings)”
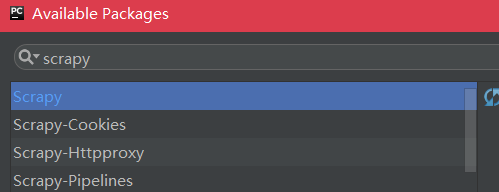
2.点“Project Interpreter”右上角的加号,添加第三方库

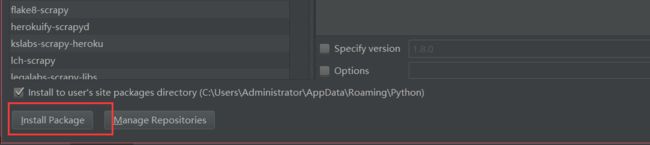
 之后点击下面的install package等一会就安装好了。
项目的创建
scrapy startproject weather_demo01
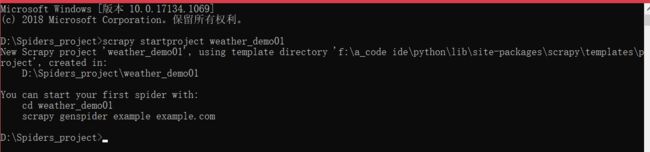
创建的项目如下图所示:
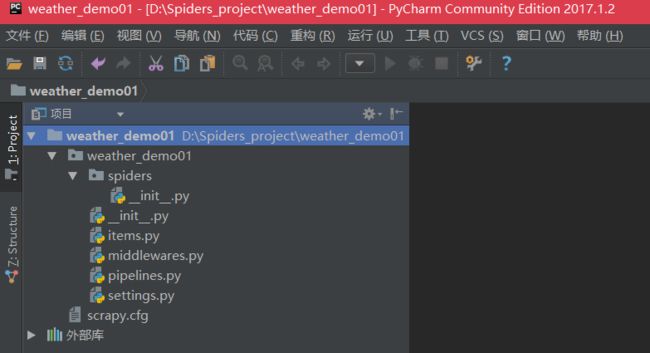
项目中各个文件介绍
书上差不多把所有的文件都介绍了,其实主要用的就几个,我就着重说主要用到的几个了:
settings.py
这个文件主要是说最后是由谁处理爬取的数据的,比如我们定义一个文件a功能是处理爬取的数据,但是运行发现数据没按照自己想要的格式保存下来,就是因为最后settings这个文件里没指明让a来处理。
部分代码如下
# -*- coding: utf-8 -*-

# Scrapy settings for weather_demo01 project
#
# For simplicity, this file contains only settings considered important or
# commonly used. You can find more settings consulting the documentation:
#
#     https://docs.scrapy.org/en/latest/topics/settings.html
#     https://docs.scrapy.org/en/latest/topics/downloader-middleware.html
#     https://docs.scrapy.org/en/latest/topics/spider-middleware.html

BOT_NAME = 'weather_demo01'

SPIDER_MODULES = ['weather_demo01.spiders']
NEWSPIDER_MODULE = 'weather_demo01.spiders'


# Crawl responsibly by identifying yourself (and your website) on the user-agent
#USER_AGENT = 'weather_demo01 (+http://www.yourdomain.com)'
ITEM_PIPELINES = {}
# Obey robots.txt rules
ROBOTSTXT_OBEY = True
这些值都是项目创立时自动写好的不需要改动。
然后就是ITEM_PIPELINES = {},这个变量是后面需要的,里面写的就是最后用来处理数据的文件,下面会讲
这里提一下ROBOTSTXT_OBEY这个变量的值,有true和false两个值,这个是是否遵守robots协议,robots协议是网站目录中包含一个robots.txt文件,这个文件记录着允许访问哪些目录,哪些不允许访问。下面用淘宝网的做个示范
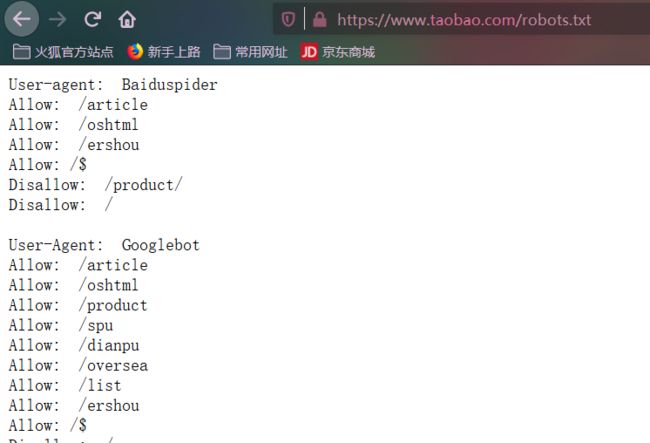
这个文件一般都是隐藏着的,不允许访问的目录肯定是有东西不想让你知道,隐藏就不会知道哪些不让访问,淘宝留着不知道为啥,不过我估计也没人能对淘宝网造成啥伤害。扯远了,上面这个变量的含义主要是说爬虫爬的时候是否遵守robots.txt协议,如果是true,则不会访问disallow列出的目录,如果是false则是无视这个文件了。
items.py
items.py文件的作用是定义爬虫最终需要哪些项(例如天气、风力、温度等等),内容如下:
# -*- coding: utf-8 -*-

# Define here the models for your scraped items
#
# See documentation in:
# https://docs.scrapy.org/en/latest/topics/items.html

import scrapy


class WeatherDemo01Item(scrapy.Item):
    # define the fields for your item here like:
    # name = scrapy.Field()
    pass
就像上面注释说的 在这里为你的item定义项像这样“name = scrapy.Field()”
(四级没过渣翻译,不过意思没错)
pipelines.py
处理scrapy爬取的数据,意思是爬虫从源码中爬取的数据可能是一个一个列表之类的数据,不方便查看也没有保存,pipelines.py这个文件就是来完成这个工作的,初创建文件代码如下:
# -*- coding: utf-8 -*-

# Define your item pipelines here
#
# Don't forget to add your pipeline to the ITEM_PIPELINES setting
# See: https://docs.scrapy.org/en/latest/topics/item-pipeline.html


class WeatherDemo01Pipeline(object):
    def process_item(self, item, spider):
        return item
爬虫代码编写
在上面爬虫项目创建的根目录下cmd输入下面命令:
scrapy genspider ChengduWeather http://www.tianqi.com/chengdu/
这个是创建scrapy爬虫脚本,创建在spiders这个文件夹里
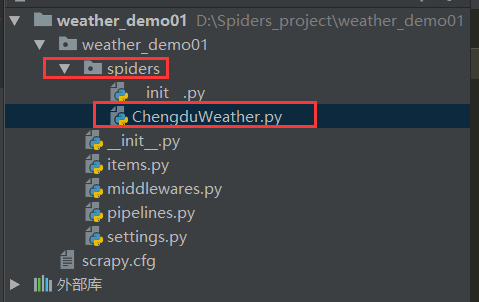
所以spiders这个文件夹方的就是爬虫脚本文件,脚本文件就是来爬取网页源码中我们需要的数据的,这个文件是一切的基础。
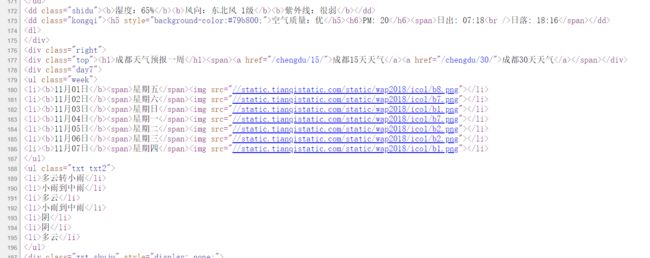
我们打开目标网站

需要的是成都天气预报一周这里的信息,打开源码查看,找到了信息,这里截取部分信息:
items.py的编写
通过上面网页源码的查看,我们选取日期,星期、温度、天气、风力这几个项进行爬取。编写比较简单,就照着注释里描述的写就行,代码如下:
# -*- coding: utf-8 -*-

# Define here the models for your scraped items
#
# See documentation in:
# https://docs.scrapy.org/en/latest/topics/items.html

import scrapy


class WeatherDemo01Item(scrapy.Item):
    # define the fields for your item here like:
    # name = scrapy.Field()
    cityDate = scrapy.Field()  # 城市及日期
    week = scrapy.Field()  # 星期
    temperature = scrapy.Field()  # 温度
    weather = scrapy.Field()  # 天气
    wind = scrapy.Field()  # 风力
    #pass
ChengduWeather.py的编写
代码如下:
# -*- coding: utf-8 -*-
import scrapy
from weather_demo01.items import WeatherDemo01Item

class ChengduweatherSpider(scrapy.Spider):
    name = 'ChengduWeather'
    allowed_domains = ['http://www.tianqi.com/chengdu/']
    start_urls = ['http://www.tianqi.com/chengdu//']

    def parse(self, response):
        items = []
        city = response.xpath('//dd[@class="name"]/h2/text()').extract()
        selector = response.xpath('//div[@class="day7"]')
        date = selector.xpath('ul[@class="week"]/li/b/text()').extract()
        week = selector.xpath('ul[@class="week"]/li/span/text()').extract()
        wind = selector.xpath('ul[@class="txt"]/li/text()').extract()
        weather = selector.xpath('ul[@class="txt txt2"]/li/text()').extract()
        wendu1 = selector.xpath('div[@class="zxt_shuju"]/ul/li/span/text()').extract()
        wendu2 = selector.xpath('div[@class="zxt_shuju"]/ul/li/b/text()').extract()
        for i in range(7):
            item = WeatherDemo01Item()
            try:
                item["cityDate"] = city[0] + date[i]  # 城市及日期
                item["week"] = week[i]  # 星期
                item["temperature"] = wendu1[i] + "~" + wendu2[i]  # 温度
                item["weather"] = weather[i]  # 天气
                item["wind"] = wind[i]  # 风力
            except IndexError as e:
                exit()
            items.append(item)
        return items
        #pass
这里解释,首先得先引入items文件,因为爬取的项是和items里的是相关联的。然后我们创建一个名为items的列表,用来将爬取的信息整合到这个列表里。
之后就是使用xpath选择器了,例如:
city = response.xpath('//dd[@class="name"]/h2/text()').extract()
这句话的涵义就是定义一个city,他返回的是所有dd标签中class叫name的标签下,h2标签下,的文本(用逗号隔开方便理解)

到时候返回的就是“成都“。
selector = response.xpath('//div[@class="day7"]')
这段返回的是所有div的class是day7的标签,这里先定义它起一个嵌套的左右,后面几个项都在它的里面,直接嵌套selector的结果进行xpath选择更方便。
其他的我就暂时不讲了,xpath的话有时间自己再总结一下放在这里。
最终效果就是每一项生成了一个列表,如week里面就是[星期一,星期二,星期三……]
然后就是
for i in range(7):
            item = WeatherDemo01Item()
            try:
                item["cityDate"] = city[0] + date[i]  # 城市及日期
                item["week"] = week[i]  # 星期
                item["temperature"] = wendu1[i] + "~" + wendu2[i]  # 温度
                item["weather"] = weather[i]  # 天气
                item["wind"] = wind[i]  # 风力
            except IndexError as e:
                exit()
            items.append(item)
        return items
这里7是指7天,0~6遍历一遍,通过上面xpath的选择将每个列表里对应下标的元素取出组合,得到效果如:成都x月x日,星期几,温度多少多少、……
最后再添加到items列表中
pipelines.py的编写
将爬虫得到的结果保存为txt格式,代码如下:
# -*- coding: utf-8 -*-
import time
import codecs
# Define your item pipelines here
#
# Don't forget to add your pipeline to the ITEM_PIPELINES setting
# See: https://docs.scrapy.org/en/latest/topics/item-pipeline.html


class WeatherPipeline(object):
    def process_item(self, item, spider):
        today = time.strftime('%Y-%m-%d',time.localtime())
        filename = today + '成都天气.txt'
        with codecs.open(filename,'a','utf-8') as fp:
            fp.write("%s \t %s \t %s \t %s \t %s \r\n"
                     %(item['cityDate'],
                       item['week'],
                       item['temperature'],
                       item['weather'],
                       item['wind']))
        return item
这个不难理解,就是先设定txt的命名格式,然后格式化输出上面ChengduWeather.py脚本爬取的内容,记录到txt文件中保存。
settings.py的编写
决定由哪个文件来处理获取的数据,这里当然是选取pipeline.py文件来处理
只加一句话,
ITEM_PIPELINES = {'weather_demo01.pipelines.WeatherDemo01Pipeline':300,}
这里说一下后面的数字,意思是确定优先级,数字越大优先级越高,优先运行数字大的处理文件。
运行结果
在pycharm命令行内输入
scrapy crawl ChengduWeather
结果如下:
