Linux配置nginx服务器,用于部署前端项目
nginx部署前端项目
技术背景:
vue.js+springBoot
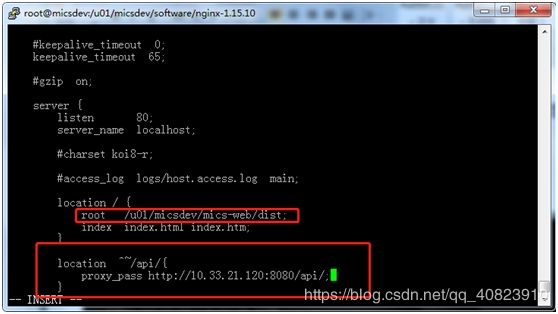
前端项目部署在nginx上,静态资源都在nginx上,当需要访问后端接口时,通过nginx转发到对应的服务器上。
前端:所有访问后端的接口都在端口号后加上“/api/”
后端:在yml 文件server里修改如下
部署nginx
1.nginx的源文件放在/u01/micsdev/software下;
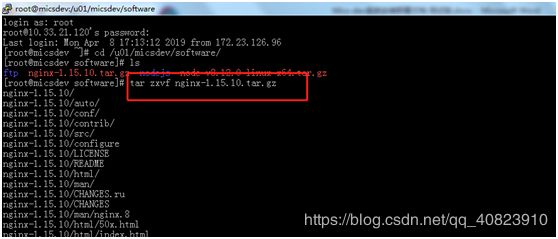
2.进入到/u01/micsdev/software 解压nginx源文件
cd /u01/micsdev/software
ls 查看
tar zxvf nginx-1.15.10.tar.gz
2.编译安装
进入到 /u01/micsdev/software/nginx-1.15.10
cd /u01/micsdev/software/nginx-1.15.10
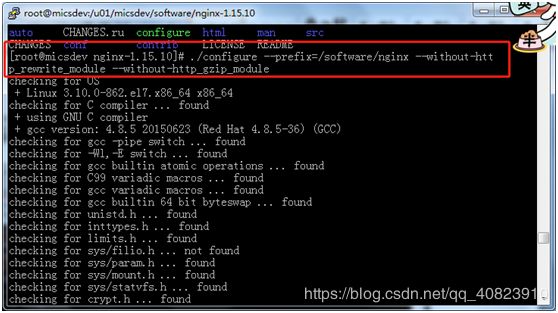
配置:
./configure --prefix=/software/nginx --without-http_rewrite_module (空格)–without-http_gzip_module
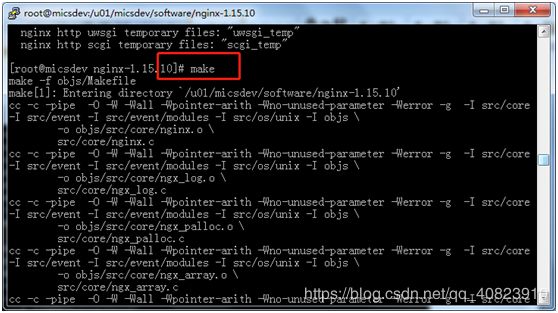
编译:
make
安装:
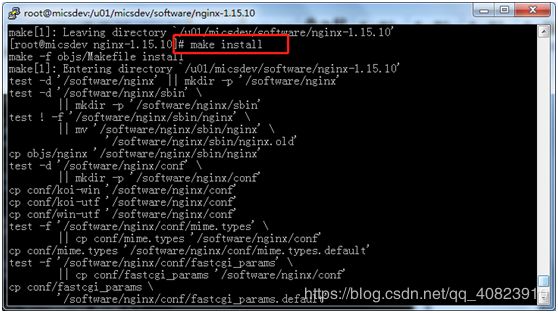
make install
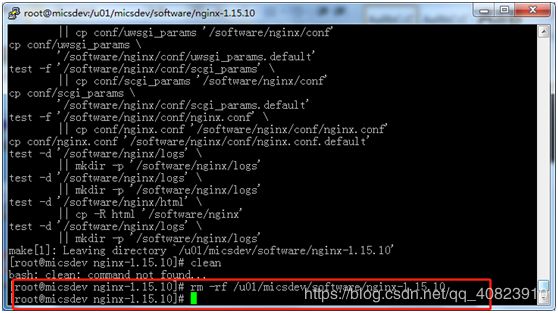
删除源文件:
rm –rf /u01/micsdev/software/nginx-1.15.10
3开机启动
sudo vi /etc/init.d/nginx
增加如下配置
#!/bin/sh
nginx - this script starts and stops the nginx daemon
chkconfig: - 85 15
description: NGINX is an HTTP(S) server, HTTP(S) reverse \
proxy and IMAP/POP3 proxy server
processname: nginx
config: /etc/nginx/nginx.conf
config: /etc/sysconfig/nginx
pidfile: /var/run/nginx.pid
Source function library.
. /etc/rc.d/init.d/functions
Source networking configuration.
. /etc/sysconfig/network
Check that networking is up.
[ “$NETWORKING” = “no” ] && exit 0
nginx="/software/nginx/sbin/nginx"
prog=$(basename $nginx)
NGINX_CONF_FILE="/software/nginx/conf/nginx.conf"
[ -f /etc/sysconfig/nginx ] && . /etc/sysconfig/nginx
lockfile=/var/lock/subsys/nginx
make_dirs() {
make required directories
user=$nginx -V 2>&1 | grep "configure arguments:.*--user=" | sed 's/[^*]*--user=\([^ ]*\).*/\1/g' -
if [ -n “$user” ]; then
if [ -z “grep $user /etc/passwd” ]; then
useradd -M -s /bin/nologin u s e r f i o p t i o n s = ‘ user fi options=` userfioptions=‘nginx -V 2>&1 | grep 'configure arguments:'for opt in $options; do if [echo $opt | grep '.*-temp-path’]; then value=echo o p t ∣ c u t − d " = " − f 2 ‘ i f [ ! − d " opt | cut -d "=" -f 2` if [ ! -d " opt∣cut−d"="−f2‘if[!−d"value" ]; then
# echo “creating” $value
mkdir -p $value && chown -R $user $value
fi
fi
done
fi
}
start() {
[ -x $nginx ] || exit 5
[ -f $NGINX_CONF_FILE ] || exit 6
make_dirs
echo -n $"Starting $prog: "
daemon $nginx -c N G I N X C O N F F I L E r e t v a l = NGINX_CONF_FILE retval= NGINXCONFFILEretval=?
echo
[ $retval -eq 0 ] && touch $lockfile
return $retval
}
stop() {
echo -n $"Stopping $prog: "
killproc p r o g − Q U I T r e t v a l = prog -QUIT retval= prog−QUITretval=?
echo
[ $retval -eq 0 ] && rm -f $lockfile
return $retval
}
restart() {
configtest || return $?
stop
sleep 1
start
}
reload() {
configtest || return $?
echo -n $"Reloading $prog: "
killproc n g i n x − H U P R E T V A L = nginx -HUP RETVAL= nginx−HUPRETVAL=?
echo
}
force_reload() {
restart
}
configtest() {
$nginx -t -c $NGINX_CONF_FILE
}
rh_status() {
status $prog
}
rh_status_q() {
rh_status >/dev/null 2>&1
}
case “$1” in
start)
rh_status_q && exit 0
$1
;;
stop)
rh_status_q || exit 0
$1
;;
restart|configtest)
$1
;;
reload)
rh_status_q || exit 7
$1
;;
force-reload)
force_reload
;;
status)
rh_status
;;
condrestart|try-restart)
rh_status_q || exit 0
;;
*)
echo $“Usage: $0 {start|stop|status|restart|condrestart|try-restart|reload|force-reload|configtest}”
exit 2
esac

