OpenCV 3.0 高动态范围图像
表示最近发现iphone 5s 用的HDR技术~ 刚好又发现opencv 3.0是基于这个的,蛮感兴趣的于是翻译下
Today most digital images and imaging devices use 8 bits per channel thus limiting the dynamic range of the device to two orders of magnitude (actually 256 levels), while human eye can adapt to lighting conditions varying by ten orders of magnitude. When we take photographs of a real world scene bright regions may be overexposed, while the dark ones may be underexposed, so we can’t capture all details using a single exposure. HDR imaging works with images that use more that 8 bits per channel (usually 32-bit float values), allowing much wider dynamic range.
现在大多数图像用的是8比特每通道的图像设备,这限制设备的动态范围于两个数量级(256级),但是人眼可以适应10个数量级的光照变换。当我们照相时,图像亮的地方也许会过度曝光,图像暗的地方曝光不足,因此我们无法通过一次曝光获得所有的细节。HDR图像使用超过8比特每通道(通常是32比特浮点),允许更大的动态范围
There are different ways to obtain HDR images, but the most common one is to use photographs of the scene taken with different exposure values. To combine this exposures it is useful to know your camera’s response function and there are algorithms to estimate it. After the HDR image has been blended it has to be converted back to 8-bit to view it on usual displays. This process is called tonemapping. Additional complexities arise when objects of the scene or camera move between shots, since images with different exposures should be registered and aligned.
现在有许多种不同的方式去获得HDR图像,最常用的方式就是对于同一个场景使用不同的曝光值。把这些曝光值结合起来可以帮助了解你的相机对于环境的适应并可以用于预测。HDR图像生成之后,必须转化为8比特图像用于显示,这个过程叫做tonemapping。如果在照相的时候,物体或者场景移动了,那么计算量就会因为掺入了不同的曝光场景而增加.
In this tutorial we show how to generate and display HDR image from an exposure sequence. In our case images are already aligned and there are no moving objects. We also demonstrate an alternative approach called exposure fusion that produces low dynamic range image. Each step of HDR pipeline can be implemented using different algorithms so take a look at the reference manual to see them all.
在这篇教程里我们会告诉你怎样用曝光图像序列产生并且展示HDR图像。在我们的例子里,图像已经对其且没有运动物体。我们同时展示了另一种方法--exposure fusion,可以产生低动态范围的图像。HDR流程中的每一步都可以用不同的算法,所以可以去看下帮助文档
下面就是opencv教你做出好看的HDR图像的tutorial
http://docs.opencv.org/trunk/doc/tutorials/photo/hdr_imaging/hdr_imaging.html#hdrimaging
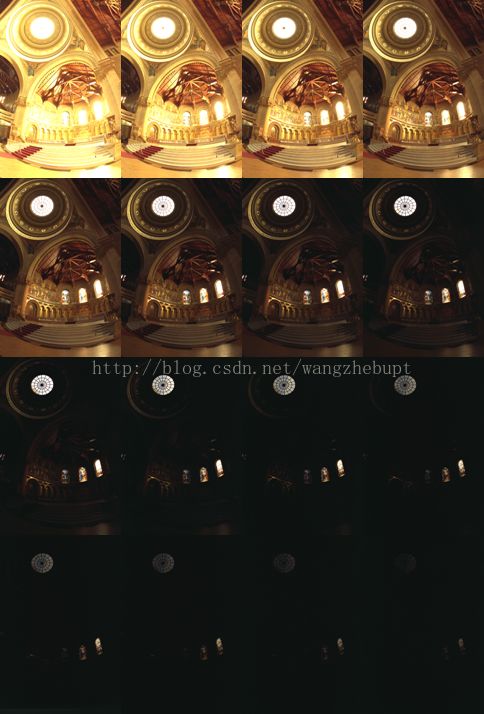
这是实验图片序列
这是源代码
#include
#include
#include
#include
#include

using namespace cv;
using namespace std;

void loadExposureSeq(String, vector&, vector&);

int main(int, char**argv)
{
    vector images;
    vector times;
    loadExposureSeq(argv[1], images, times);

    Mat response;
    Ptr calibrate = createCalibrateDebevec();
    calibrate->process(images, response, times);

    Mat hdr;
    Ptr merge_debevec = createMergeDebevec();
    merge_debevec->process(images, hdr, times, response);

    Mat ldr;
    Ptr tonemap = createTonemapDurand(2.2f);
    tonemap->process(hdr, ldr);

    Mat fusion;
    Ptr merge_mertens = createMergeMertens();
    merge_mertens->process(images, fusion);

    imwrite("fusion.png", fusion * 255);
    imwrite("ldr.png", ldr * 255);
    imwrite("hdr.hdr", hdr);

    return 0;
}

void loadExposureSeq(String path, vector& images, vector& times)
{
    path = path + std::string("/");
    ifstream list_file((path + "list.txt").c_str());
    string name;
    float val;
    while(list_file >> name >> val) {
        Mat img = imread(path + name);
        images.push_back(img);
        times.push_back(1 / val);
    }
    list_file.close();
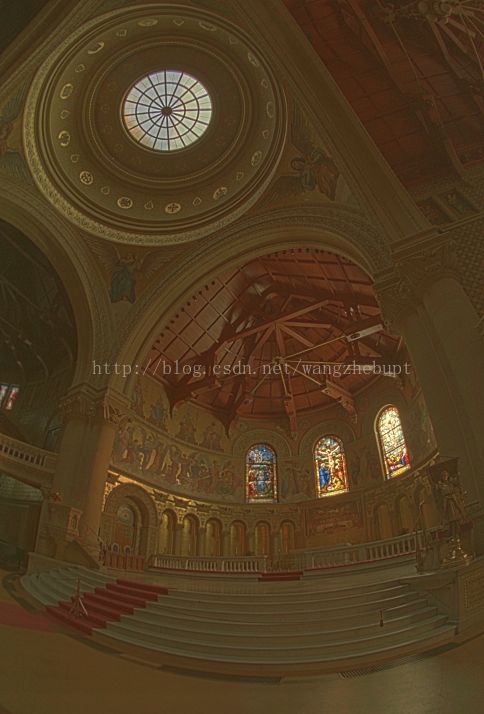
} 低动态范围图像
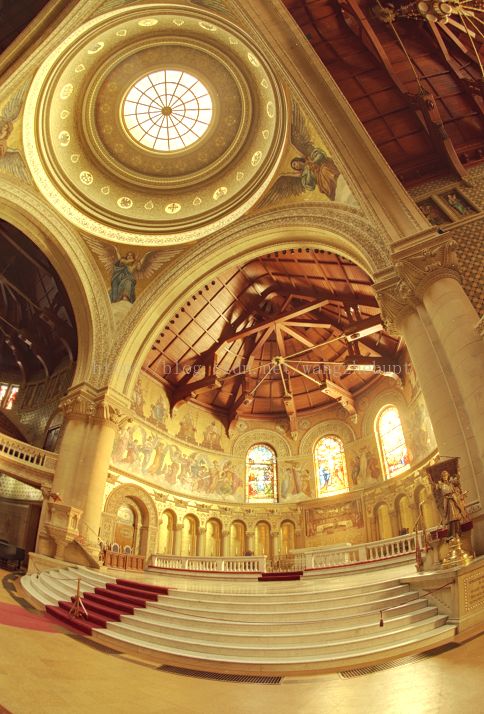
合成图像


