前言:相信大家在工作中对iOS手势的使用是非常之多的,今天闲来无事对常用的六大手势进行了简单的整理,在此系统的给大家简单介绍一下基本的使用。
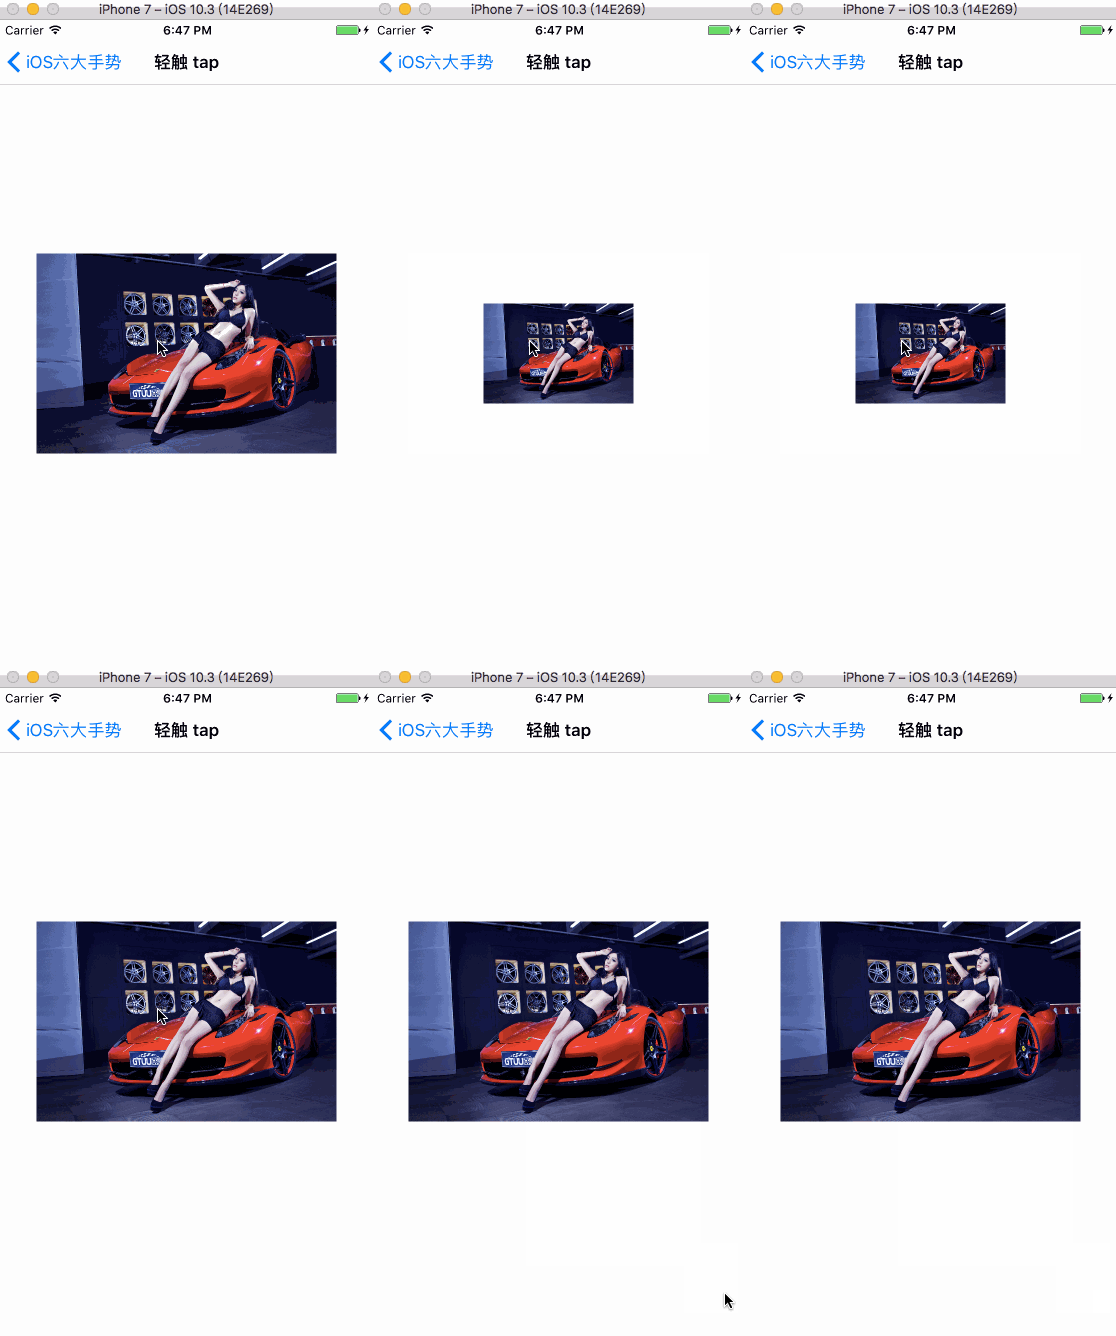
1、UITapGestureRecognizer轻触手势,这个在使用中可以说是用的最多的一种手势,常用于给没有点击事件的控件添加该手势达到类似于button点击事件的效果,具体用法如下:
#import "TapViewController.h"

@interface TapViewController ()

@end

@implementation TapViewController

- (void)viewDidLoad {
    [super viewDidLoad];

    [self test];
}

- (void)test {

    UIImageView * imageView = [[UIImageView alloc] initWithFrame:CGRectMake(0, 0, 150, 100)];
    imageView.center = self.view.center;
    imageView.userInteractionEnabled = YES;
    imageView.image = [UIImage imageNamed:@"c001"];
    [self.view addSubview:imageView];

    UITapGestureRecognizer * tap = [[UITapGestureRecognizer alloc] initWithTarget:self action:@selector(tapImage:)];
    [imageView addGestureRecognizer:tap];
}

- (void)tapImage:(UITapGestureRecognizer *)tap {

    UIImageView * imageView = (UIImageView *)tap.view;

    static int flag = 0;
    flag ^= 1;
    if (flag) {

        imageView.frame = CGRectMake(0, 0, 300, 200);
        NSLog(@"点击了图片放大!");
    } else {

        imageView.frame = CGRectMake(0, 0, 150, 100);
        NSLog(@"点击了图片缩小!");
    }
    imageView.center = self.view.center;
}
@end
效果图如下:
2、
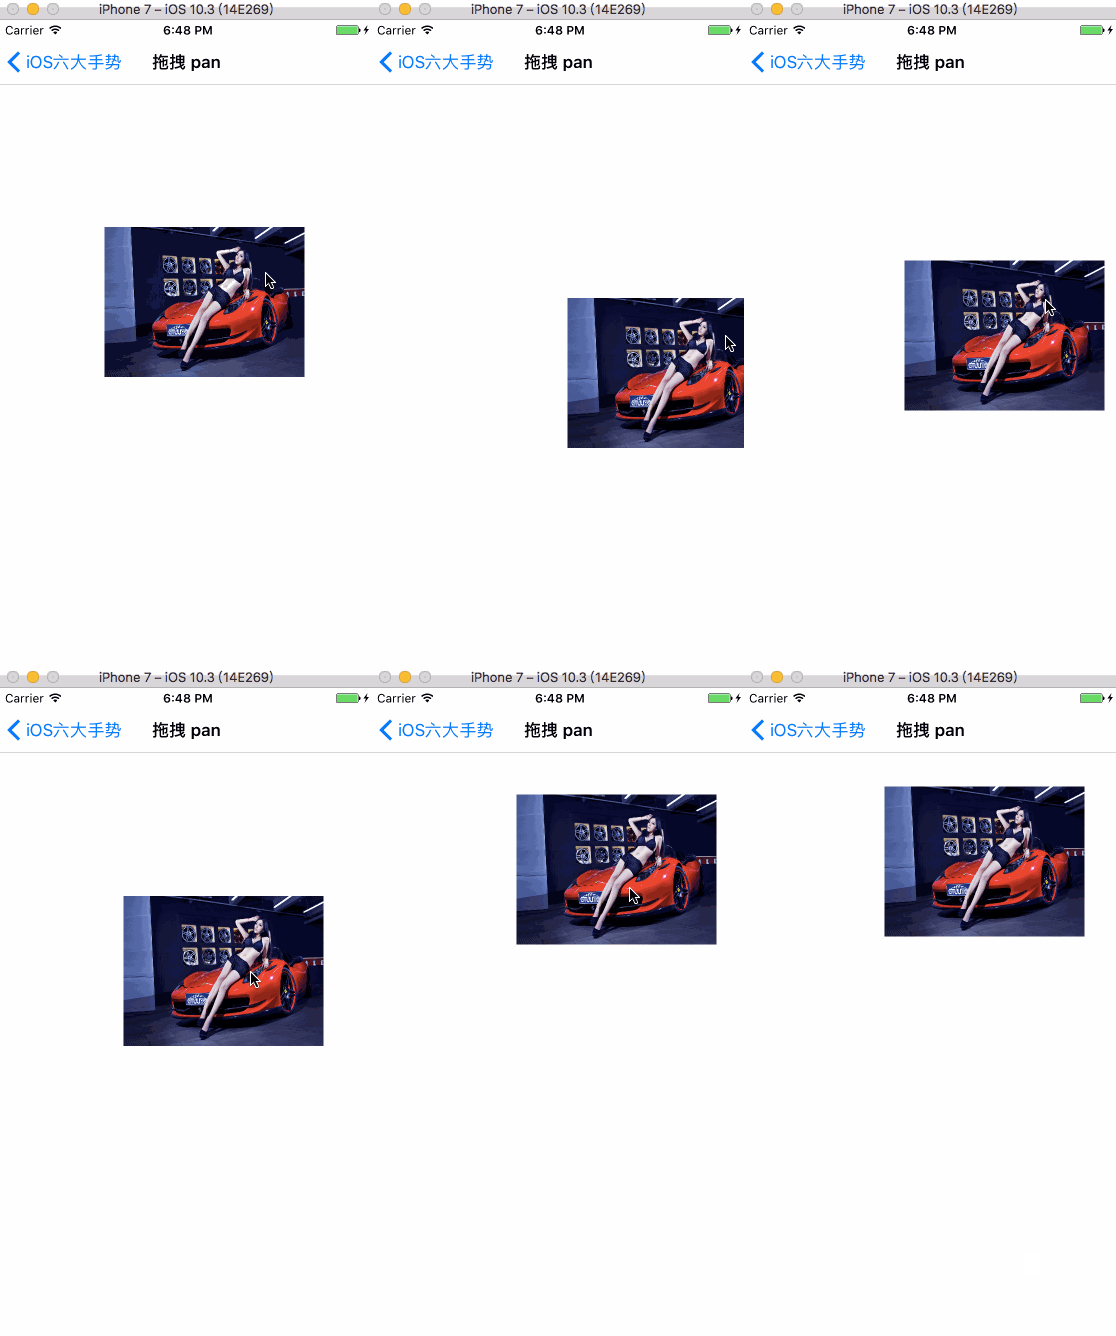
UIPanGestureRecognizer拖拽手势,常用于需要对控件进行手动退拽以改变控件的frame的场景中,具体用法如下:
#import "PanViewController.h"

@interface PanViewController ()

// 图片初始中心点
@property (nonatomic) CGPoint startImageCenter;
// 手势初始中心点
@property (nonatomic) CGPoint startGCenter;

@end

@implementation PanViewController

- (void)viewDidLoad {
    [super viewDidLoad];

    [self test];
}

- (void)test {

    UIImageView * imageView = [[UIImageView alloc] initWithFrame:CGRectMake(20, 80, 200, 150)];
    imageView.userInteractionEnabled = YES;
    imageView.image = [UIImage imageNamed:@"c001"];
    [self.view addSubview:imageView];

    UIPanGestureRecognizer * pan = [[UIPanGestureRecognizer alloc] initWithTarget:self action:@selector(panImage:)];
    [imageView addGestureRecognizer:pan];
}

- (void)panImage:(UIPanGestureRecognizer *)pan {

    UIImageView * imageView = (UIImageView *)pan.view;

    if (pan.state == UIGestureRecognizerStateBegan) {

        //记录中心位置
        self.startImageCenter = imageView.center;
        self.startGCenter = [pan locationInView:self.view];
        return;
    }

    //非开始阶段
    //获得手势移动的距离 现在的位置
    CGPoint nowGCenter = [pan locationInView:self.view];
    float x = nowGCenter.x - self.startGCenter.x;
    float y = nowGCenter.y - self.startGCenter.y;
    //计算imageview的相对位移
    imageView.center = CGPointMake(self.startImageCenter.x+x, self.startImageCenter.y+y);

//    if (pan.state == UIGestureRecognizerStateEnded) {
//
//        imageView.center = self.startImageCenter;
//    }
}
效果图如下:
3、
UISwipeGestureRecognizer轻扫手势,常用于对控件往对应的方向有滑动操作时的场景中,具体用法如下:
#import "SwipeViewController.h"

@interface SwipeViewController ()

@end

@implementation SwipeViewController

- (void)viewDidLoad {
    [super viewDidLoad];

    [self test];
}

- (void)test {

    UIImageView * imageView = [[UIImageView alloc] initWithFrame:CGRectMake(20, 80, 200, 150)];
    imageView.center = self.view.center;
    imageView.userInteractionEnabled = YES;
    imageView.image = [UIImage imageNamed:@"c001"];
    [self.view addSubview:imageView];

    UISwipeGestureRecognizer * swipe1 = [[UISwipeGestureRecognizer alloc] initWithTarget:self action:@selector(swipeImage:)];
    //设置扫的方向
    swipe1.direction = UISwipeGestureRecognizerDirectionUp;
    [imageView addGestureRecognizer:swipe1];

    UISwipeGestureRecognizer * swipe2 = [[UISwipeGestureRecognizer alloc] initWithTarget:self action:@selector(swipeImage:)];
    //设置扫的方向
    swipe2.direction = UISwipeGestureRecognizerDirectionLeft;
    [imageView addGestureRecognizer:swipe2];

    UISwipeGestureRecognizer * swipe3 = [[UISwipeGestureRecognizer alloc] initWithTarget:self action:@selector(swipeImage:)];
    //设置扫的方向
    swipe3.direction = UISwipeGestureRecognizerDirectionDown;
    [imageView addGestureRecognizer:swipe3];

    UISwipeGestureRecognizer * swipe4 = [[UISwipeGestureRecognizer alloc] initWithTarget:self action:@selector(swipeImage:)];
    //设置扫的方向
    swipe4.direction = UISwipeGestureRecognizerDirectionRight;
    [imageView addGestureRecognizer:swipe4];
}

-(void)swipeImage:(UISwipeGestureRecognizer *)swipe{
    //实现要添加的功能
    NSLog(@"扫到了图片");
    UIImageView * imageView = (UIImageView *)swipe.view;

    if (swipe.direction == UISwipeGestureRecognizerDirectionLeft) {

        imageView.center = CGPointMake(imageView.center.x - 40, imageView.center.y);
        NSLog(@"图片向左移动了");
    }else if (swipe.direction == UISwipeGestureRecognizerDirectionRight) {

        imageView.center = CGPointMake(imageView.center.x + 40, imageView.center.y);
        NSLog(@"图片向右移动了");
    }else if (swipe.direction == UISwipeGestureRecognizerDirectionDown) {

        imageView.center = CGPointMake(imageView.center.x, imageView.center.y + 40);
        NSLog(@"图片向下移动了");
    }else if (swipe.direction == UISwipeGestureRecognizerDirectionUp) {

        imageView.center = CGPointMake(imageView.center.x, imageView.center.y - 40);
        NSLog(@"图片向上移动了");
    }
}
@end
效果图如下:
4、
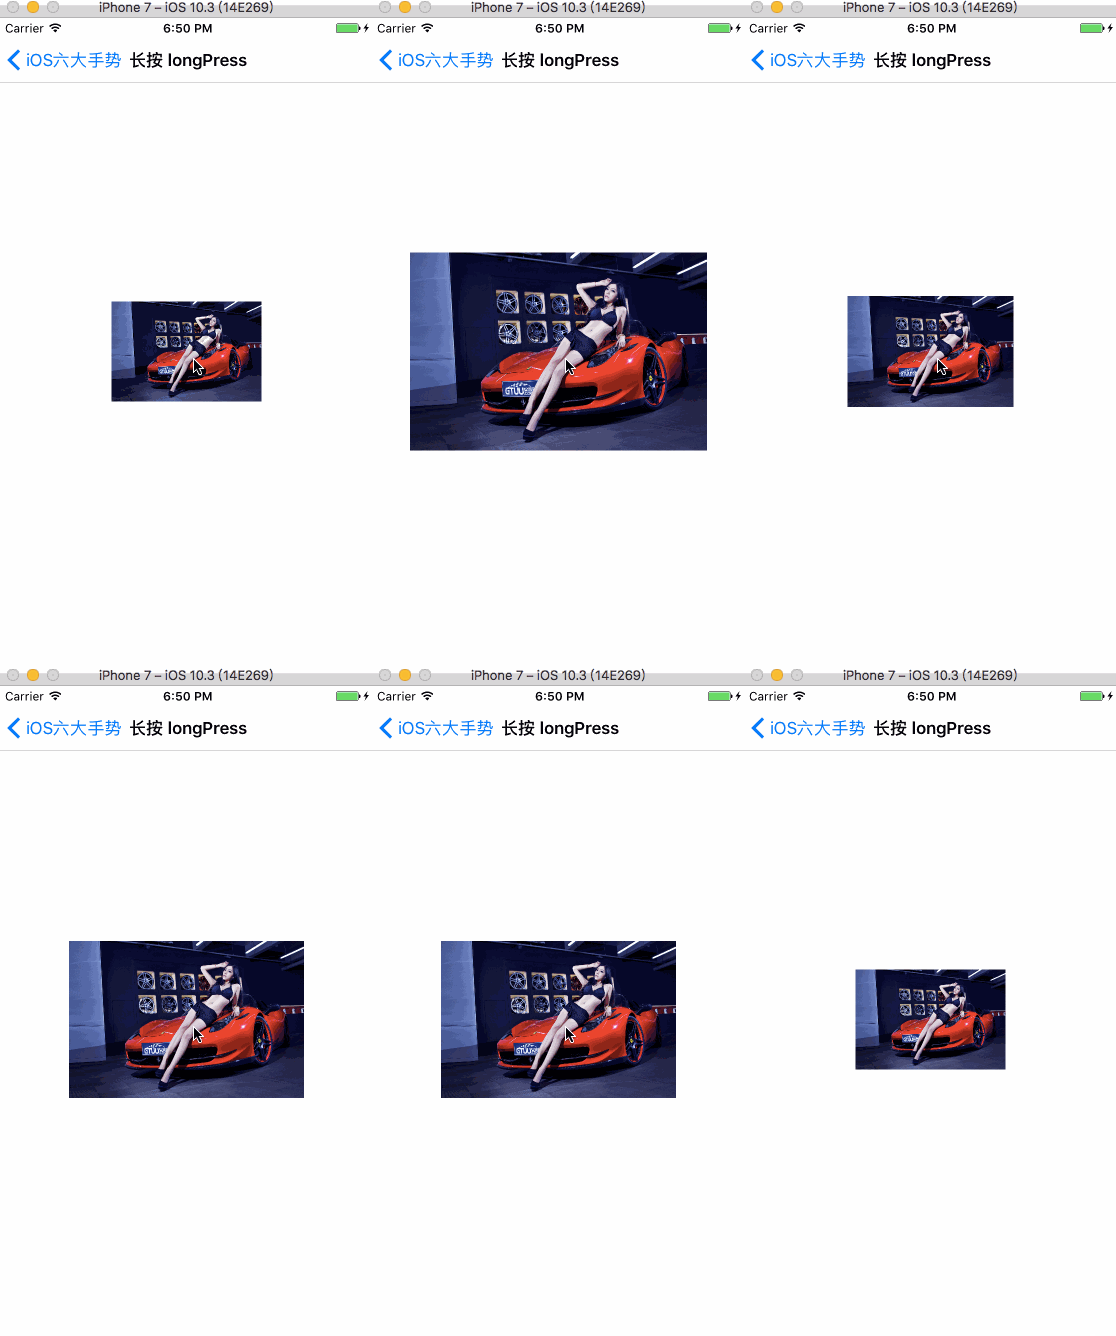
UILongPressGestureRecognizer长按手势,常用于对控件进行长按操作时的场景中,具体用法如下:
#import "LongPressViewController.h"

@interface LongPressViewController ()

@end

@implementation LongPressViewController

- (void)viewDidLoad {
    [super viewDidLoad];

    [self test];
}

- (void)test {

    UIImageView * imageView = [[UIImageView alloc] initWithFrame:CGRectMake(0, 0, 150, 100)];
    imageView.center = self.view.center;
    imageView.userInteractionEnabled = YES;
    imageView.image = [UIImage imageNamed:@"c001"];
    [self.view addSubview:imageView];

    UILongPressGestureRecognizer * longPress = [[UILongPressGestureRecognizer alloc] initWithTarget:self action:@selector(longPressImage:)];
    // 长按时间
    longPress.minimumPressDuration = 2;
    [imageView addGestureRecognizer:longPress];
}


-(void)longPressImage:(UILongPressGestureRecognizer *)longPress{

    UIImageView * imageView = (UIImageView *)longPress.view;

    if (longPress.state == UIGestureRecognizerStateBegan) {

        NSLog(@"长按了这张图片");
        [UIView animateWithDuration:1.0 animations:^{

            imageView.frame = CGRectMake(0, 0, 300, 200);
            imageView.center = self.view.center;
        }];
    }

    if (longPress.state == UIGestureRecognizerStateEnded) {

        NSLog(@"长按结束");
        [UIView animateWithDuration:1.0 animations:^{

            imageView.frame = CGRectMake(0, 0, 150, 100);
            imageView.center = self.view.center;
        }];
    }
}
@end
效果图如下:
5、
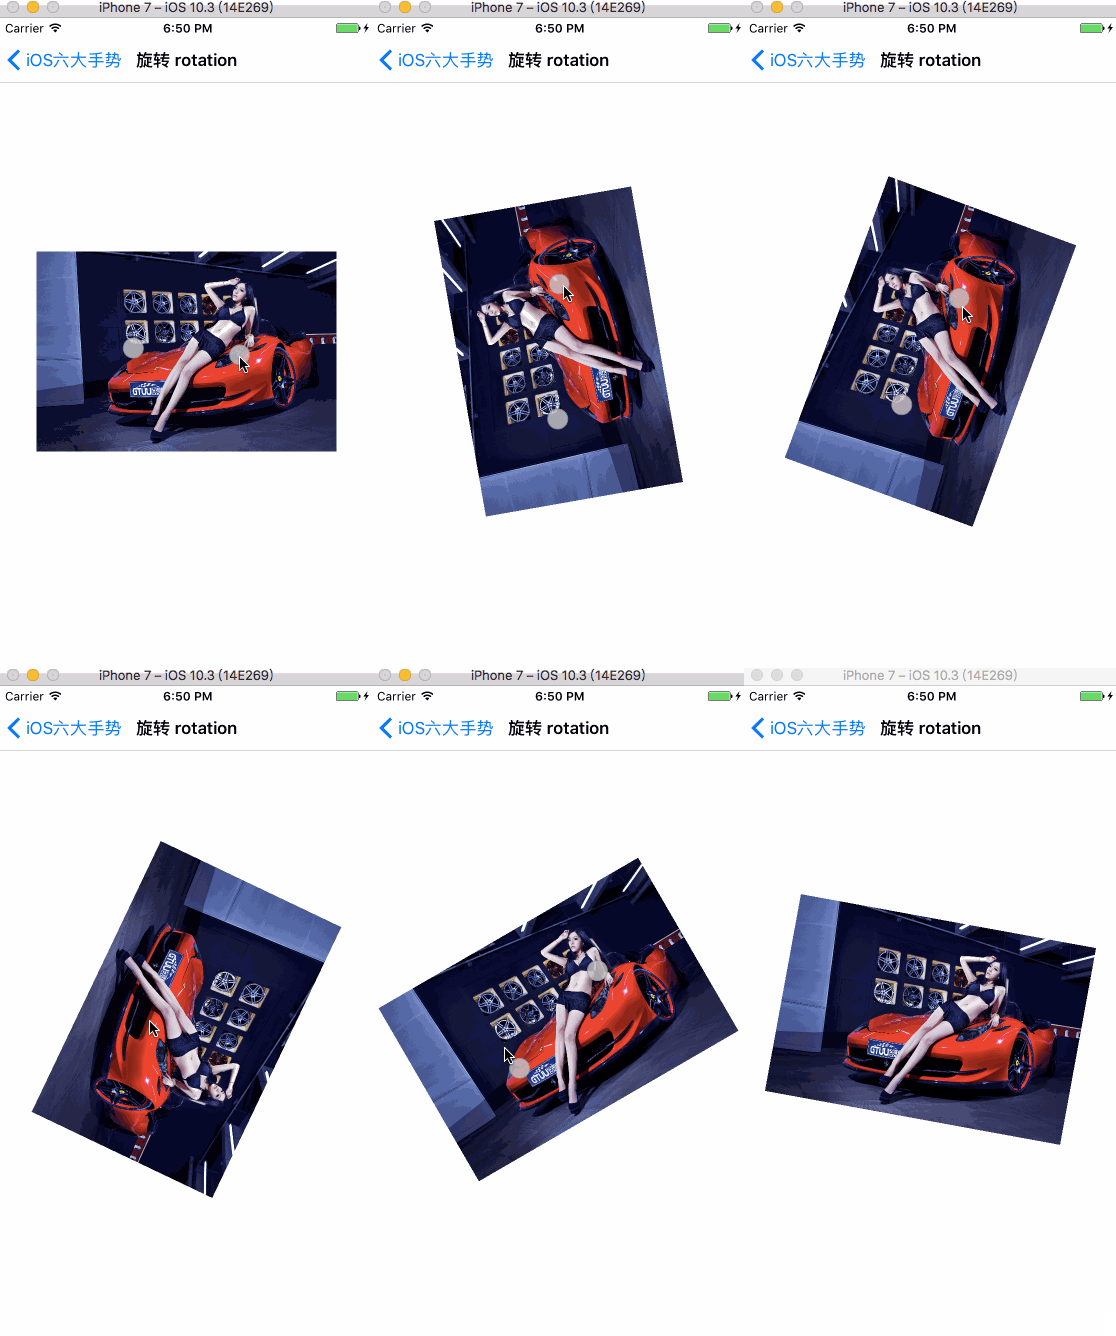
UIRotationGestureRecognizer旋转手势,常用于对控件的旋转操作的场景中,具体用法如下:
#import "RotationViewController.h"

@interface RotationViewController ()

// 图片初始角度
@property (nonatomic, assign) float startRotation;
@end

@implementation RotationViewController

- (void)viewDidLoad {
    [super viewDidLoad];

    [self test];
}

- (void)test {

    UIImageView * imageView = [[UIImageView alloc] initWithFrame:CGRectMake(0, 0, 300, 200)];
    imageView.center = self.view.center;
    imageView.userInteractionEnabled = YES;
    imageView.image = [UIImage imageNamed:@"c001"];
    [self.view addSubview:imageView];

    UIRotationGestureRecognizer * rotation = [[UIRotationGestureRecognizer alloc] initWithTarget:self action:@selector(rotationImage:)];
    [imageView addGestureRecognizer:rotation];
}

-(void)rotationImage:(UIRotationGestureRecognizer *)rotation{

    UIImageView * imageView = (UIImageView *)rotation.view;

    // 旋转图片
    imageView.transform = CGAffineTransformMakeRotation(rotation.rotation + self.startRotation);

    if (rotation.state == UIGestureRecognizerStateEnded) {

        self.startRotation += rotation.rotation;
    }
}
@end
效果图如下:
6、
UIPinchGestureRecognizer捏合缩放手势,常用于对图片的捏合缩放的操作场景中,具体用法如下:
#import "PinchViewController.h"

@interface PinchViewController ()

// 图片初始缩放系数
@property (nonatomic, assign) float startScale;
@end

@implementation PinchViewController

- (void)viewDidLoad {
    [super viewDidLoad];

    [self test];
}

- (void)test {

    self.startScale = 1.0;
    UIImageView * imageView = [[UIImageView alloc] initWithFrame:CGRectMake(0, 0, 300, 200)];
    imageView.center = self.view.center;
    imageView.userInteractionEnabled = YES;
    imageView.image = [UIImage imageNamed:@"c001"];
    [self.view addSubview:imageView];

    UIPinchGestureRecognizer * pinch = [[UIPinchGestureRecognizer alloc] initWithTarget:self action:@selector(pinchImage:)];
    [imageView addGestureRecognizer:pinch];
}


-(void)pinchImage:(UIPinchGestureRecognizer *)pinch{

    UIImageView * imageView = (UIImageView *)pinch.view;

    // 缩放图片
    imageView.transform = CGAffineTransformMakeScale(pinch.scale * self.startScale, pinch.scale * self.startScale);

    if (pinch.state == UIGestureRecognizerStateEnded) {

        self.startScale *= pinch.scale;
        if (self.startScale >= 2.0) {

            self.startScale = 2.0;
            [UIView animateWithDuration:0.3 animations:^{

                imageView.transform = CGAffineTransformMakeScale(self.startScale, self.startScale);
            }];
        } else if (self.startScale <= 0.5) {

            self.startScale = 0.5;
            [UIView animateWithDuration:0.3 animations:^{

                imageView.transform = CGAffineTransformMakeScale(self.startScale, self.startScale);
            }];
        }
    }
}
@end
效果图如下:
pinch.gif
总结:每种手势创建的时候都是通过
- (instancetype)initWithTarget:(nullable id)target action:(nullable SEL)action方法创建的,都对应的有相应的手势事件,在相应的手势事件中可以对添加手势的控件或者其他控件做出需求需要的操作。代码很简答,不过小编还是写了demo,在此共享给大家,地址如下:
https://github.com/guorenhao/GestureDemo.git
最后,还是希望该文章能够帮助到有需要的猿友们,可以解了有需求的朋友的燃眉之急,愿我们能够共同进步,在开发的道路上越走越远,谢谢!
