1 基础工程创建
1:创建一个maven工程
2:加入parent
     org.springframework.boot
     spring-boot-starter-parent
     1.5.6.RELEASE
3:加入启动依赖
     org.springframework.boot
     spring-boot-starter-web
4:设置properties
     1.8
     UTF-8
     com.cc.Application
5:配置springboot 插件
     springbootstudy


           org.springframework.boot
           spring-boot-maven-plugin
6:开发Controller
@Controller
@RequestMapping("/hello")
public class FirstController {
    @RequestMapping("/abc")
    @ResponseBody
    public String abc() {
       System.out.println("now in FirstController.abc");
       return "Hello World!";
    }
}
7:启动类
@SpringBootApplication
public class App {
   public static void main(String[] args) {
     //负责启动引导应 用程序
     SpringApplication.run(App.class, args);
   }
}
8:启动运行
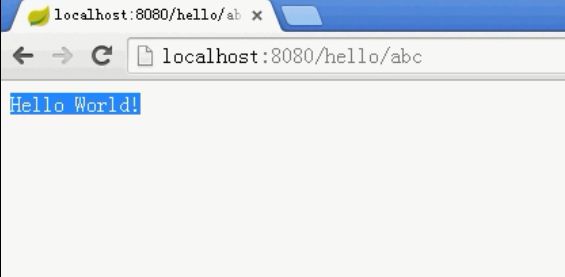
先运行启动类,然后在浏览器输入:http://localhost:8080/hello/abc
@SpringBootApplication:开启组件扫描和自动配置,
实际 上,@SpringBootApplication将三个有用的注解组合在了一起:
Spring的@Configuration:标明该类使用Spring基于Java的配置
Spring的@ComponentScan:启用组件扫描
Spring Boot的@EnableAutoConfiguration:开启Spring Boot自动配置
2 加入数据层
1:环境设置
(1)加入依赖
     org.springframework.boot
     spring-boot-starter-data-jpa


     mysql
     mysql-connector-java
     5.1.43
(2)在数据库中创建一个库springbootstudy,同时建一个表tbl_user,有如下字段:uuid、name、age
(3)配置数据源、配置jpa对hibernate的支持,在resources文件夹中建立一个application.properties文件,基本配置如下:
spring.datasource.driverClassName=com.mysql.jdbc.Driver
spring.datasource.url=jdbc:mysql://127.0.0.1:3306/springbootstudy?useUnicode=true&characterEncoding=UTF-8
spring.datasource.username=root
spring.datasource.password=root
spring.datasource.max-active=20
spring.datasource.max-idle=8
spring.datasource.min-idle=8
spring.datasource.initial-size=10
spring.jpa.database=MySQL
spring.jpa.show-sql=true
spring.jpa.generate-ddl=false
spring.jpa.hibernate.ddl-auto=update
spring.jpa.properties.hibernate.current_session_context_class=org.springframework.orm.hibernate4.SpringSessionContext
spring.jpa.properties.hibernate.format_sql=true
spring.jpa.properties.hibernate.use_sql_comments=false
spring.hibernate.packageScan=com.cc
spring.jta.transaction-manager-id=transactionManager
spring.jpa.properties.hibernate.dialect=org.hibernate.dialect.MySQL5Dialect
2:添加user模块,先写vo
3:添加dao及实现,DAO接口示例如下:
public interface UserDAO {

   public String create(M m);
   public void update(M m);
   public void delete(String uuid);
   public M getByUuid(String uuid);
   public List getAll();
}
4:添加java配置
为了支持直接注入Hibernate的SessionFactory,建立一个H4Conf的类,采用java配置的方式:
@Configuration
public class H4Conf {
    @Bean
    public SessionFactory sessionFactory(HibernateEntityManagerFactory hemf) {
       return hemf.getSessionFactory();
    }
}
添加Service及实现
添加Controller实现
3 添加页面,使用ThymeLeaf
1:环境构建
(1)在application.properties中添加:
 spring.thymeleaf.cache=false
 spring.thymeleaf.prefix=classpath:/templates
(2)添加依赖
     org.springframework.boot
     spring-boot-starter-thymeleaf
2:在resources下面添加templates,在templates下面添加user文件夹,下面用来存放页面
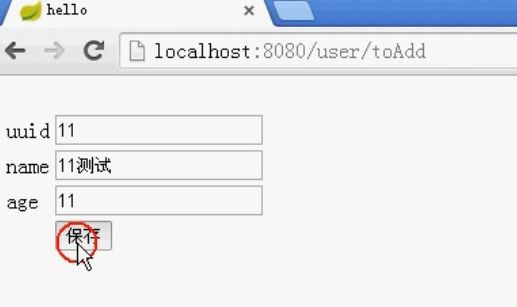
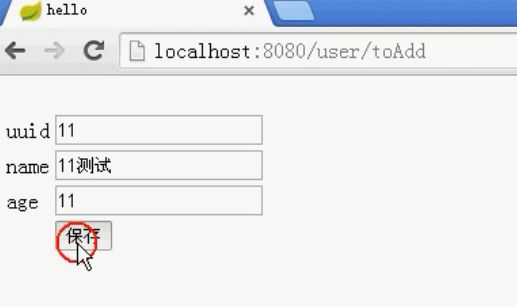
3:使用ThymeLeaf开发的页面,比如userAdd.html,示例如下:
hello
4 启动运行
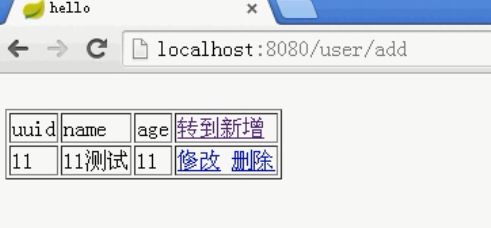
http://localhost:8080/user/toList
通过几天的学习,首先最有收获的地方应该是内心沉静下来了,每天面对工作机械的crud,有时候是烦躁的,但是又不知道如何改变现状,疫情期间也不能出去乱逛把之前购买CC老师的课程翻出来,继续学习吧~~哈哈,我给大家来了硬广,618折扣才6800元,课程内容惊喜多多,详情都在私塾的官网,感兴趣的小伙伴,可以一起去 【 私塾在线 】 学习


