动态计算UITableViewCell的高度问题
一、问题:
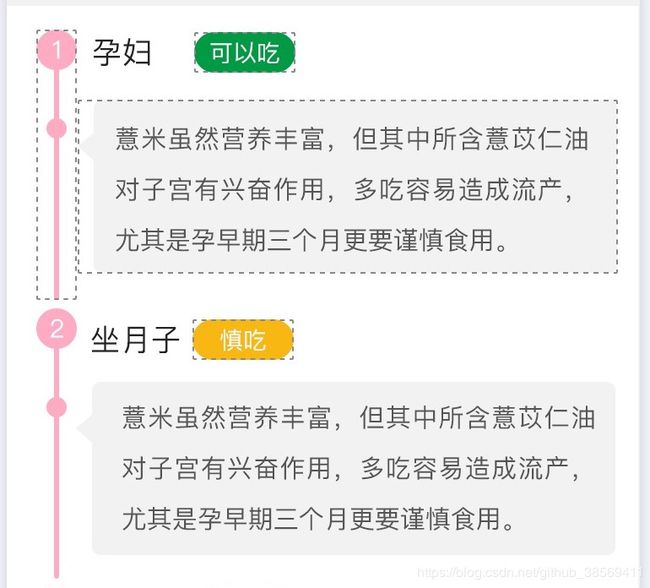
最近要做一个类似时间轴的界面,开始重新思考tableview的高度自适应问题
二、思路:
1、iOS8的自动计算机制,需要autolayout(适用iOS8之后系统)
2、iOS6之后系统API结合autolayout进行计算(适用于iOS6之后的系统)
3、手动计算(适用于iOS6之后的系统)
4、借助于第三方框架自动计算(适用于iOS6之后的系统)
三、我的布局代码
我喜欢纯代码,用Masonry布局
//
//  EatAnythingDetailTableCell.h
//  MCBook
//
//  Created by hl on 2018/11/15.
//
#import
#import "EatAnythingDetailModel.h"

NS_ASSUME_NONNULL_BEGIN

@interface EatAnythingDetailTableCell : UITableViewCell

/**
 左边的背景图片
 */
@property (nonatomic, strong) UIImageView *tagImgView;

/**
 左边的数字标签
 */
@property (nonatomic, strong) UILabel *tagLbl;

/**
 时期,是孕妇还是婴儿等
 */
@property (nonatomic, strong) UILabel *periodLbl;

/**
 是否能吃,除了文字,还有背景色的区别
 */
@property (nonatomic, strong) UILabel *checkLbl;

/**
 气泡背景,修饰文字
 */
@property (nonatomic, strong) UIImageView *bubbleImgView;

/**
 对不同时期,同一食品是否能吃进行描述
 */
@property (nonatomic, strong) UILabel *describeLbl;

/**
 模型
 */
@property (nonatomic, strong) EAKnowModel *model;
.m布局:
@implementation EatAnythingDetailTableCell

- (instancetype)initWithStyle:(UITableViewCellStyle)style reuseIdentifier:(NSString *)reuseIdentifier
{
    if (self = [super initWithStyle:style reuseIdentifier:reuseIdentifier]) {
        [self setupUI];
        [self layoutFromMansoryUI];
    }
    return self;
}

/**
 初始化控件
 */
- (void)setupUI
{
    _tagImgView = [UIImageView new];
    [self.contentView addSubview:_tagImgView];

    _tagLbl = [UILabel new];
    _tagLbl.textAlignment = NSTextAlignmentCenter;
    _tagLbl.textColor = [UIColor whiteColor];
    _tagLbl.font = [UIFont systemFontOfSize:14];
    [_tagImgView addSubview:_tagLbl];

    _periodLbl = [UILabel new];
    _periodLbl.textColor = colorWithHexString(kColorDark);
    _periodLbl.font = [UIFont systemFontOfSize:18];
    [self.contentView addSubview:_periodLbl];

    _checkLbl = [UILabel new];
    _checkLbl.textAlignment = NSTextAlignmentCenter;
    _checkLbl.textColor = [UIColor whiteColor];
    _checkLbl.font = [UIFont systemFontOfSize:14];
    _checkLbl.layer.cornerRadius = 10;
    _checkLbl.layer.masksToBounds = YES;
    [self.contentView addSubview:_checkLbl];

    _bubbleImgView = [UIImageView new];
    [self.contentView addSubview:_bubbleImgView];

    _describeLbl = [UILabel new];
    _describeLbl.textColor = colorWithHexString(kColorGray);
    _describeLbl.font = [UIFont systemFontOfSize:15];
    _describeLbl.lineBreakMode = NSLineBreakByCharWrapping;
    _describeLbl.numberOfLines = 0;
    [_bubbleImgView addSubview:_describeLbl];
}

/**
 布局,用mansory这里目前是静态布局,还得改,然后在动态算出cell高度
 */
- (void)layoutFromMansoryUI
{
   [_tagImgView mas_makeConstraints:^(MASConstraintMaker *make) {
        make.top.equalTo(self.contentView).offset(14);
        make.width.mas_equalTo(24);
        make.bottom.equalTo(self.contentView);
        make.left.equalTo(self.contentView).offset(18);
    }];
    self.tagImgView.image = [UIImage imageNamed:@"TB_EA_tagBackground"];

    [_tagLbl mas_makeConstraints:^(MASConstraintMaker *make) {
        make.size.mas_equalTo(CGSizeMake(24, 24));
        make.top.left.equalTo(_tagImgView);
    }];

    [_periodLbl mas_makeConstraints:^(MASConstraintMaker *make) {
        make.left.equalTo(_tagImgView.mas_right).offset(10);
        make.width.lessThanOrEqualTo(@60);
        make.height.equalTo(@20);
        make.top.equalTo(self.contentView).offset(15);
    }];

    [_checkLbl mas_makeConstraints:^(MASConstraintMaker *make) {
        make.size.mas_equalTo(CGSizeMake(60, 24));
        make.left.equalTo(_periodLbl.mas_right).offset(3);
        make.top.equalTo(_periodLbl).offset(-2);
    }];

    [_bubbleImgView mas_makeConstraints:^(MASConstraintMaker *make) {
        make.left.equalTo(_tagImgView.mas_right).offset(1);
        make.right.equalTo(self.contentView).offset(-12);
        make.top.equalTo(_periodLbl.mas_bottom).offset(10);
        make.bottom.equalTo(self.tagImgView).offset(-5);
    }];
    self.bubbleImgView.image = [UIImage imageNamed:@"TB_EA_bubbleBackground"]; //赋值
//    self.bubbleImgView.image = [self.bubbleImgView.image stretchableImageWithLeftCapWidth:338 topCapHeight:167]; // 指定为拉伸模式,伸缩后重新赋值

    [_describeLbl mas_makeConstraints:^(MASConstraintMaker *make) {
        make.top.equalTo(_bubbleImgView).offset(5);
        make.left.equalTo(_bubbleImgView).offset(20);
        make.right.bottom.equalTo(_bubbleImgView).offset(-5);
    }];
}
四、第一种方法:iOS8的自动计算机制
在初始化tableview的地方加上一下两句代码搞定:
  _tableView.estimatedRowHeight = 130.0f;
  _tableView.rowHeight = UITableViewAutomaticDimension;
注意:在初始布局的时候,要设置好你以哪一个高度为基础,必须设置好它的垂直高度上的约束,比如:
[_tagImgView mas_makeConstraints:^(MASConstraintMaker *make) {
        make.top.equalTo(self.contentView).offset(14);
        make.width.mas_equalTo(24);
        make.bottom.equalTo(self.contentView);
        make.left.equalTo(self.contentView).offset(18);
    }];
我是以_tagImgView的高度约束作为切入口,其他的高度布局,按照它的为基础再次进行布局
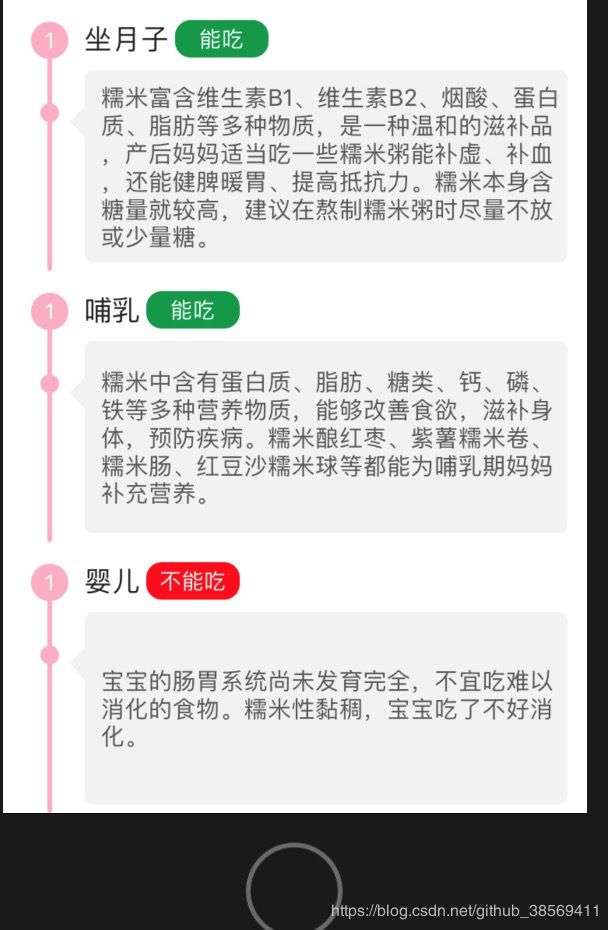
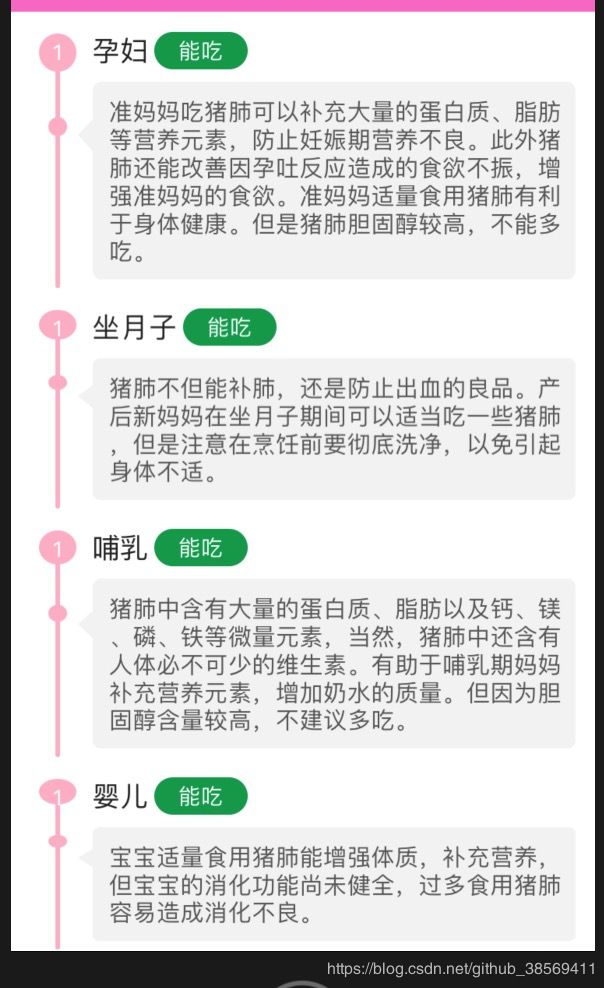
结果如图:

通过结果图,可以看出,它是以算出的最大的高度作为cell的高度,所以当内容少的时候,cell的高度也还是一样的大小,所以高度的准确度不怎么好;我试了将estimatedRowHeight这个值,随便设置,效果一样。
五、第3种方法,自己算高度
布局这块和方法1一模一样,不同之处:
在model中设置一个属性
/** cell高度 **/
@property (nonatomic, assign) CGFloat cellHeight;
在.M中计算高度
- (CGFloat)cellHeight
{
    // 文字的最大尺寸(设置内容label的最大size,这样才可以计算label的实际高度,需要设置最大宽度,但是最大高度不需要设置,只需要设置为最大浮点值即可),53为内容label到cell左边的距离
    CGSize maxSize = CGSizeMake([UIScreen mainScreen].bounds.size.width - 80, MAXFLOAT);

    // 计算内容label的高度
    CGFloat textH = [self.descriptionStr boundingRectWithSize:maxSize options:NSStringDrawingUsesLineFragmentOrigin attributes:@{NSFontAttributeName : [UIFont systemFontOfSize:15]} context:nil].size.height;

    /**
     *textH 表示需要算高度的内容的大小
     * 70 表示,除了计算的内容大小之外的其他空间和边距的总共高度
     */
    _cellHeight = 70 +textH;

    return _cellHeight;
}
然后在控制器中添加:
- (CGFloat)tableView:(UITableView *)tableView heightForRowAtIndexPath:(NSIndexPath *)indexPath
{
    EAKnowModel *model = _model.know[indexPath.row];
    return model.cellHeight;
}
六、至于第2种和第4种的方法,我大致试了下,结果布局全部重叠在一起了,这里我就不继续深究了,要跟上自己的项目进度了。。。
感兴趣的自己看下方的链接博客。。。
参考的博客
