littlevGL:移植到STM32
1.简介
LittlevGL 是一个使用C编写的开源免费的GUI,应用在嵌入式设备。
源码:https://github.com/littlevgl/lvgl
2.移植准备
首先需要一个可以正常使用的工程,有LCD驱动,触摸驱动。假设此工程的文件夹名为lvgldemo。
本文使用的IDE为KEIL MDK。
下载:https://github.com/littlevgl/lvgl 和 https://github.com/littlevgl/lv_examples
前者为源码所在;后者是使用例程,其中包含移植参考。
不同的版本可能会有不同的移植操作,不过基本相差不大,最重要的是要参考源码作者提供的移植例程与说明。
3.移植
1.新建一个文件夹命名为lvgl,解压https://github.com/littlevgl/lvgl下载的压缩包至lvgl文件夹,然后将此文件夹整个移动到事先准备好的工程文件夹。
2.复制lvgl文件夹下的lv_conf_templ.h文件到文件夹lvgldemo下面,并重命名为lv_conf.h。
3.修改lv_conf.h里的几个参数。最基本的3个:LCD的长和宽,像素位深。其他参数暂时不管。
/* Horizontal and vertical resolution of the library.*/
#define LV_HOR_RES          (800)
#define LV_VER_RES          (480)
/*Color settings*/
#define LV_COLOR_DEPTH 16 /*Color depth: 1/8/16/32*/还需要将文件开头的#if 0 改为 #if 1;
4.打开工程文件,Options for target...对话框--> C/C++子项 -->include paths,添加路径“..\lvgl”和“..”。
5.使用manage project items 对话框为工程建立lvgl组,往组里面添加lvgl文件夹下的全部C文件。
6.编译一下,可能会发现很多错误。由于KEIL 默认不支持匿名联合体,而littlevGL中使用了,所以需要在相应文件添加上
#pragma anon_unions再次编译可以通过了。在这里,不同的版本可能会出现不同的编译错误。例如低版本中使用了二进制形式0bXXXX,这是KEIL不支持的,对应地修改为常规方法即可。
7.实现3个显示函数(.disp_fill,.disp_map,.disp_flush);一个输入设备读取函数(.read)。这个4个函数比较简单,就是显示屏的矩形填充函数,以及触摸屏(或者按钮,鼠标)的读取函数,记得要参考lv_tutorial_porting.c的格式,并且这几个函数是以注册方式使用的。(所谓注册就是赋值,函数名本身也是一种指针变量)
4.使用
在lv_examples-master\lv_tutorial\0_porting\lv_tutorial_porting.c中,有详细的使用的方法。
    /***********************
     * Initialize LittlevGL
     ***********************/
    lv_init();

    /***********************
     * Tick interface
     ***********************/
    /* Initialize a Timer for 1 ms period and
     * in its interrupt call
     * lv_tick_inc(1); */


    /***********************
     * Display interface
     ***********************/
    your_display_init();                       /*Initialize your display*/

    lv_disp_drv_t disp_drv;                         /*Descriptor of a display driver*/
    lv_disp_drv_init(&disp_drv);                    /*Basic initialization*/

    /*Set up the functions to access to your display*/
    disp_drv.disp_flush = ex_disp_flush;            /*Used in buffered mode (LV_VDB_SIZE != 0  in lv_conf.h)*/

    disp_drv.disp_fill = ex_disp_fill;              /*Used in unbuffered mode (LV_VDB_SIZE == 0  in lv_conf.h)*/
    disp_drv.disp_map = ex_disp_map;                /*Used in unbuffered mode (LV_VDB_SIZE == 0  in lv_conf.h)*/

#if USE_LV_GPU
    /*Optionally add functions to access the GPU. (Only in buffered mode, LV_VDB_SIZE != 0)*/
    disp_drv.mem_blend = ex_mem_blend;              /*Blend two color array using opacity*/
    disp_drv.mem_fill = ex_mem_fill;                /*Fill a memory array with a color*/
#endif

    /*Finally register the driver*/
    lv_disp_drv_register(&disp_drv);


    /*************************
     * Input device interface
     *************************/
    /*Add a touchpad in the example*/
    /*touchpad_init();*/                            /*Initialize your touchpad*/
    lv_indev_drv_t indev_drv;                       /*Descriptor of an input device driver*/
    lv_indev_drv_init(&indev_drv);                  /*Basic initialization*/
    indev_drv.type = LV_INDEV_TYPE_POINTER;         /*The touchpad is pointer type device*/
    indev_drv.read = ex_tp_read;                 /*Library ready your touchpad via this function*/
    lv_indev_drv_register(&indev_drv);              /*Finally register the driver*/


    /*************************************
     * Run the task handler of LittlevGL
     *************************************/
    while(1) {
        /* Periodically call this function.
         * The timing is not critical but should be between 1..10 ms */
        lv_task_handler();
        delay_ms(5)
    }
不要忘了需要在1MS定时中断里调用lv_tick_inc(1) ;
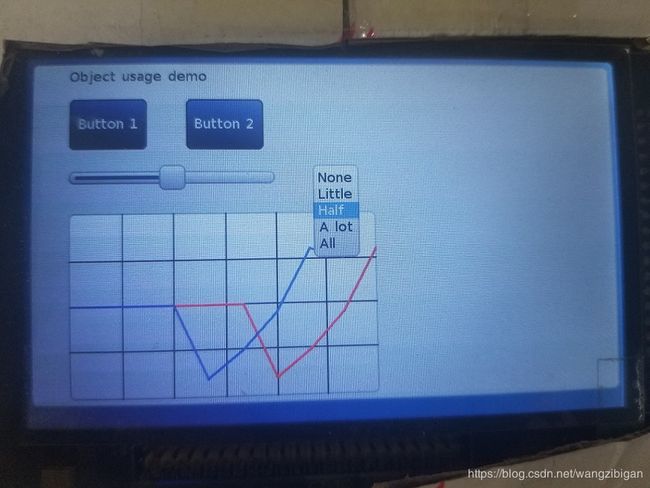
测试了例程的几个,效果还行。比EMWIN好看一些。EMWIN风格类似window XP ,littlevGL风格类似android ;
如果想换主题(THEME),可以在lv_conf.h里面使能
/*================
 *  THEME USAGE
 *================*/
#define LV_THEME_LIVE_UPDATE    0       /*1: Allow theme switching at run time. Uses 8..10 kB of RAM*/

#define USE_LV_THEME_TEMPL      0       /*Just for test*/
#define USE_LV_THEME_DEFAULT    0       /*Built mainly from the built-in styles. Consumes very few RAM*/
#define USE_LV_THEME_ALIEN      0       /*Dark futuristic theme*/
#define USE_LV_THEME_NIGHT      0       /*Dark elegant theme*/
#define USE_LV_THEME_MONO       0       /*Mono color theme for monochrome displays*/
#define USE_LV_THEME_MATERIAL   0       /*Flat theme with bold colors and light shadows*/
#define USE_LV_THEME_ZEN        0       /*Peaceful, mainly light theme */
#define USE_LV_THEME_NEMO       0       /*Water-like theme based on the movie "Finding Nemo"*/
然后这样使用
//hue 是主题前景色绿色分量 0-255
void my_lv_set_themes( uint16_t hue )
{
    /*Initialize the alien theme
     * hue: a green HUE value
     * NULL: use the default font (LV_FONT_DEFAULT)*/
    lv_theme_t * th = lv_theme_material_init(hue, NULL);

    /*Set the surent system theme*/
    lv_theme_set_current(th);

}
5.总结
可以看到,littlevGL的移植真的很简单。只需要修改一个文件,以及实现四个函数即可;而且四个函数里有两个其实基本一样。
就拿常用的emwin来说,移植需区分有无操作系统,何种操作系统,何种IDE,需要实现的函数修改的文件也很多;不过移植成功后,使用起来比较方便,还有各种软件工具辅助,相比起来,littlevGL使用稍微复杂,也没有什么辅助软件。
两者都有二十几个控件(widget/objects),littlevGL相对美观些,但灵活性相对差一点。
正是:鱼和熊掌不可兼得。