springboot进阶-blog-day01
1. 新建项目
idea - new project - Spring Initializr - 选择插件:sprint web、Thymeleaf、sprint boot devTools、Lombok、Spring Data JPA、MySQL Driver;
next
等pom文件加载完毕。
ok
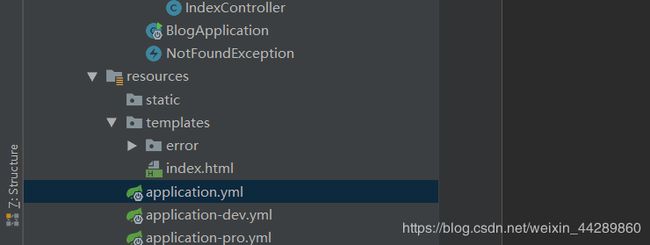
2.配置application文件
springboot支持两种配置文件application的格式,这里用的是yml格式;可以分为开发的生产两种环境:dev为开发环境;pro为生产环境。可以在application.yml中指定使用哪个文件
spring:
	profiles:
		active:dev
在application文件中的配置为全局配置(不需要再在dev或者pro文件中再次配置)
spring:
#注册数据库
  datasource:
    driver-class-name: com.mysql.jdbc.Driver
    url: jdbc:mysql://localhost:3306/blogs?useUnicode=true&serverTimezone=UTC&characterEncoding=utf-8
    username: root
    password: root
#    设置sql语句
  jpa:
    hibernate:
      ddl-auto: update
    show-sql: true
#    设置日志所在目录以及日志名称和日志的写入的等级
logging:
  level:
    root: info
    com.my.blog: debug
  file: log/blog-dev.log
3.异常处理
springboot可以自定义异常返回的界面
在资源类下的templates中新建error包来存放异常处理的界面
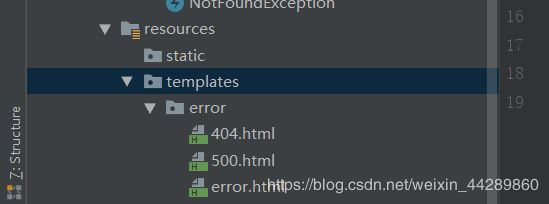
注意文件名称,发生错误是会根据错误类型去找界面。
新建一个controller
@Controller
public class IndexController {


    @GetMapping("/{id}/{name}")
    public String index(@PathVariable Integer id ,@PathVariable String name){
//        String blog = null;
//        if (blog == null){
//            throw new NotFoundException("博客不存在");
//        }
        System.out.println("-------------------index");
        return "index";
    }
}
自定义异常处理:
//404错误处理
@ResponseStatus(HttpStatus.NOT_FOUND)
public class NotFoundException extends RuntimeException {
    public NotFoundException() {
    }

    public NotFoundException(String message) {

        super(message);
    }


    public NotFoundException(String message, Throwable cause) {
        super(message, cause);
    }

}
4.日志处理
编写一个aspect类,使用了AOP面向切面编程。
@Aspect
@Component
public class LogAspect {

    private final org.slf4j.Logger logger = LoggerFactory.getLogger(this.getClass());

//    设置拦路径 本路径为web下的所有控制器中的所有方法(不限参数)
    @Pointcut("execution(* com.my.blog.web.*.*(..))")
    public void log(){}

    @Before("log()")
    public void doBefore(JoinPoint joinPoint){
//        拿到HttpServletRequest对象
        ServletRequestAttributes attributes = (ServletRequestAttributes) RequestContextHolder.getRequestAttributes();
        HttpServletRequest request = attributes.getRequest();

//        拿到所需值
        String url = request.getRequestURL().toString();
        String ip = request.getRemoteAddr();
        String classMethod = joinPoint.getSignature().getDeclaringTypeName()+"."+joinPoint.getSignature().getName();
        Object args[] = joinPoint.getArgs();


        RequestLog requestLog = new RequestLog(url,ip,classMethod,args);
        logger.info("Request: {}",requestLog);
    }

    @After("log()")
    public void doAfter(){
        logger.info("after-----------------");
    }


    @AfterReturning(returning = "result",pointcut = "log()")
    public void doAfterReturn(Object result){
        logger.info("afterReturn-----------------Result: {}",result);
    }

    private class RequestLog{
        private String url;
        private String ip;
        private String ClassMethod;
        private Object[] args;

        public RequestLog(String url, String ip, String classMethod, Object[] args) {
            this.url = url;
            this.ip = ip;
            ClassMethod = classMethod;
            this.args = args;
        }

        @Override
        public String toString() {
            return "RequestLog{" +
                    "url='" + url + '\'' +
                    ", ip='" + ip + '\'' +
                    ", ClassMethod='" + ClassMethod + '\'' +
                    ", args=" + Arrays.toString(args) +
                    '}';
        }
    }

}
本文是在B站看视频所总结,如有错误感谢指正。